Template
Overview
Templates are a tool that can help you create components inside your Data Mesh. They can load skeletons of pre-defined code, and configurations, and then publish the skeleton content to repositories in some locations like GitLab or GitHub.
Why Templates?
Having autonomous development teams inside the organization brings speed, but of course, this speed is paid in ecosystem fragmentation as you scale up. This leads us to the paradox that in the long run we find ourselves slowing down again.
Witboost allows you to maintain the speed that comes with autonomy by standardizing services, tools, and development processes. All of this without scaling back autonomy, but simply freeing teams from the complexity they must manage every day at the infrastructure and technology level.
Templates are a great tool to allow development teams to create new components within their data products that are already compliant with standards and best practices from the beginning.
Getting Started
Templates are a feature available in the Builder module. From the main menu, you should be able to access it by clicking on Builder > Templates.
Once there, you should see something that looks similar to this:
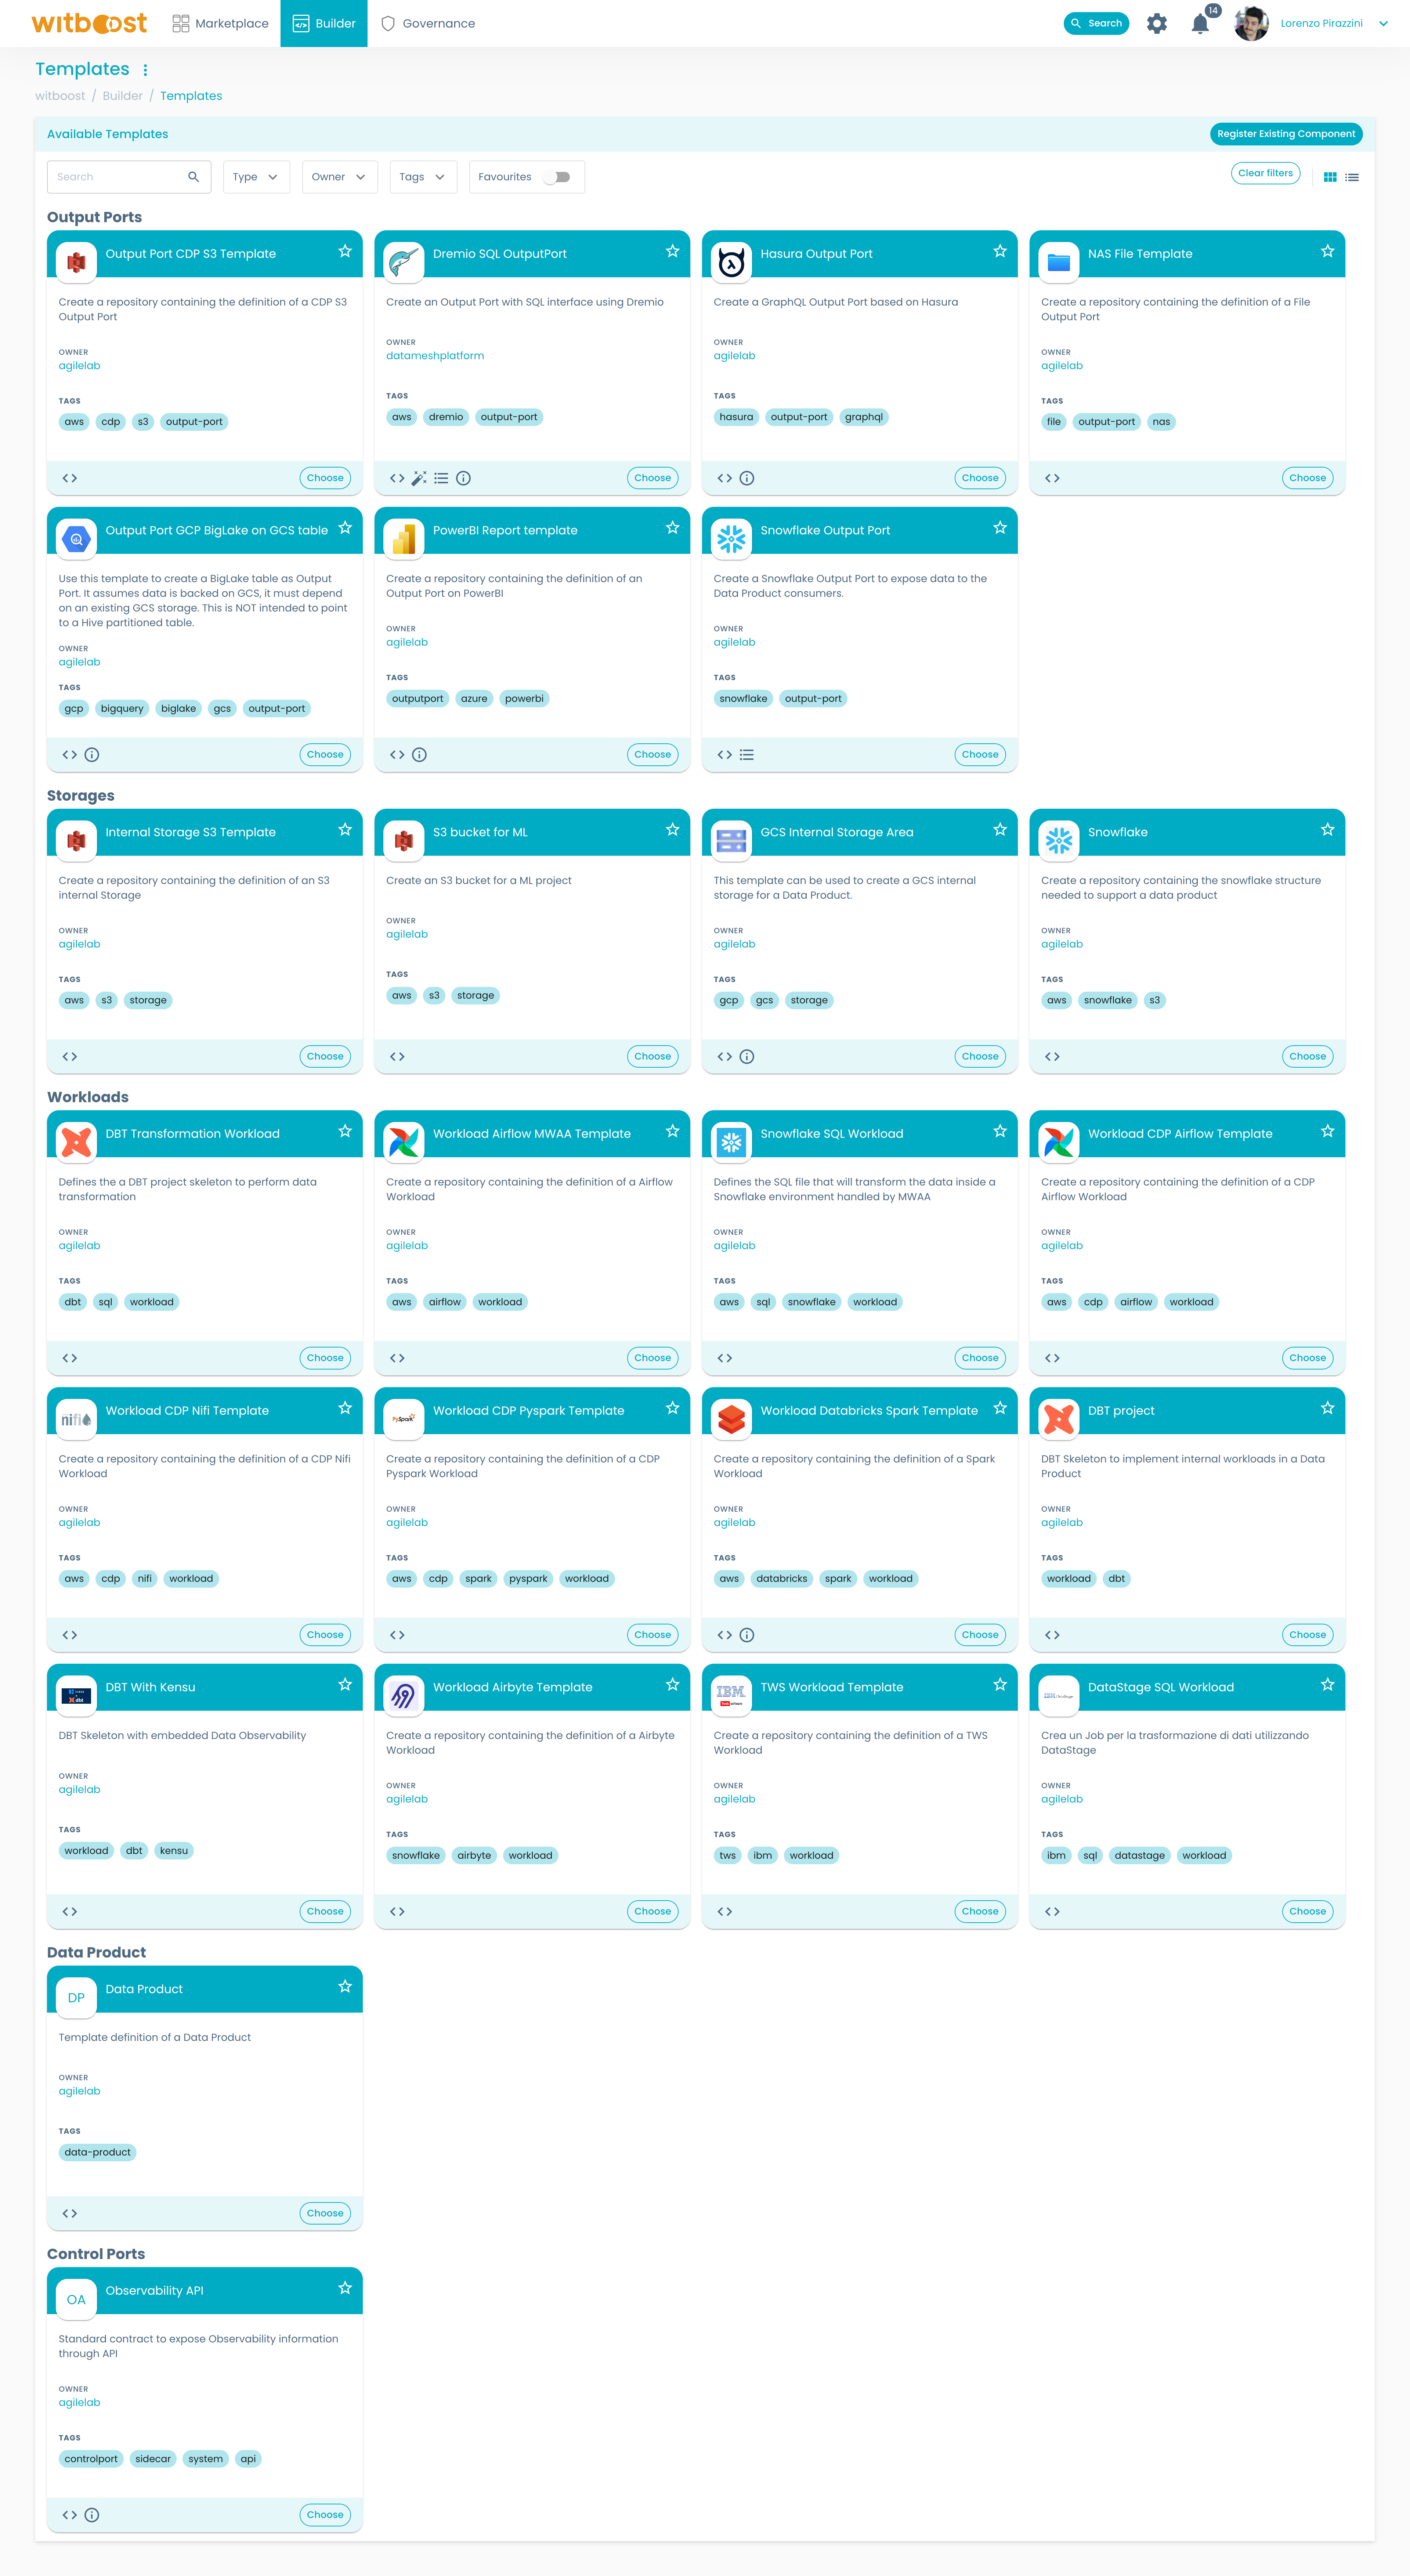
Choose a template
When you select a template that you want to create, you will be taken to the next page which may or may not look different for each template. Each template can ask for different input variables, and they are then passed to the template scaffolder internally.
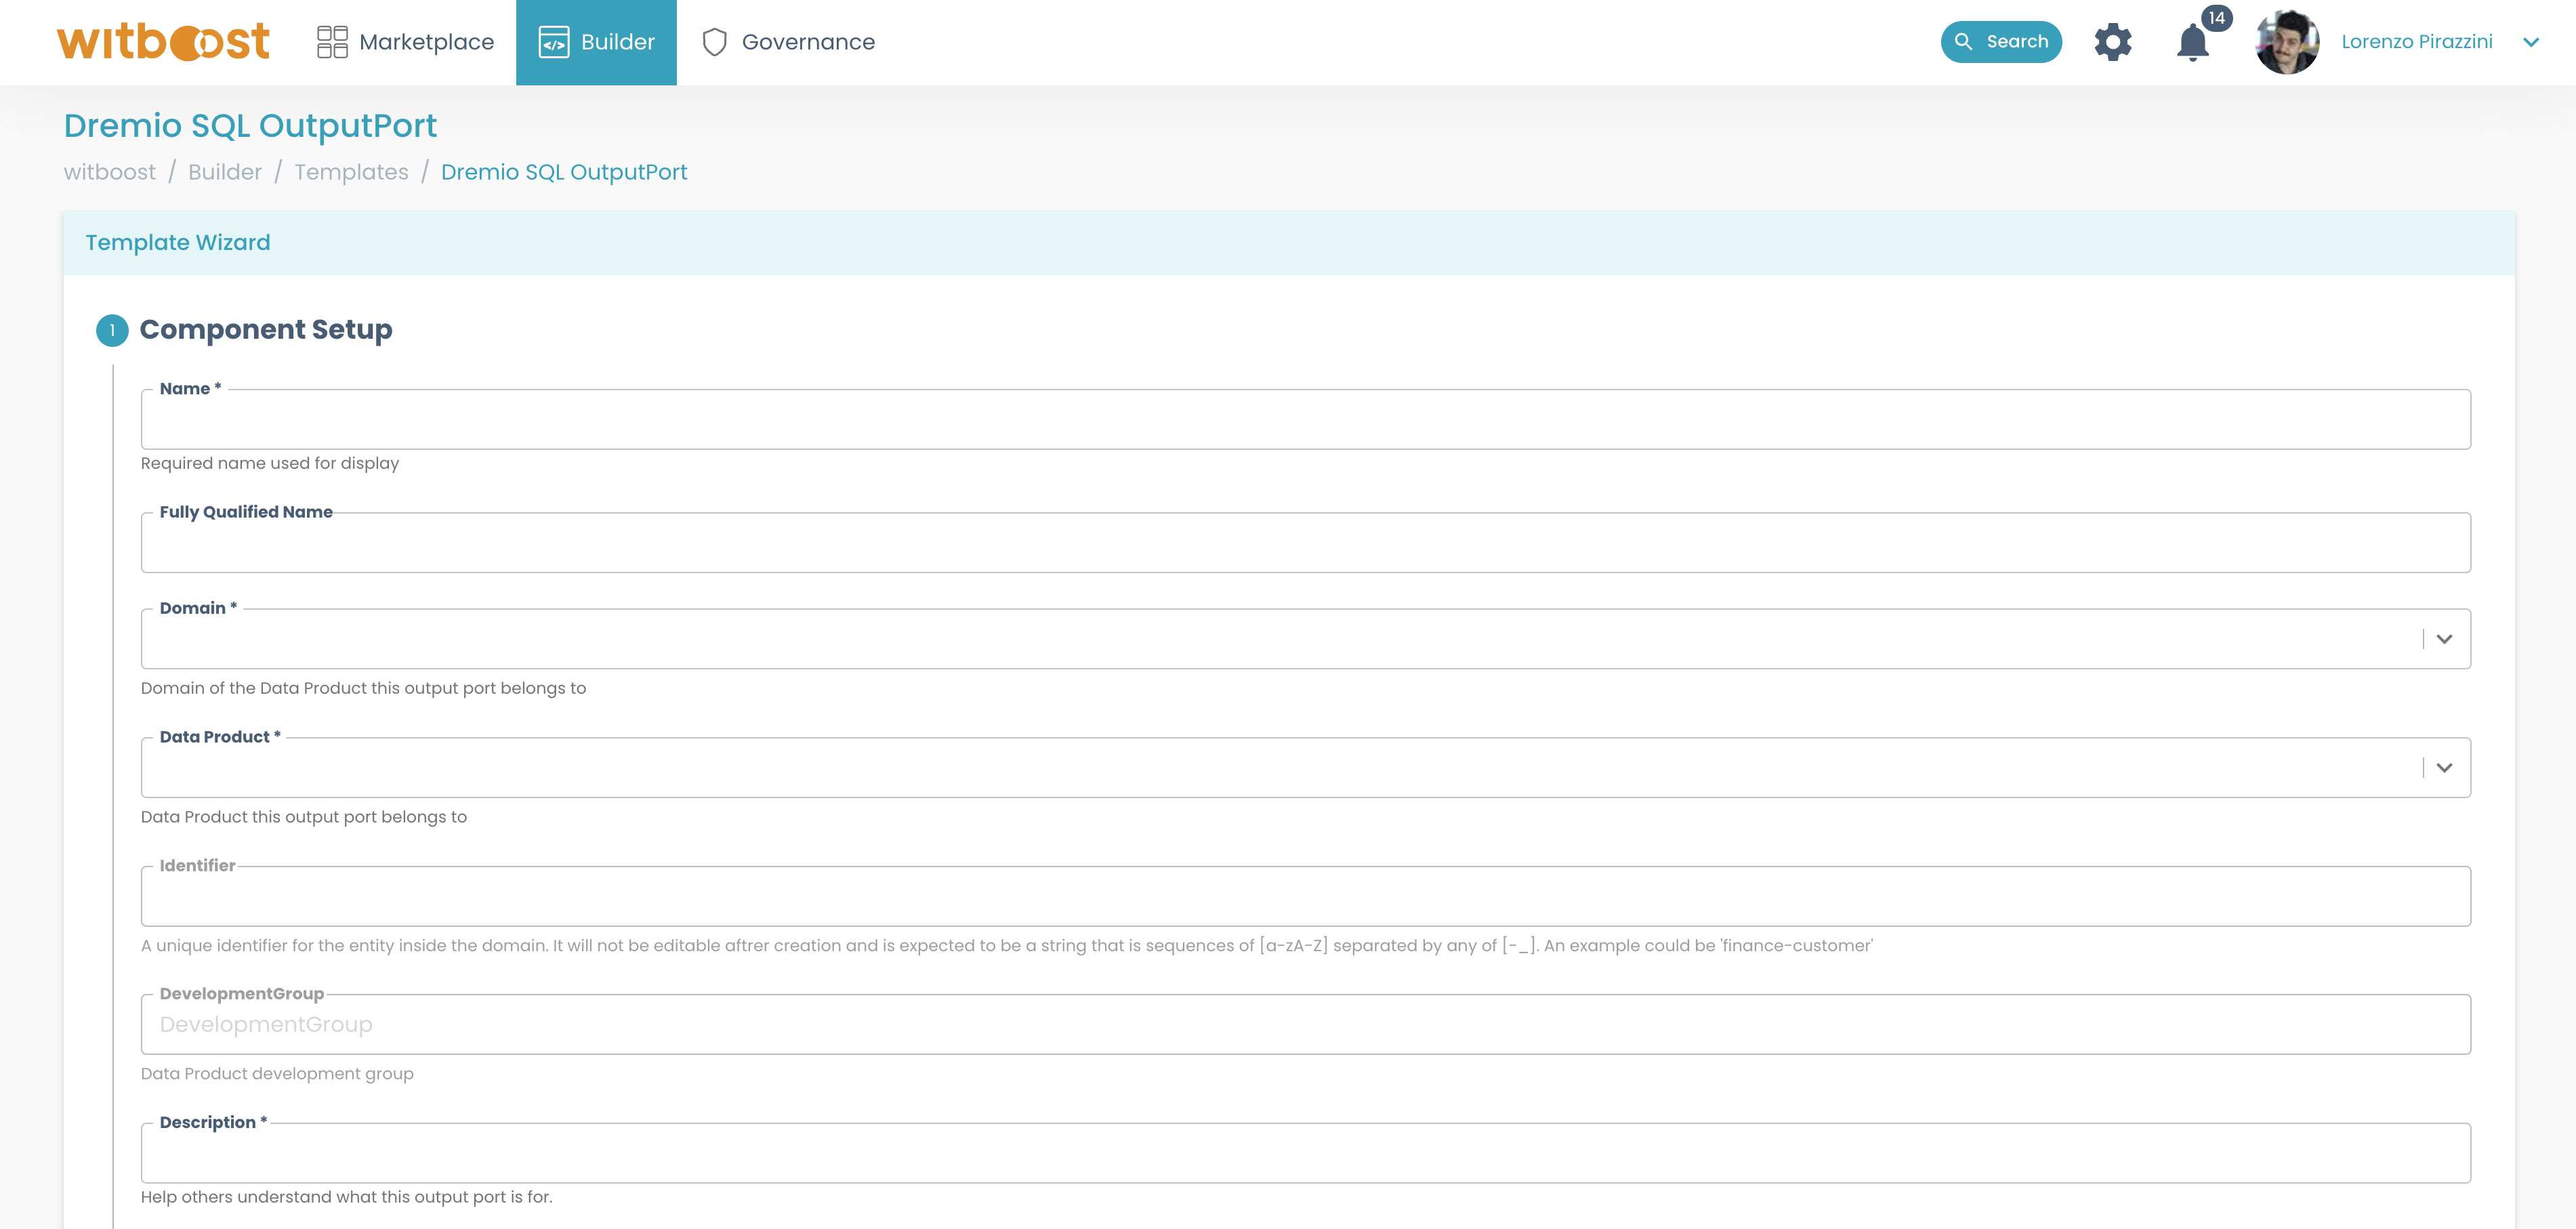
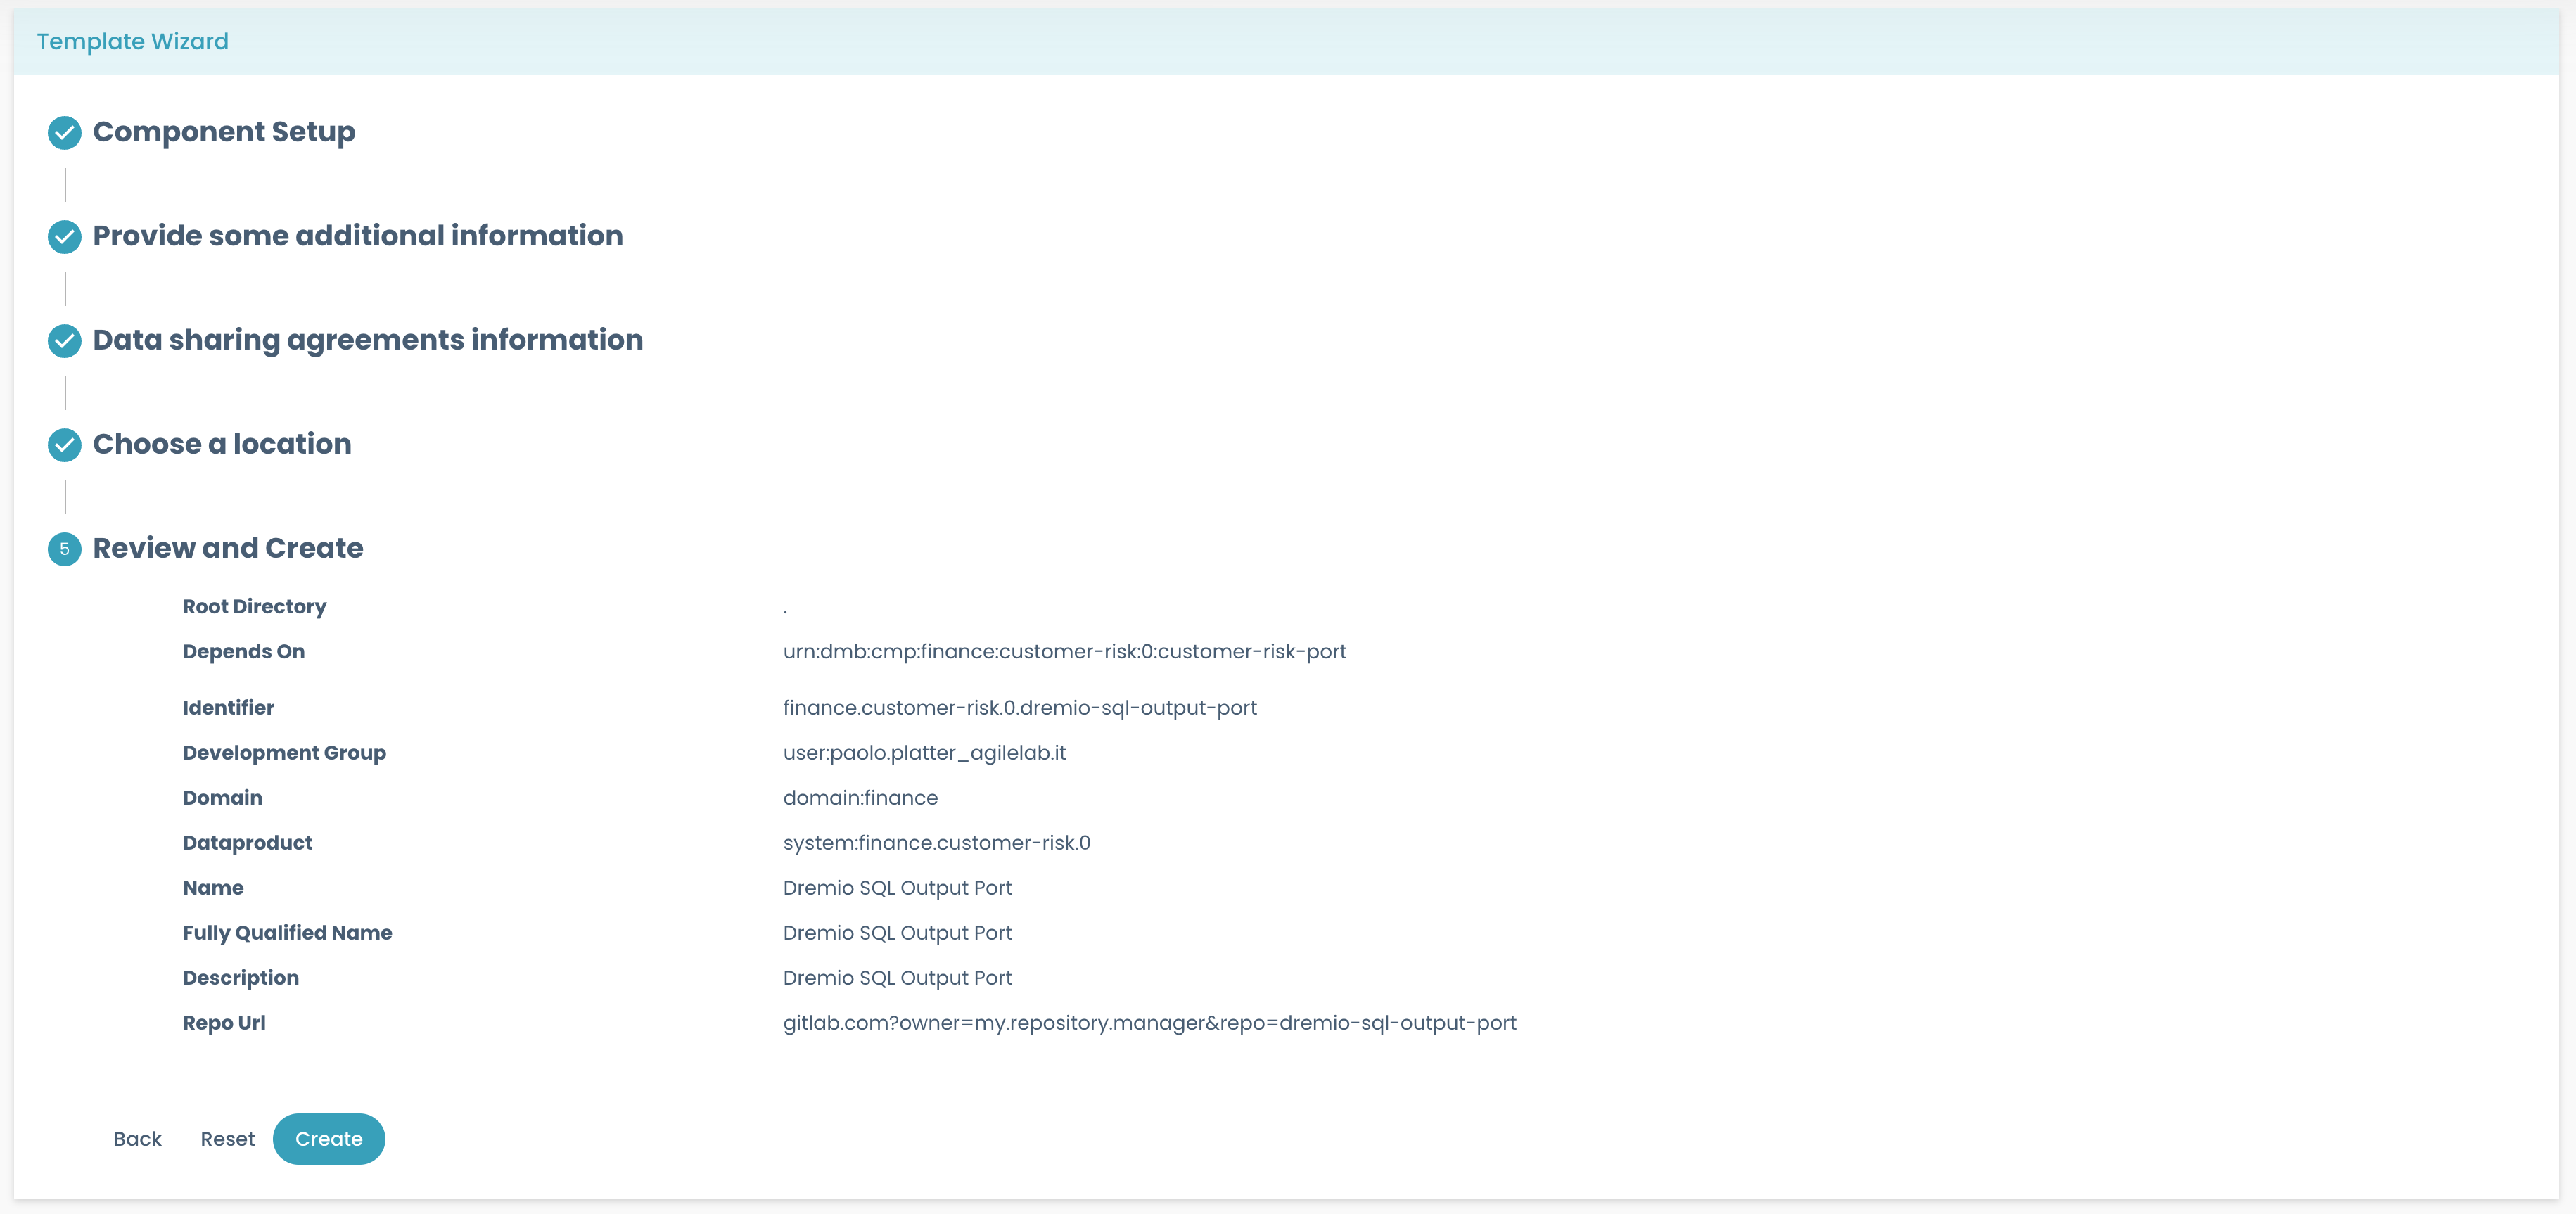
After filling in these variables, and completing all the required steps, you will end up in a details page, so that you can review all the information inserted.
Speed up template filling with Witty
When a template is Witty-enabled, you will see an Autocomplete button popping up on table editors:
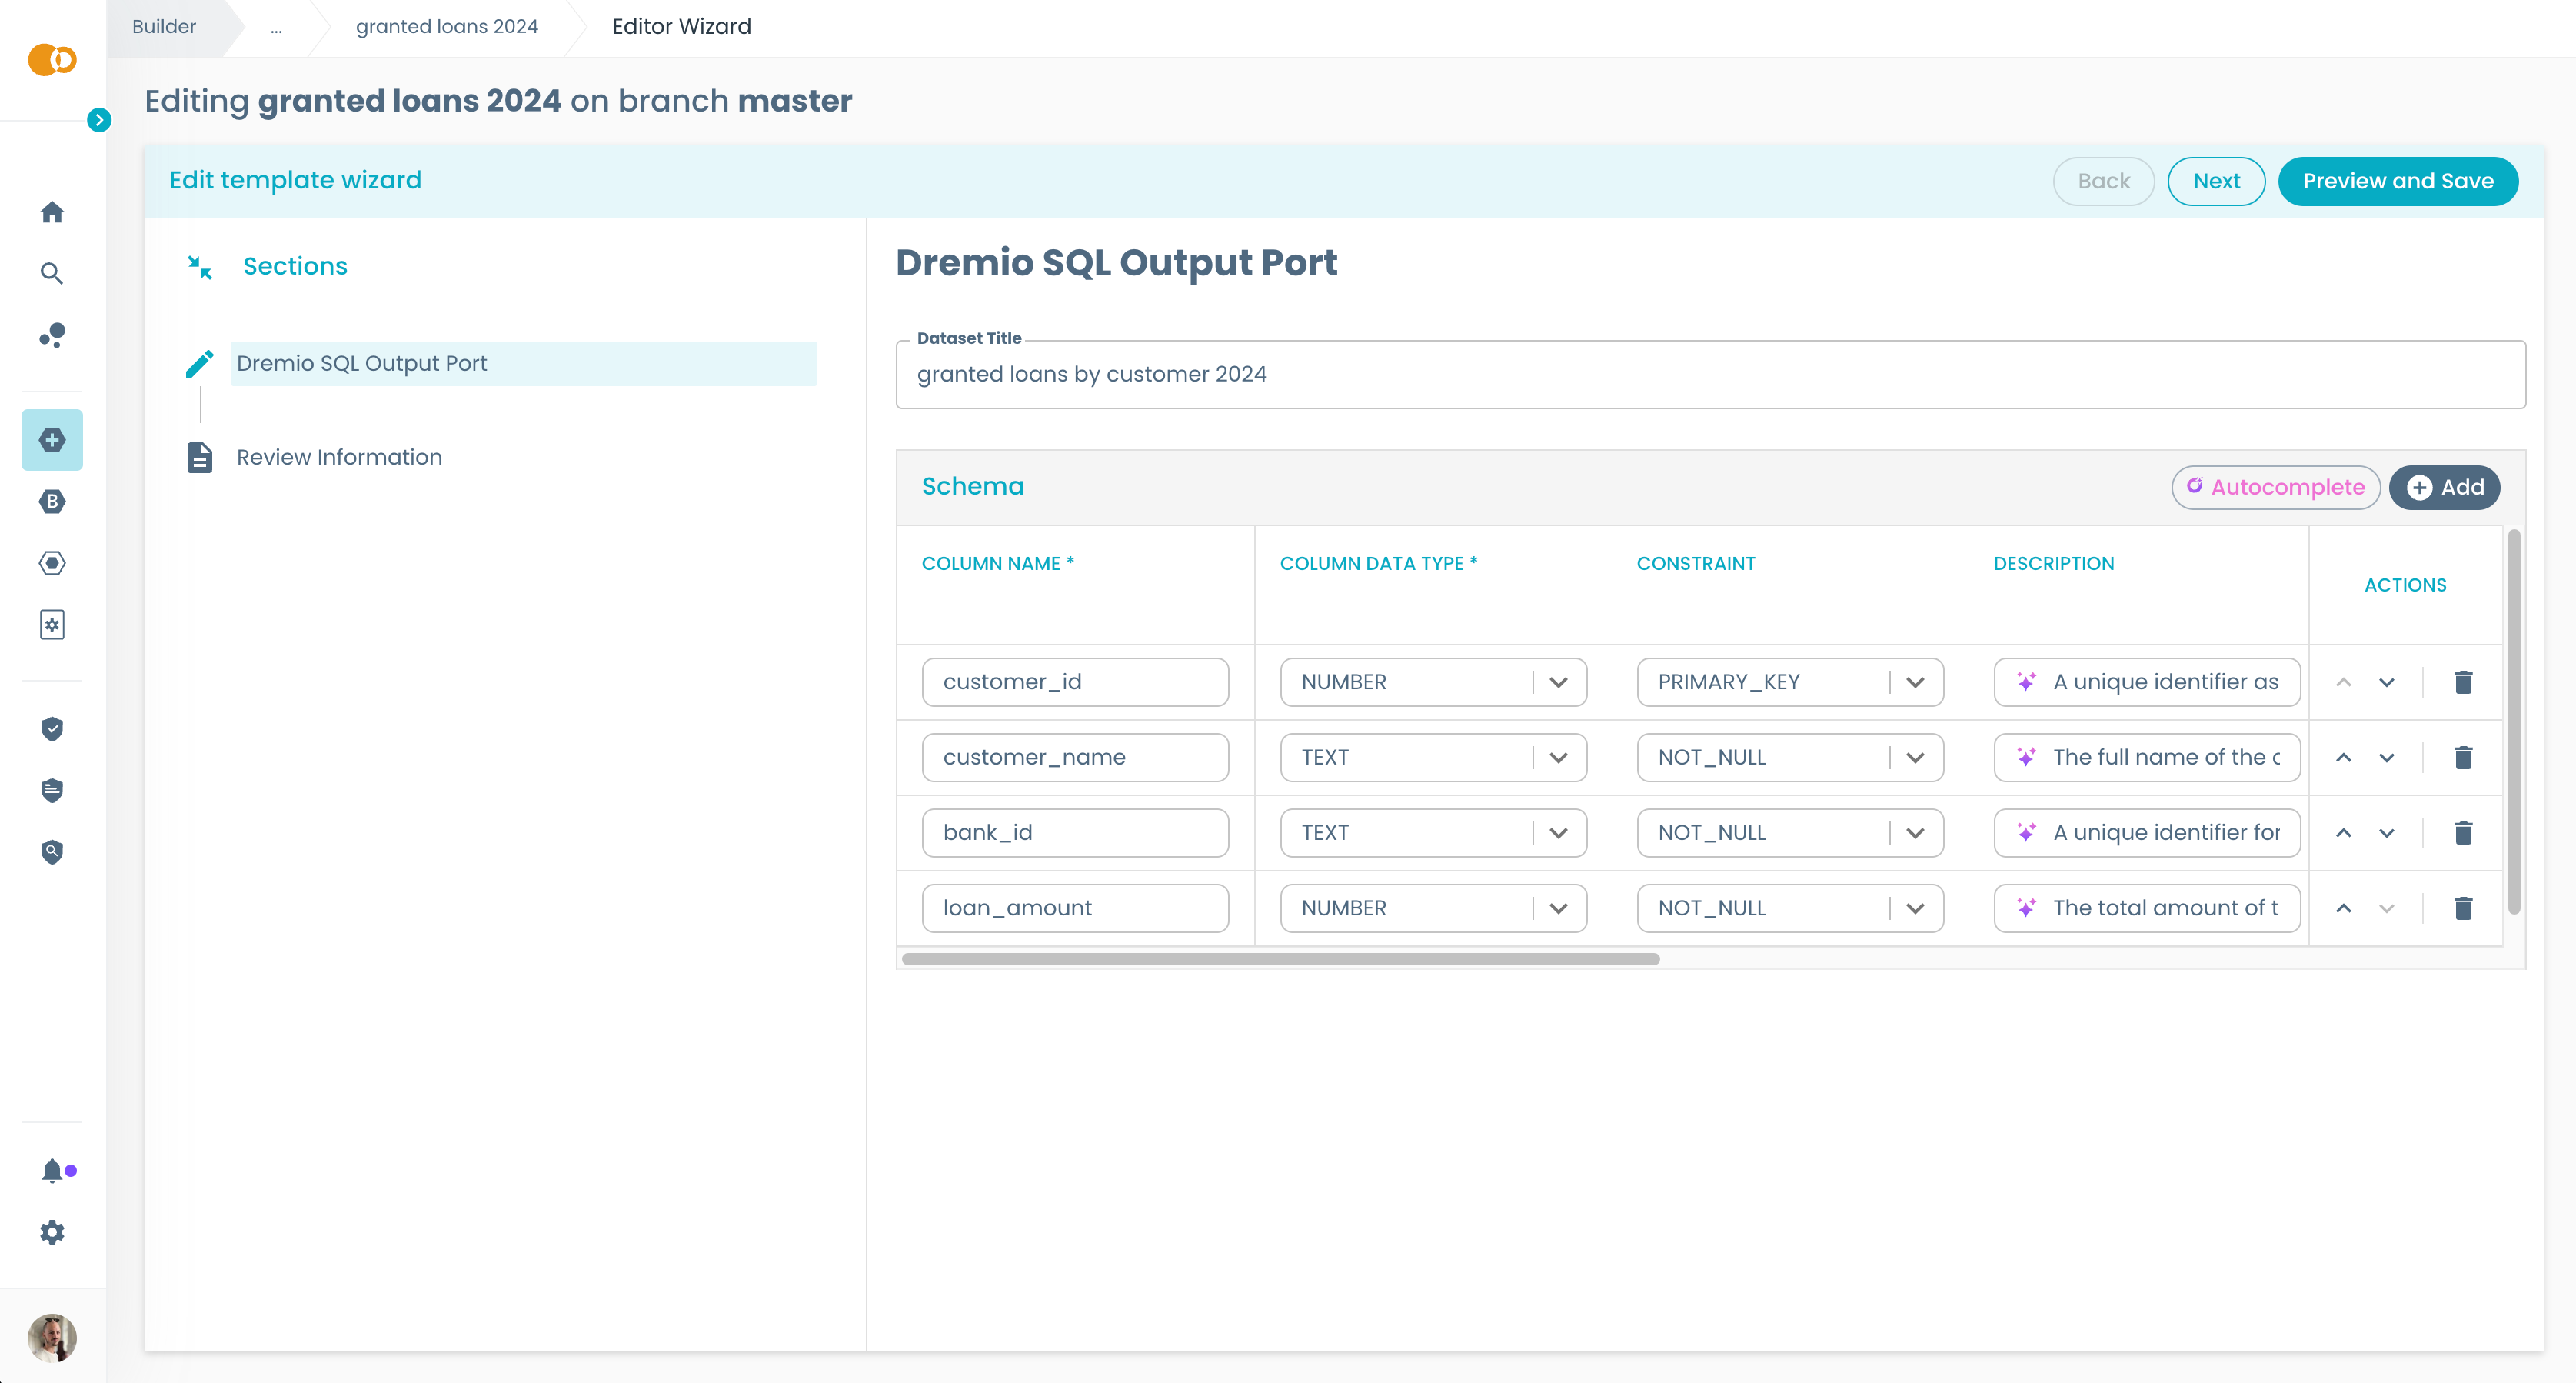
If you click on Autocomplete, Witty will automatically fill up all the Witty-enabled fields in the table with suggested values. If you already filled some fields inside the table, Witty will ask you if you want to override them. Moreover, if you wish to ask Witty a suggestion for a single field, you can click the Autocomplete adornment that is displayed along the Witty-enabled field.
Run!
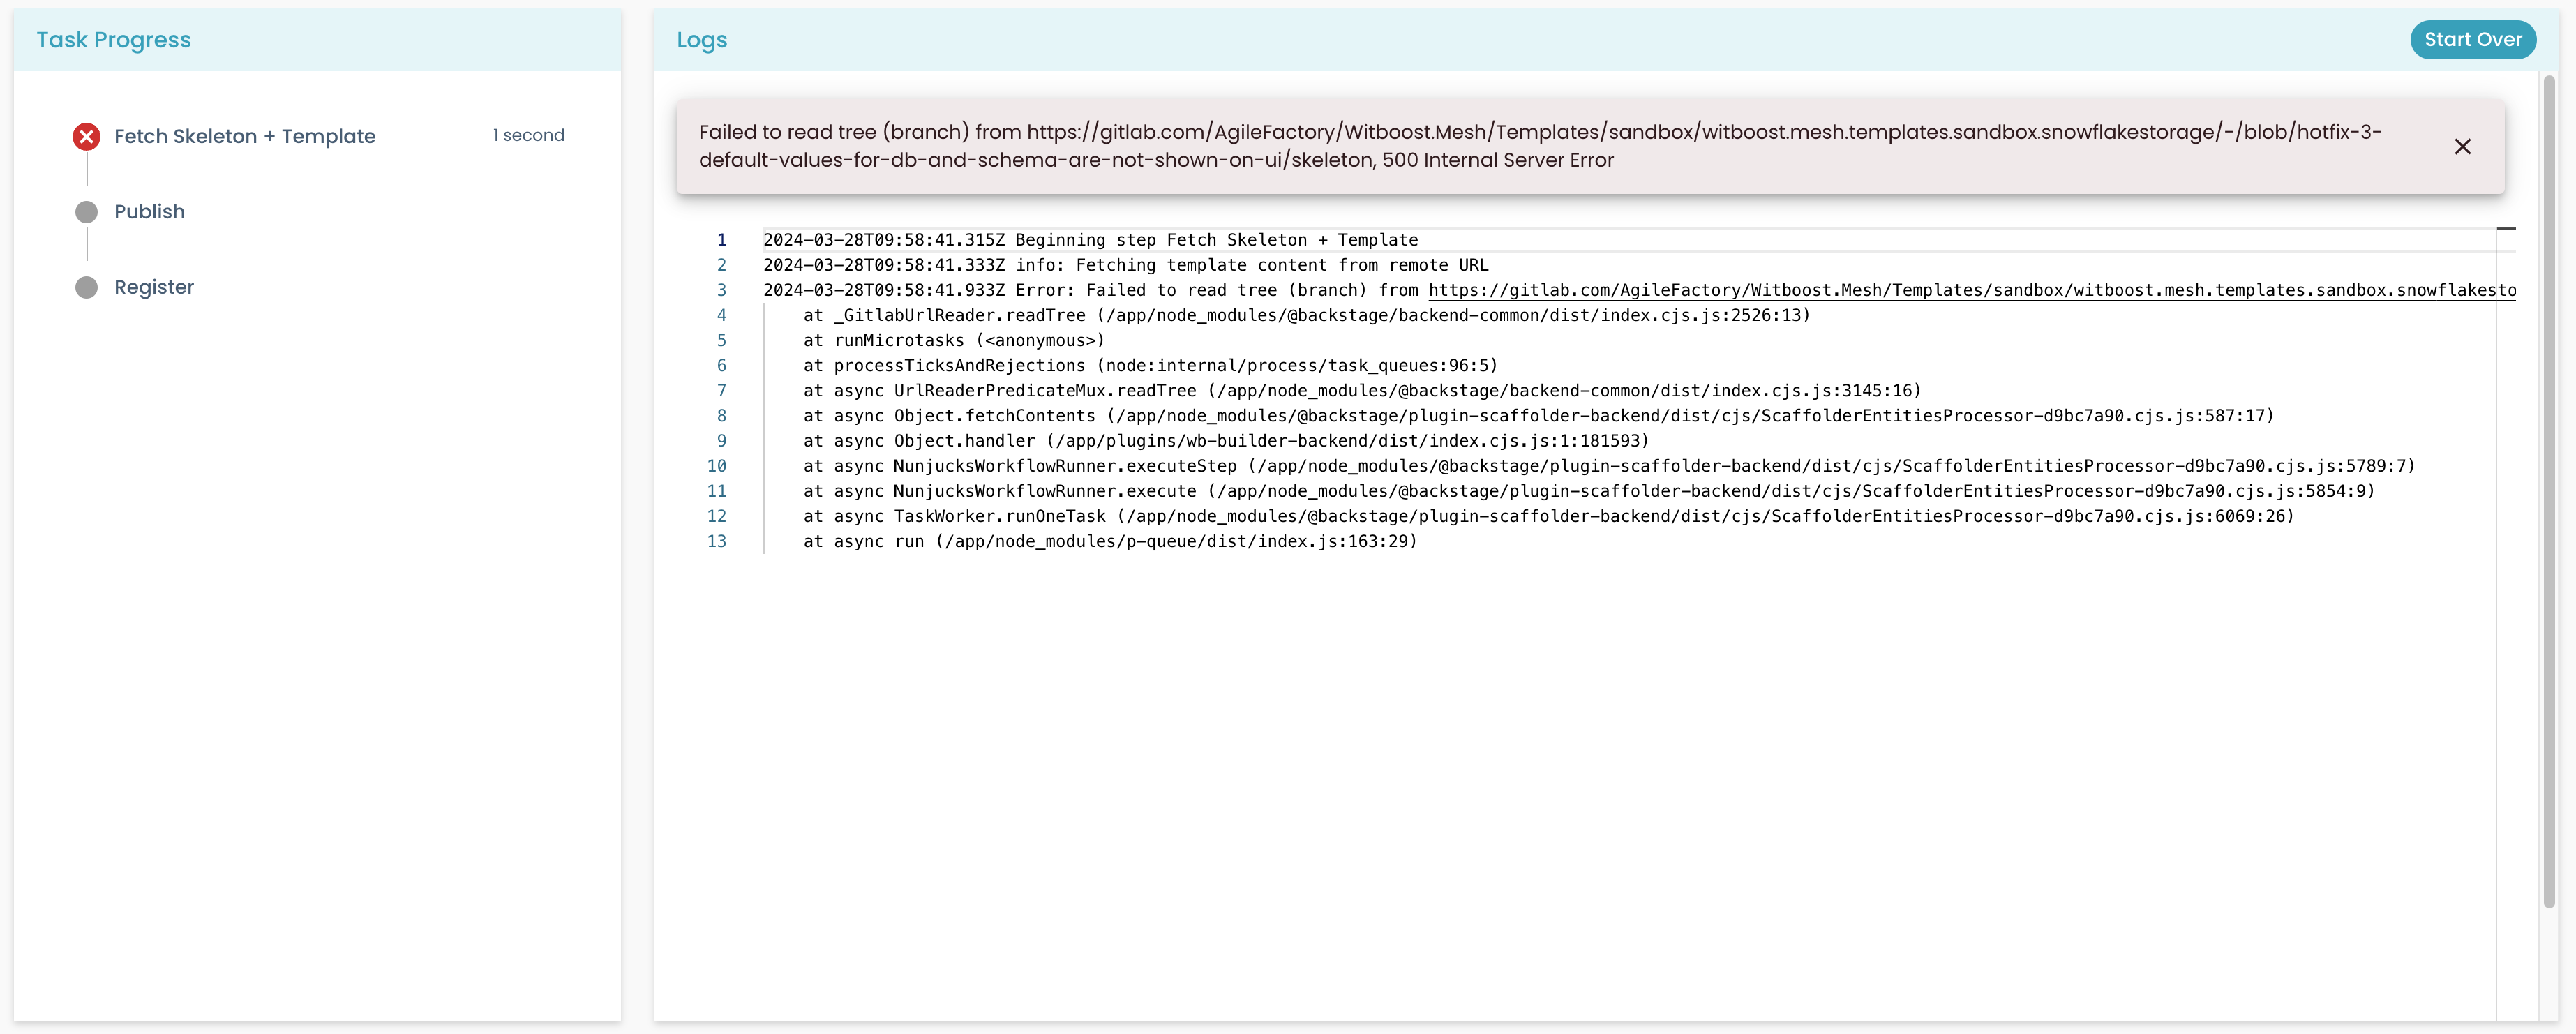
Once you've entered all the mandatory values and confirmed, you'll then get a box with live progress of what is currently happening with the creation of your template.

If it fails, you will be able to see the error and try again without compiling the fields again from scratch.
How to instantiate a template programmatically
In addition to the Witboost UI, templates can also be instantiated programmatically via REST API, which is useful for automation pipelines, CI/CD workflows, or any scenario where a UI interaction is not practical.
This section walks through the three API endpoints involved.
Authentication — All three endpoints require a valid Bearer token in the Authorization header, using the same credentials you would use for any other Witboost API call. For details, see Authentication API.
Step 1 — Start the instantiation
Send a POST request to start instantiating a template:
POST /v1/templates/instantiation
Request body
| Field | Type | Required | Description |
|---|---|---|---|
templateRef | string | yes | The entity reference of the template to instantiate (e.g. template:default/my-template) |
values | object | yes | A map of input values expected by the template form |
environmentParameters | object | no | An optional map of environment-specific overrides, keyed by environment name |
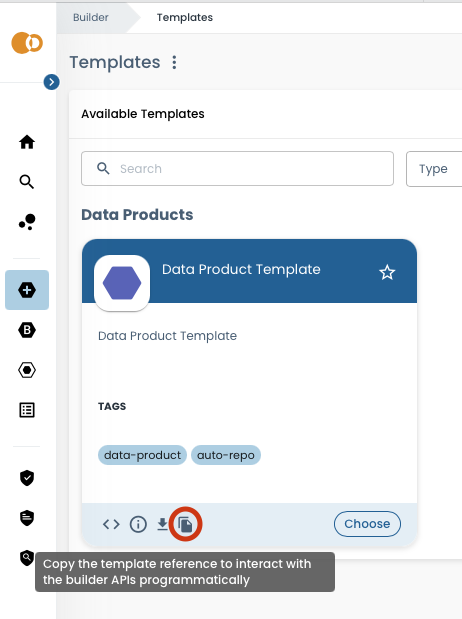
If you are unsure of the templateRef for a given template, you can copy it directly from the template detail page in the witboost UI:
The expected input fields (i.e. the keys and value types for the values object) are defined by the template form. You can inspect them by opening the template in the UI:
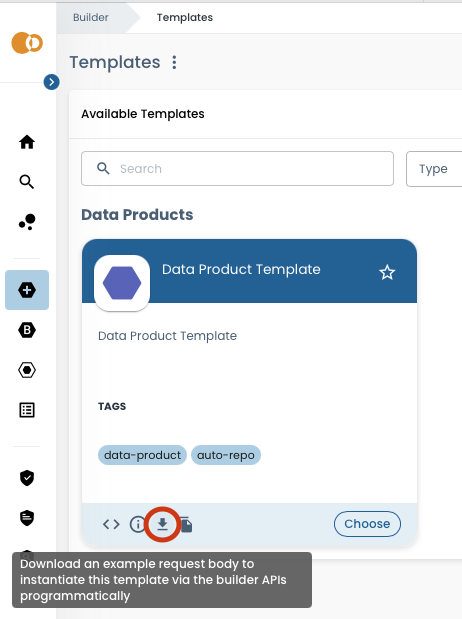
For fields that expect a complex object, the downloaded values file reports only the root key. You will need to provide the full nested structure manually when building your request body.
Example request
{
  "templateRef": "template:default/my-output-port-template",
  "values": {
    "name": "my-output-port",
    "owner": "team-a",
    "domain": "finance"
  }
}
Example request with environment parameters
{
  "templateRef": "template:default/my-output-port-template",
  "values": {
    "name": "my-output-port",
    "owner": "team-a",
    "domain": "finance"
  },
  "environmentParameters": {
    "production": {
      "region": "eu-west-1",
      "storageClass": "STANDARD"
    },
    "development": {
      "region": "us-east-1",
      "storageClass": "REDUCED_REDUNDANCY"
    }
  }
}
Response
On success the API returns 200 with the id of the created task:
{
  "id": "abc123-task-id"
}
Save this id — you will need it to monitor progress in the next steps.
Step 2 — Stream live progress (optional)
Subscribe to the Server-Sent Events stream to get real-time log output while the template is being processed:
GET /v1/templates/instantiation/{taskId}/stream
Replace :taskId with the id returned in Step 1.
The response is a text/event-stream (Server-Sent Events) connection. Each event has a type and a JSON data payload:
| Event type | Description |
|---|---|
log | A log line emitted by a template step |
completion | The task finished (check status in the payload) |
error | An error occurred during the stream |
Example event
event: log
data: {"body":{"message":"Cloning skeleton repository...","stepId":"fetch","status":"processing"},"createdAt":"2026-03-19T10:00:00.000Z"}

event: completion
data: {"body":{"message":"Template instantiation completed","status":"completed"},"createdAt":"2026-03-19T10:00:05.000Z"}
This endpoint is ideal for interactive scripts or CLI wrappers that want to show progress to a user.
Step 3 — Poll the status
If you prefer polling over streaming, or you need to check the outcome after the fact, use:
GET /v1/templates/instantiation/{taskId}/status
Replace :taskId with the id returned in Step 1.
Response
{
  "status": "completed"
}
Possible status values:
| Status | Meaning |
|---|---|
open | The task has been created but processing has not started yet |
processing | The template is currently being instantiated |
completed | The instantiation finished successfully |
failed | The instantiation failed — check the stream for error details |
skipped | A step was skipped according to the template logic |
Putting it all together
A typical automation flow looks like this:
- POST
/v1/templates/instantiation— start the task, receive ataskId. - GET
/v1/templates/instantiation/:taskId/stream— optionally subscribe to live logs to follow progress. - GET
/v1/templates/instantiation/:taskId/status— poll this endpoint until the status iscompletedorfailed.