Getting Started
To check all the requirements and the installation steps, please check the Requirements and Installation sections
In this page, we will see what are the next steps after Witboost installation.
Environments
Environments must be configured the Builder module. After defining a set of all the desired environments, they must be added to the Builder configuration under ui.appConfig.mesh.builder.environments using the following criteria:
# inside your values.yaml
ui:
  appConfig:
    # ... other configurations  ...
    mesh:
      builder:
        environments:
          - name: production
            priority: 0
          - name: staging
            priority: 1
          - name: development
            priority: 2
or
# inside your values.yaml
ui:
  appConfig:
    # ... other configurations  ...
    mesh:
      builder:
        environments:
          - production
          - staging
          - development
The priority number is needed to understand which environment should be considered the "production" one. The production environment should always have priority 0, whereas other environments should be assigned values greater than 0 for sorting purposes in the UI.
If only a list of environments as strings is provided, the priority will be assigned automatically based on the order in which they are listed (in the example, production will have priority 0, staging will have priority 1, and development will have priority 2).
Please note that external modules (e.g. marketplace, wcg) will pull the environments from the Builder module at startup.
Domains
Members of the governance team can define which domains belong to the Data Mesh. To do so, a new repository can be created to keep track of all the domains (you can also create multiple repositories, one per domain, or group them however you prefer). Since domains are Witboost entities as well, they are simply represented by catalog-info.yaml files.
One simple way of defining domains is to create first a new repository with the following structure:
catalog-info.yaml
domains/
├──────── finance.yaml
├──────── marketing.yaml
└──────── sales.yaml
Where the catalog-info.yaml file contains the list of files (one per domain) that should be imported:
apiVersion: backstage.io/v1alpha1
kind: Location
metadata:
  name: all-domains
  description: A collection of all Data Mesh domains
spec:
  targets:
    - ./domains/finance.yaml
    - ./domains/marketing.yaml
    - ./domains/organization.yaml
and all the single domain files simply contain the basic metadata, like for finance.yaml:
apiVersion: backstage.io/v1alpha1
kind: Domain
metadata:
  name: finance
  description: Everything related to finance
  links:
    - url: http://example.com/domain/finance/
      title: Finance Domain
spec:
  owner: 'group:datameshplatform'
  mesh:
    name: 'Finance'
When defining such files remember to use a unique value for the metadata.name field, a human readable display name in
the spec.mesh.name field, and an existing group for the owner. The metadata.links can be used to add relevant links,
like documentation or domain-related resources.
Subdomains
You can also specify a parent domain when registering a domain. To do so, add the following configuration:
spec:
  subDomainOf: superDomain
The registered domain will be now considered a subdomain of "superDomain".
If you register a domain catalog-info.yaml with a name that already exists, witboost will tell you that the domain is
already registered.
For this reason, if you edit the domain in a feature branch, and you want to add the changes to test them, remember to
change the metadata name, or you will not see any change at all.
If you register a new domain that is not a subdomain, you will not have permission to view it. In such cases, please refer to the RBAC section for instructions on how to create a new permission.
Once the repository is set, you can simply go to the import page (to go to the import page go to Administration > Entities and click the import existing entity button) and add the URL of the catalog-info.yaml file. Once this is done, you can
simply change the repository without the need to import it again: Witboost periodically scans all repositories and will
import the new domains it will find.
It can happen that sometimes you change the domains definition but the changes are not reflected in witboost right away.
Remember than you can always go to Administration > Entities, unregister the location, and register it back by going in Administration > Templates.
After this procedure you should be able to see all the domains defined in the catalog-info.yaml file.
Unregistering a domain
Since domains are also witboost entities, they can be unregistered from the platform by removing them from the builder. When unregistering a domain, the corresponding RBAC grants for users and groups on that domain will be automatically removed as well. If you later decide to register the domain back in witboost, you will have to grant users and groups all the needed permissions for that domain from scratch.
The builder entities registered in that domain will remain unaffected, but trying to deploy them will fail.
If in the marketplace there are entities belonging to the domain you unregistered they will remain in the marketplace, but in the 'Domain' column the string "Unassigned" will be displayed. Registering the domain again will restore the correct value.
To prevent all of the above, you can decide to block domain unregistration when there are entities in the builder belonging to the domain you are trying to delete. To do so, you can set the configuration:
# inside your values.yaml
ui:
  appConfig:
    # ... other configurations  ...
    catalog:
      disableNonEmptyDomainUnregister: true
Resources
As for environments, external resources must be configured on both the Builder and the Marketplace modules. External resources are anything that Data Products could use (read from) that is not handled inside witboost, e.g. external databases, remote APIs or services, etc.
Resources are added to witboost as entities, in the same way defined for domains, simply register them with a structure like:
apiVersion: backstage.io/v1alpha1
kind: Resource
metadata:
  name: marketing.external-postgres-db
  description: Remote Postgresql database
  links:
    - url: http://example.com/postgres/db/
      title: Postgres DB documentation
spec:
  owner: 'group:datameshplatform'
  domain: domain:marketing
  mesh:
    name: 'External Postgres DB'
Note that the resource's name under metadata.name should be structured as {domain}.{name} (e.g. marketing.external-postgres-db).
Then you must add the same resource also in the marketplace database, by adding a new row in the Resource table.
The fields that you should fill are:
- id: a progressive numeric number
- name: the resource's name. You can copy it from the
metadata.nameof the entity - display_name: the resource's display name. You can copy it from the
spec.mesh.nameof the entity - fully_qualified_name: the resource's fully qualified name. You can copy it from the
spec.mesh.nameof the entity or add more details to it - description: the resource's description. You can copy it from the
metadata.descriptionof the entity - domain: display-only metadata for the domain of resource's domain (this and the following display-only fields are just informative, and completely optional)
- kind: display-only metadata for the kind of resource's domain
- technology: display-only metadata for the technology of resource's domain
- platform: display-only metadata for the platform of resource's domain
- descriptor: you can just put an empty json object
{}since this field is not leveraged yet - created_at: you can use the default value (now)
- updated_at: you can use the default value (now)
- external_id: this is the core field of the resource, and it should be defined as
urn:dmb:rsr:<domain>:<name>, where<domain>and<name>are taken from themetadata.name; e.g. if themetadata.nameisfinance.external-postgres-db, the external_id field will beurn:dmb:rsr:finance:external-postgres-db
Please note that as for environments, those two sets must be always kept aligned, so when new resources are used, they must be added to both modules.
By default, resources are not visible to anyone, except if the user is already allowed to read all entities within a given domain and the resource is part of that domain.
To restrict visibility of the resource to a specific domain (e.g. the domain it belongs to), fill or add the spec.domain field in the resource's descriptor, using the following format: domain:<domain> (e.g. domain:marketing). That is, if a group of users is allowed to read entities within that domain, they will now be able to see the resource entity in Witboost.
If there is the need of giving more granular access to resources, more restricted access can be created with Role-Based Access Control. To do so, simply add an association between the subject (user or group) and the resource's URN (e.g. for the example above, the association will have the following scope: urn:dmb:rsr:marketing:external-postgres-db).
Head to the RBAC section of the documentation to get more details on how to create permissions.
While it is possible to restrict visibility of resources in the Entities, the same possibility is however not available for the Marketplace module.
Configurations
Witboost configurations can be changed on the values.yaml provided in the Helm chart. More info here
From the configurations, you can define the behavior of the platform, like the integrations with external services, the behavior of the modules, and the behavior of the platform itself. Furthermore, you can also enable/disable some features of the platform.
Git providers
Witboost supports the following Git providers to host and manipulate data products and components in their Git repositories:
- GitLab
- Bitbucket Server
- Azure DevOps
- GitHub
Can't find your Git provider in the list? Contact us to request support for a different Git provider.
To authorize read/write operations on repositories, Witboost requires some configuration parameters (e.g. access tokens). There are two ways in which you can let users interact with the Git provider through Witboost:
- You can ask Witboost users to set their own Git token on their Personal User Settings page (recommended): In this case, Witboost will make commits on repositories on behalf of users
- All commits are on behalf of Witboost: every user will make anonymous commits on repositories, meaning that you won't be able to know who is the original author of the commit.
Setting Witboost commits on behalf of users (recommended)
Configuring git providers through user settings requires the following steps:
- Define a technical user token with read-only permissions in your Git provider. The user generating this token should have the rights to view all repositories that you intend to use in witboost.
- In the
values.yamlin the root folder of the project place your read-only token.
- Gitlab
- Bitbucket Server
- Azure DevOps
- GitHub
# inside your values.yaml
ui:
  appConfig:
    # ... other configurations  ...
    integrations:
      usePersonalToken: true
      gitlab:
        - host: gitlab.com
          token: <read-only access token>
# inside your values.yaml
ui:
  appConfig:
    # ... other configurations  ...
    integrations:
      usePersonalToken: true
      bitbucketServer:
        - host: <host ip address or url of your bitbucket server instance>
          token: <read-only access token>
# inside your values.yaml
ui:
  appConfig:
    # ... other configurations  ...
    integrations:
      usePersonalToken: true
      azure:
        - host: dev.azure.com
          credentials:
            - personalAccessToken: <read-only access token>
# inside your values.yaml
ui:
  appConfig:
    # ... other configurations  ...
    integrations:
      usePersonalToken: true
      github:
        - host: <host ip address or url of your github server instance>
          token: <read-only access token>
The read-only token is needed because some witboost tasks running in background are non-user triggered operations, but they still require to read repositories to perform some refreshes.
-
Inform Witboost users to setup their own Access Token. Head to the user manual (Configuring Git Credentials for more details.
-
If you plan to invoke Witboost APIs that interact with Git from external services while you set the
usePersonalTokenconfiguration totrue, you need to provide a personal access token for the external service to use. This token should have the correct write permissions to the repositories you want to interact with. To do that, you can simply invoke the following API (with the authorization header used to authenticate the third-party service):
curl -X POST "<witboost-url>/api/user-config/user_config" \
     -H "accept: application/json" \
     -H "Content-Type: application/json" \
     -d "{ \
      \"value\": \"<write-token>\", \
      \"key\": \"gitlab-token\", \
      \"isSensitive\": true \
    }"
Setting Witboost with anonymous commits
In your values.yaml in the root folder of the project just place the lines below.
- Gitlab
- Bitbucket Server
- Azure DevOps
- GitHub
# inside your values.yaml
ui:
  appConfig:
    # ... other configurations  ...
    integrations:
      usePersonalToken: false
      gitlab:
        - host: gitlab.com
          token: <access token>
# inside your values.yaml
ui:
  appConfig:
    # ... other configurations  ...
    integrations:
      usePersonalToken: false
      bitbucketServer:
        - host: <host ip address or url of your bitbucket server instance>
          username: <username>
          password: <password>
          token: <access token>
# inside your values.yaml
ui:
  appConfig:
    # ... other configurations  ...
    integrations:
      usePersonalToken: false
      azure:
        - host: dev.azure.com
          credentials:
            - personalAccessToken: <access token>
# inside your values.yaml
ui:
  appConfig:
    # ... other configurations  ...
    integrations:
      usePersonalToken: false
      github:
        - host: github.com
          token: <access token>
Authentication parameters supplied by values.yaml are global. This means that all users of witboost use this token. Hence, the author of each operation on the Git provider performed through witboost is done by the owner of the configured token.
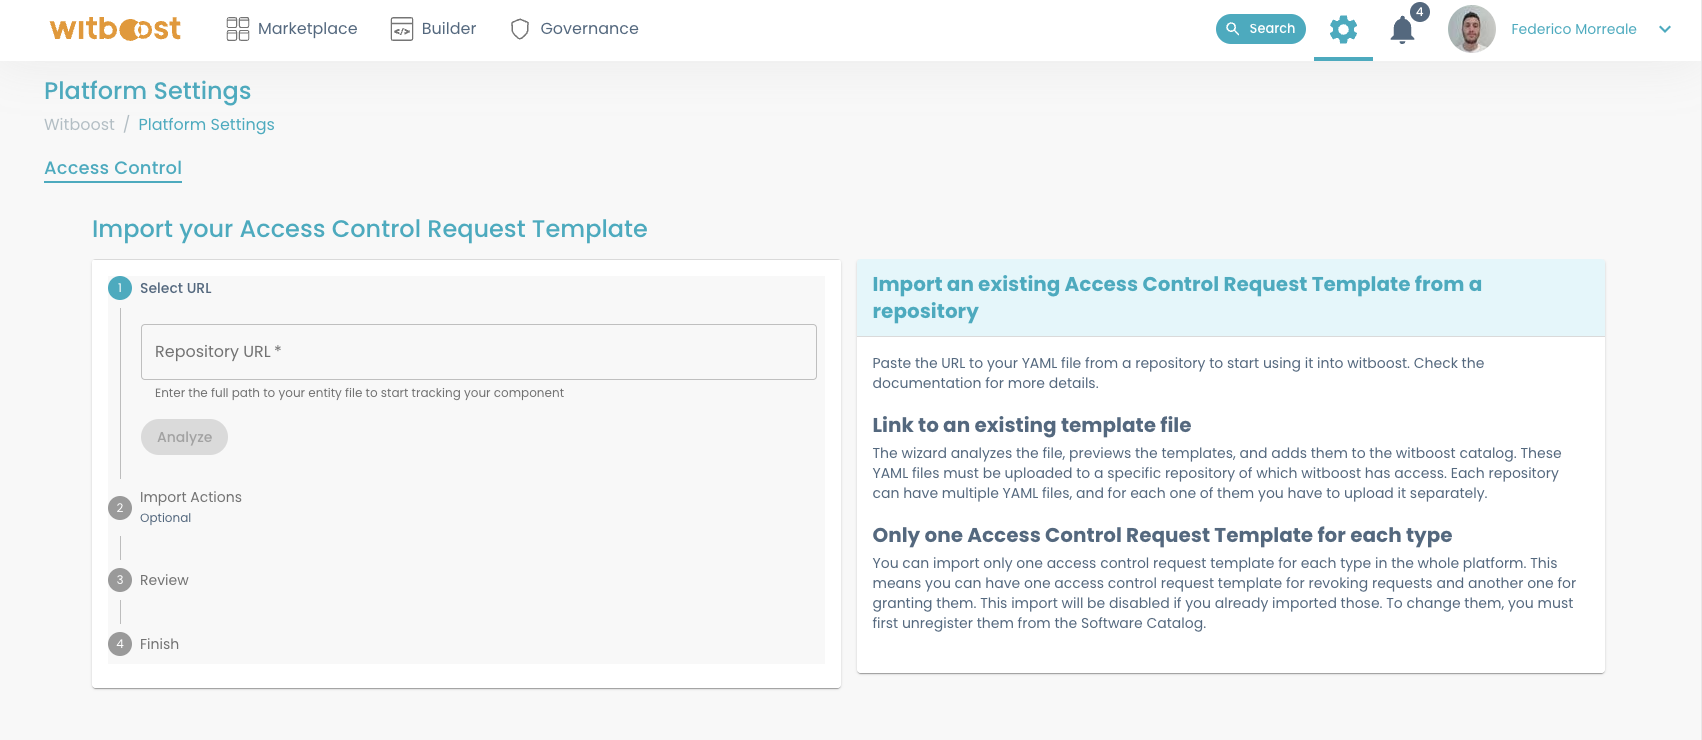
Platform Settings
Platform settings contain some configurations the platform team needs to enable in order to unlock some functionalities of Witboost.
To enable platform settings, you must set ui.appConfig.mesh.platformSettings.enabled to true. Platform settings is currently used to register Access Control Request Templates