Creating a Metric
To create a Metric, open the Computational Governance Platform's registry by heading to Governance > Registry on the
Witboost's navigation panel:
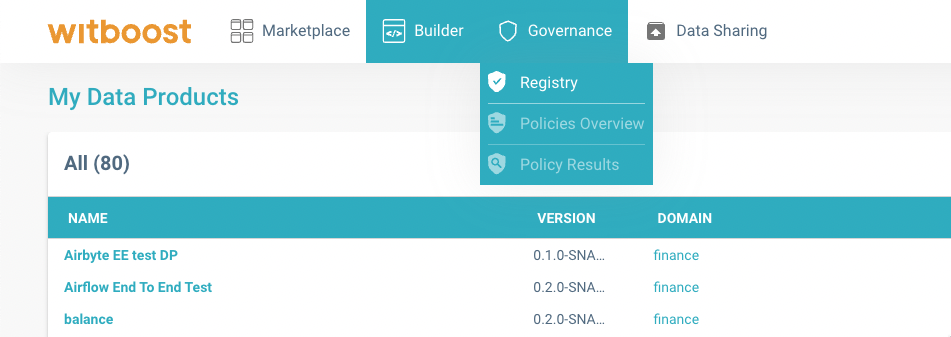
The Registry menu item in Witboost's navigation panel.
You will land in a page having an overview of all the available Policies and Metrics in the Computational Governance Platform.
If you click on the Metrics tab, you will see all the metrics defined in the CGP, as shown below:
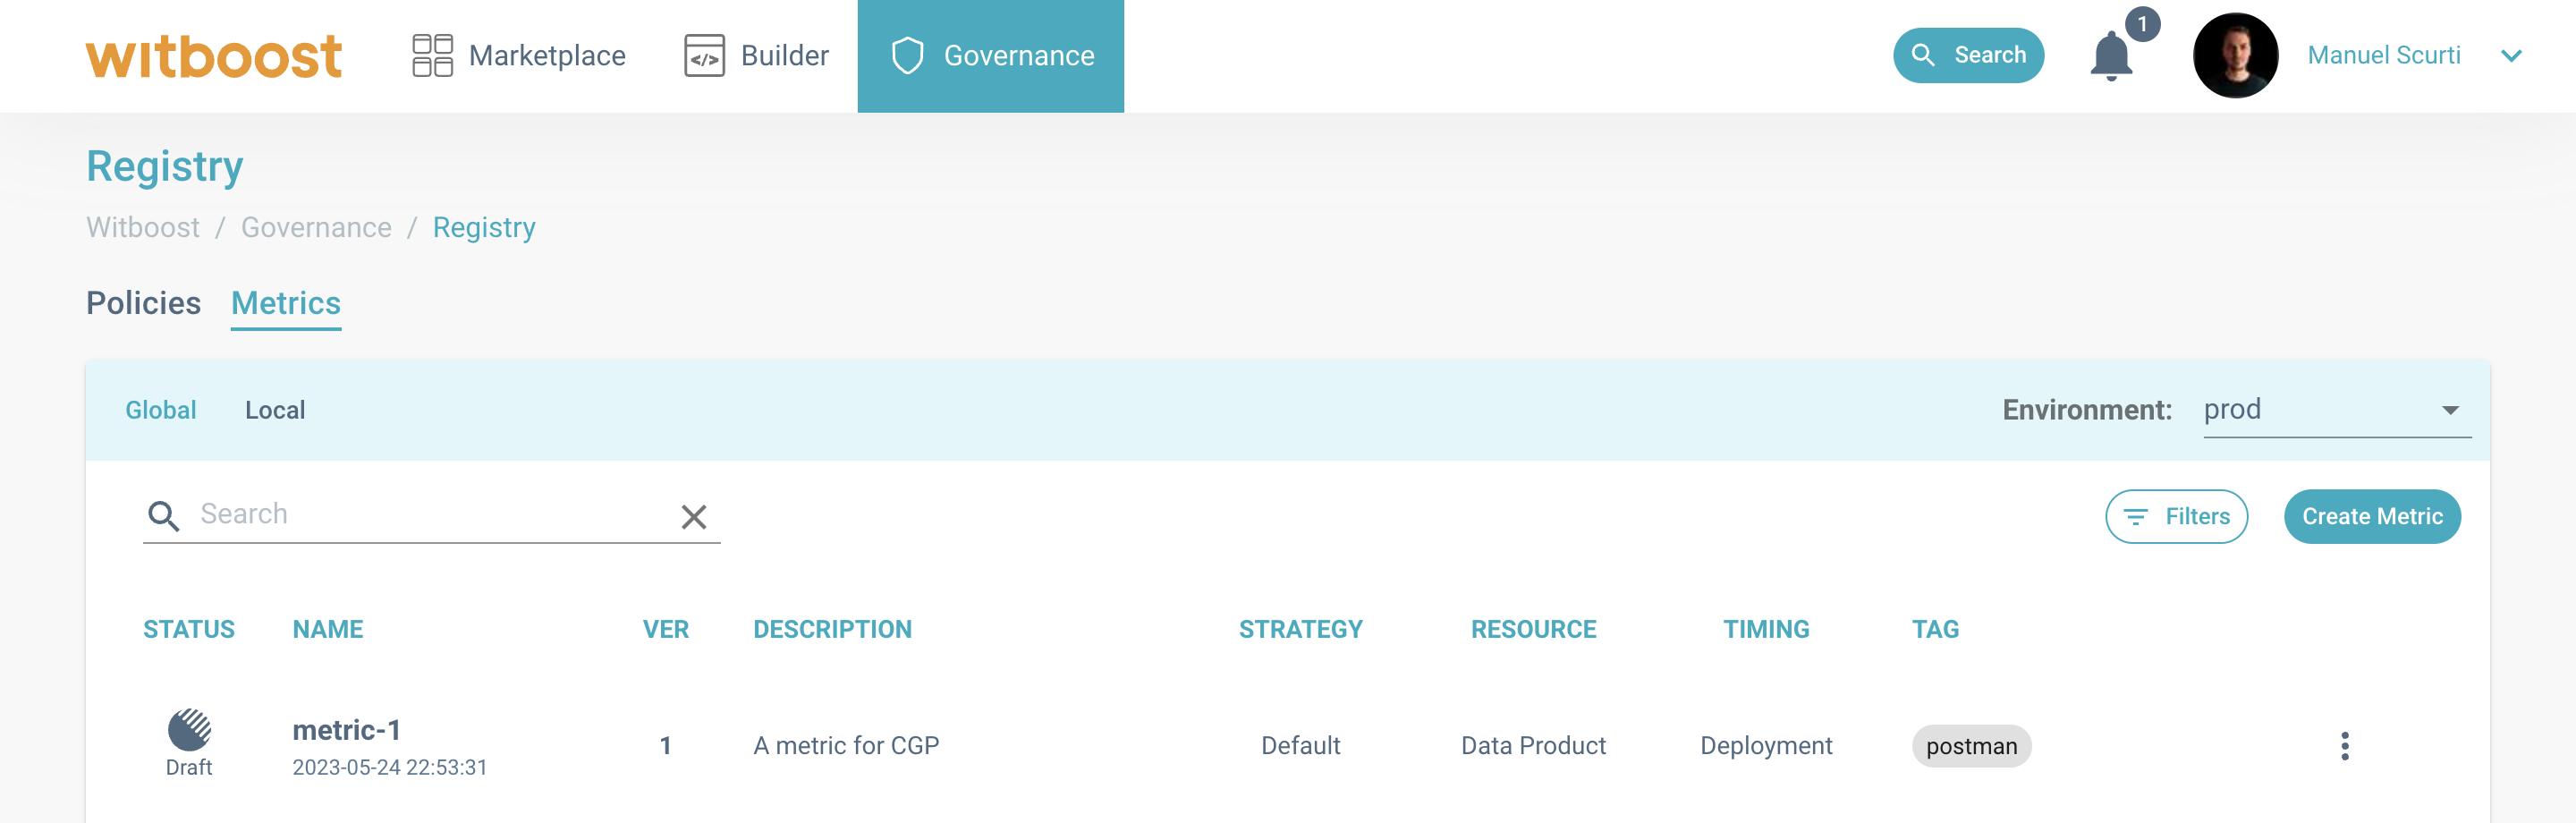
The Computational Governance Platform's Registry main page.
To start the wizard for creating a new policy, click on Create Metric in the top right corner.
Step-by-step procedure
In this section, we will see how to create a whole new Metric from scratch.
We will visit together each field of the wizard and how to fill them:
First step. Metric Metadata
This section is to provide general information on the Metric that you are about to create.
General information
- Name: A name for the metric, for display purposes.
- Description: A description of the intended behaviour of the metric. What is it measuring? Which measure is it checking?
- Environment: One or more environments where the metric will exist. By specifying more than one environment, you will actually create one distinct instance per environment, each one with a separate lifecycle.
- Tags: (optional) A set of user-defined tags to more accurately distinguish the metric.
Platform Interaction settings
- Thresholds: A threshold is a condition expressed on the metric value (e.g. if metric value is greater than 5 then raise a warning). It allows you to raise attention or produce informative messages in case a metric value falls in any of the defined threshold. See details below.
Thresholds
To define thresholds you need to setup a Domain and an Expression:
-
Domain: This is the full set of values your metric can generate. Think of it as the mathematical universe for your metric. It defines the boundaries within which your thresholds will function.
-
Expression: This is how you want your metric to interact with the thresholds. Choose from 'above', 'above or equal', 'below', or 'below or equal'. This sets the condition for the activation of your thresholds.
Once you've set up your Domain and Expression, you can start defining your thresholds. Each threshold needs a Label (a descriptive name), a Color (for visual identification), and a Value (the point at which the threshold is triggered).
When your metric hits a value that matches your expression (e.g., 'above' or 'below'), the system will highlight the respective threshold with its color and label in the marketplace, by attaching a flag to the resource. This helps you quickly understand and react to the behavior of your metrics.
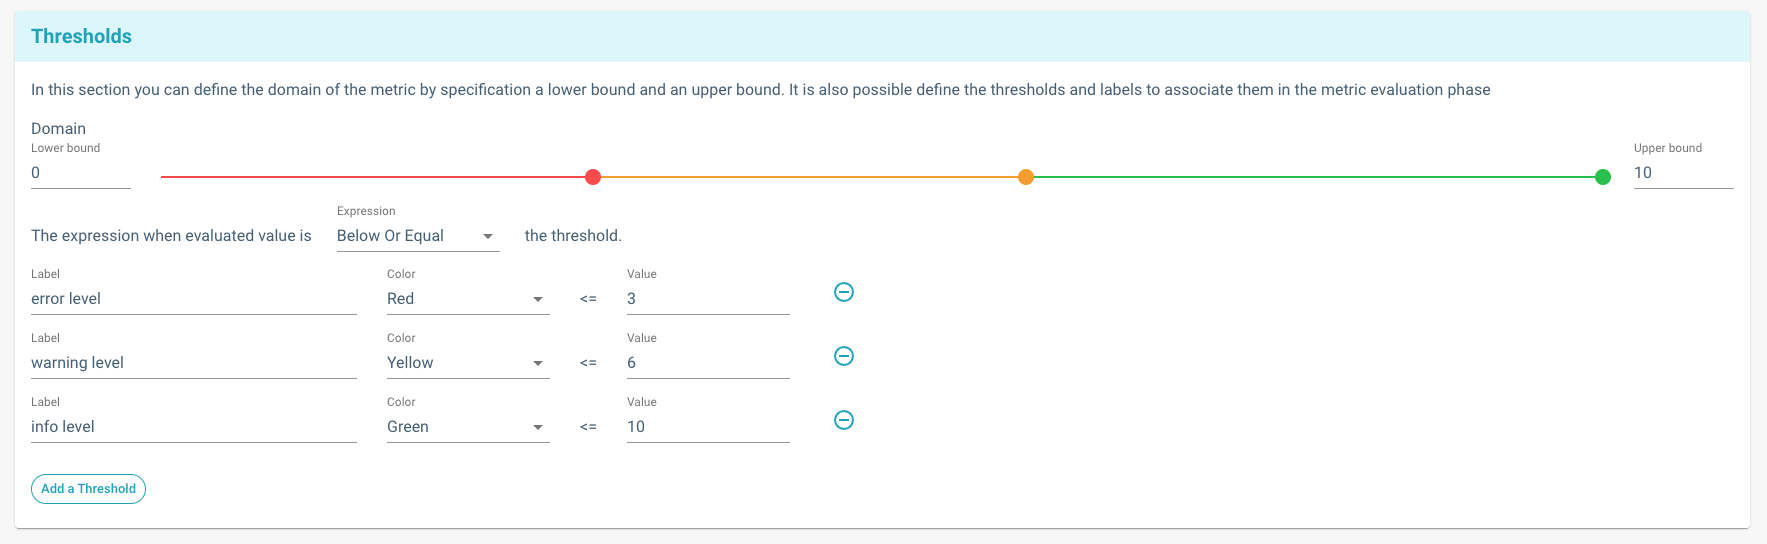
Thresholds editor for Metrics
Execution settings
- Context: Where does the execution of the governance entity happen?. Explained in the Overview section.
- Timing: When is a governance entity executed?. Explained in the Overview section.
- Cron Expression: It allows you to define the frequency of a governance entity execution during runtime.
- Trigger: Who triggers the execution of this governance entity?. Explained in the Overview section.
Resources Perimeter settings
These settings allow you to restrict the resources that will be evaluable by the policy.
-
Resource Type: Which resources should the governance entity evaluate?. Explained in the Overview section.
-
Infrastructure Template ID (only available for Resource Type Data Product) It restricts the governance entity's resources perimeter to Data Products having the selected Infrastructure Template ID
-
Use-Case Template ID (only available for Resource Type Data Product) It restricts the governance entity's resources perimeter to Data Products having the selected Use-Case Template ID
-
Selectors: As an additional parameter to restrict the resources' perimeter, you can define filters to be applied to the resources descriptors. See details below.
Selectors
Selectors are filters that can restrict which resources will be evaluated by the governance entity.
A selector is defined by three fields:
- Description: a general description of the selector. for display purposes.
- Path: a path to a field of the resource's descriptor
- Values: field's value should be equal to one of these values
A selector checks that a given field of the resource's descriptor is equal to one of the allowed values.
As an example, let us consider this resource's descriptor:
environment: production
domain: finance
kind: dataproduct
domainId: urn:dmb:dmn:finance
id: urn:dmb:dp:finance:airflow-end-to-end-test:0
description: To perform end to end testing
name: Airflow End To End Test
fullyQualifiedName: null
version: 0.2.0-SNAPSHOT-1
billing: { }
tags: [ ]
specific:
  technology: airflow
We would like to check if the resource descriptor has the value airflow in his technology field.
To do so, the selector will be defined as follows:
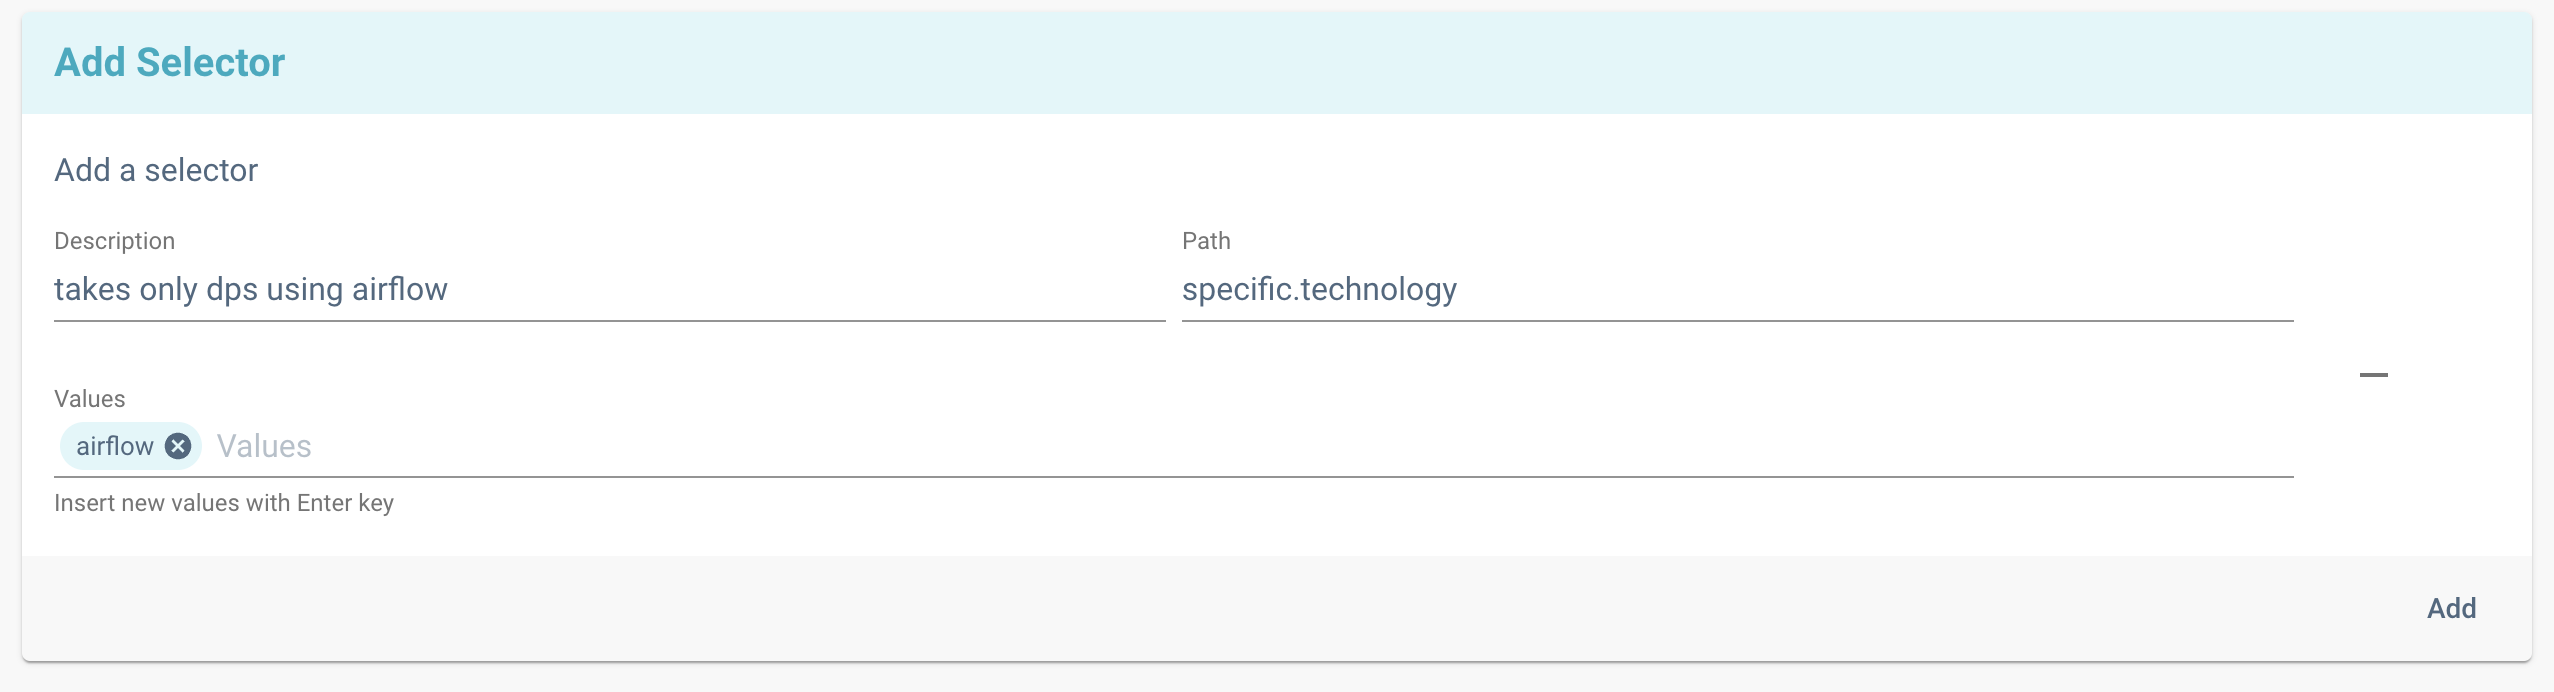
Selectors editor
In this example, the resource will fall in the governance entity's perimeter because at the path specific.technology
there will be a match with an allowed value of the selector. Hence, this resource will be evaluated by this governance
entity.
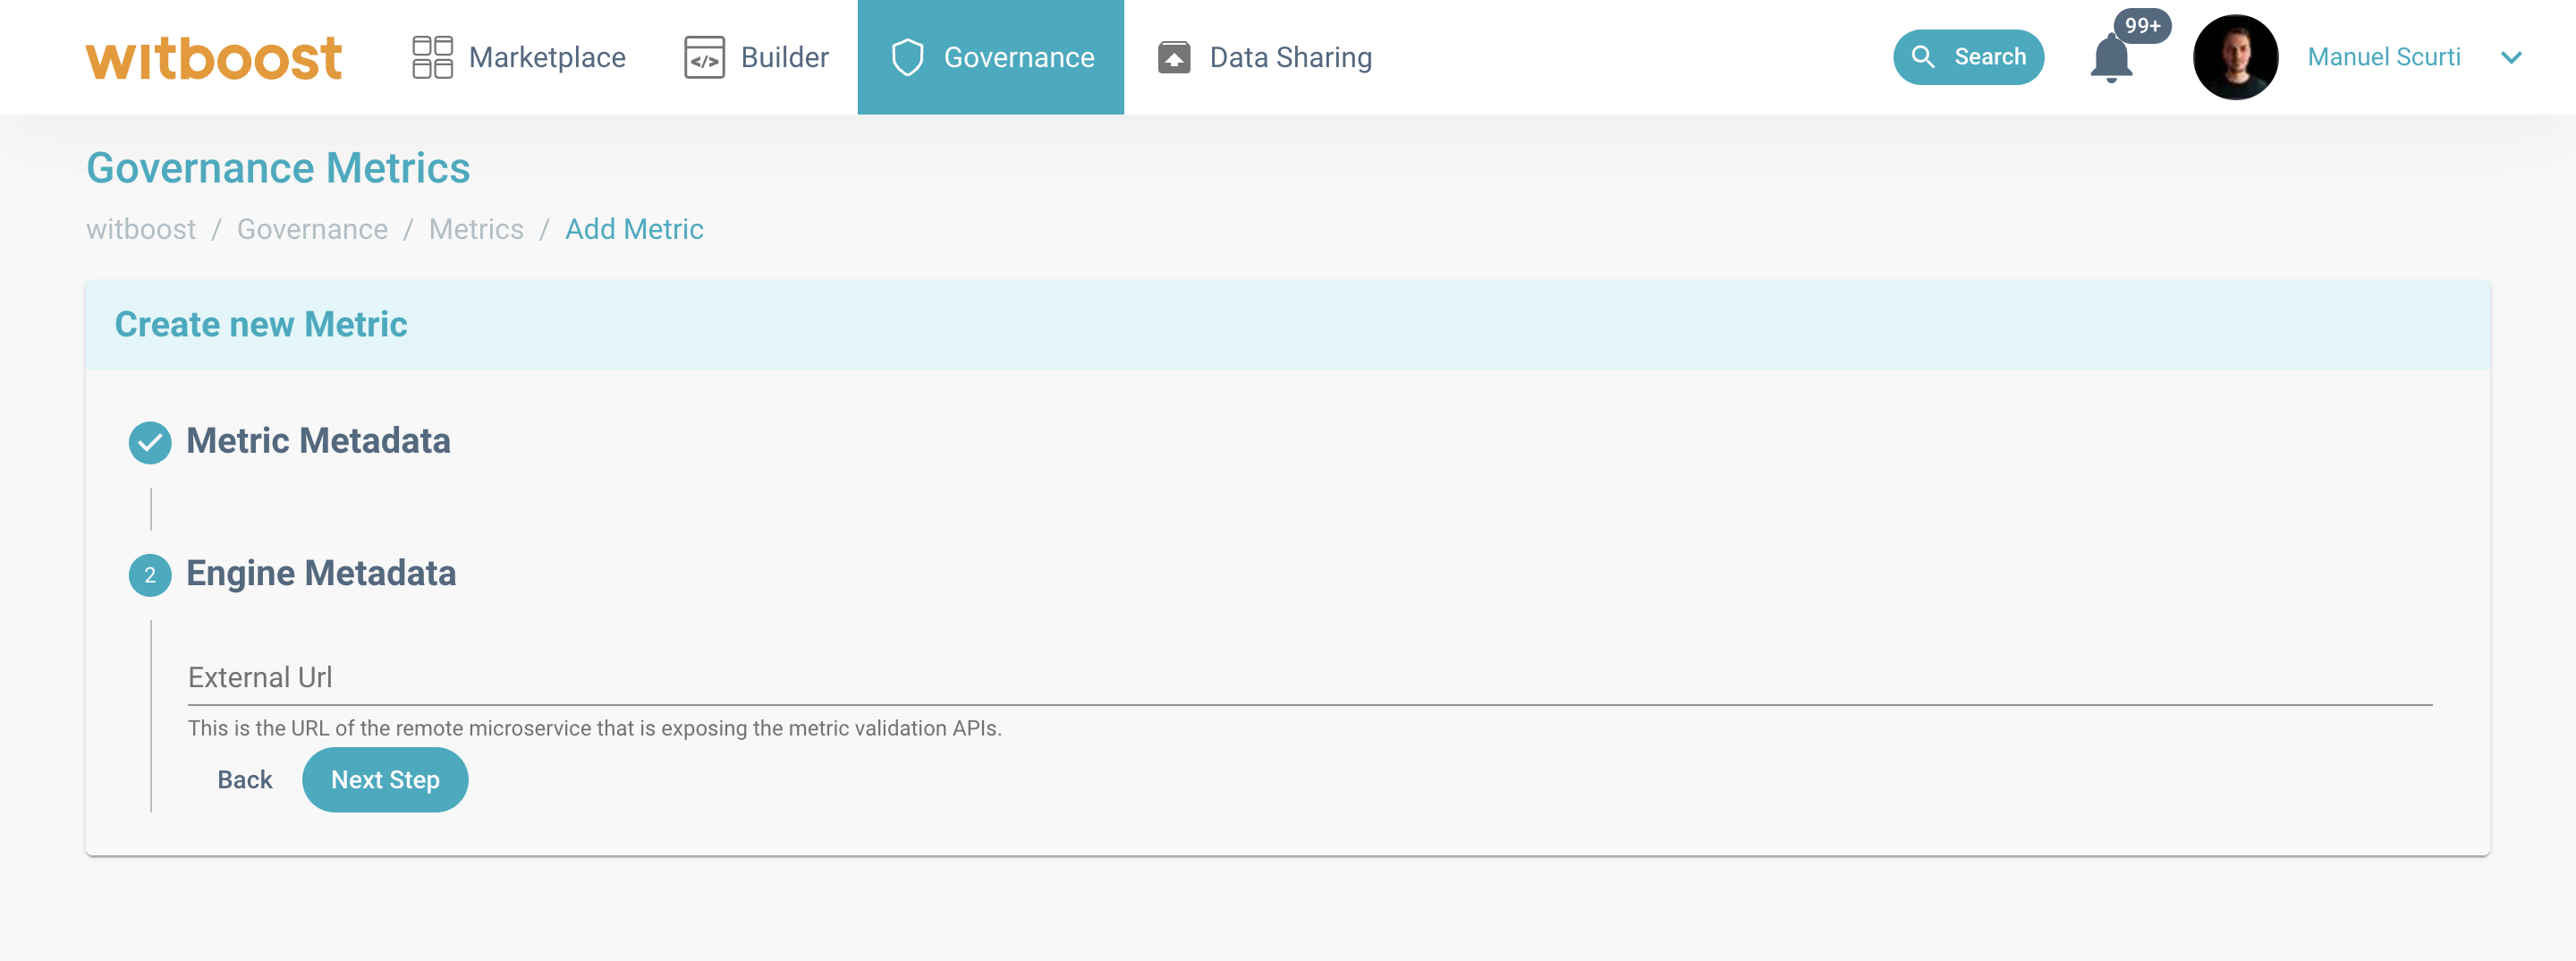
Second step. Engine Metadata
Engine Metadata section allows you to insert the details needed by the Remote engine to work, this is the URL where the external service lives:
Engine metadata section when selected engine is Remote
Third step. Overview and confirmation
As a final step, you will have an overview of all the details inserted, so that you can check that nothing is missing.
If you need to edit any field, you can go backward through each of the steps of the wizard.
To complete the creation process, click on Create.