Data Product creation
Data Product definition
- Scaffold a new Data Product. witboost will create a new repository containing just the definition of the Data Product, without any code relative to components or business logic.
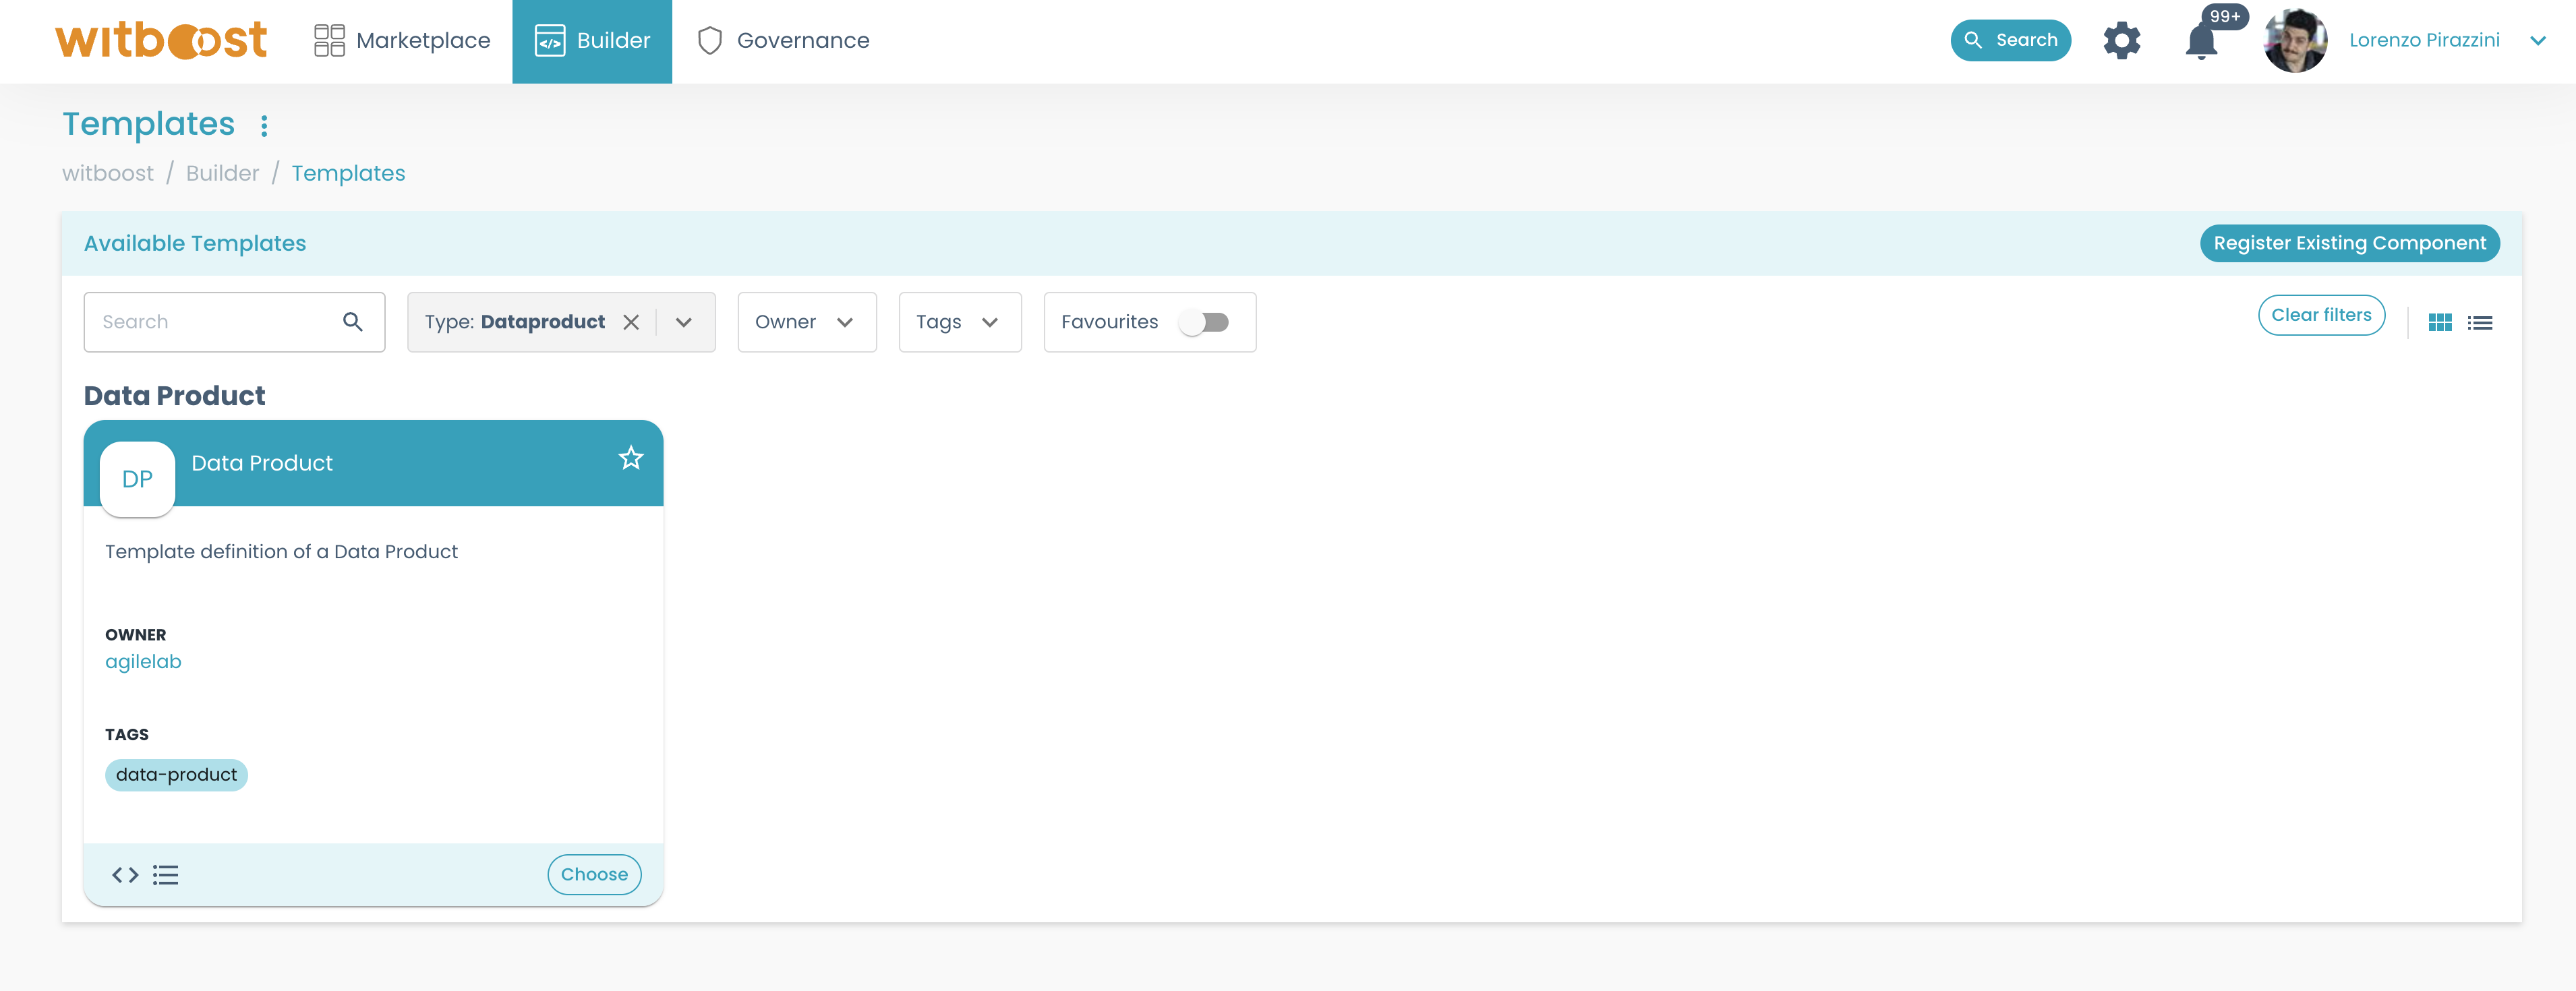
To do so, head to
Builder > Templates. The templates page will be displayed. Each template represents a ready-to-use repository that can be created by just inserting its fundamental details. Let's select the Data Product template by clicking onChoose.
- A wizard opens, asking you for fundamental information for the Data Product creation.
The set of information asked by the wizard will change from template to template since different components require different data. Templates are developed by the platform team. To get some more insights on how templates work, you can refer to the Templates section.
When performing actions that will act on a repository (creating a new repository, committing/pushing some files, etc) witboost requires you to specify the token that you will be using to interact with the git repository. If the token is not set, an error message will notify you to configure it in your settings.
Refer to Configuring Git Credentials page to set up your own GitLab token.
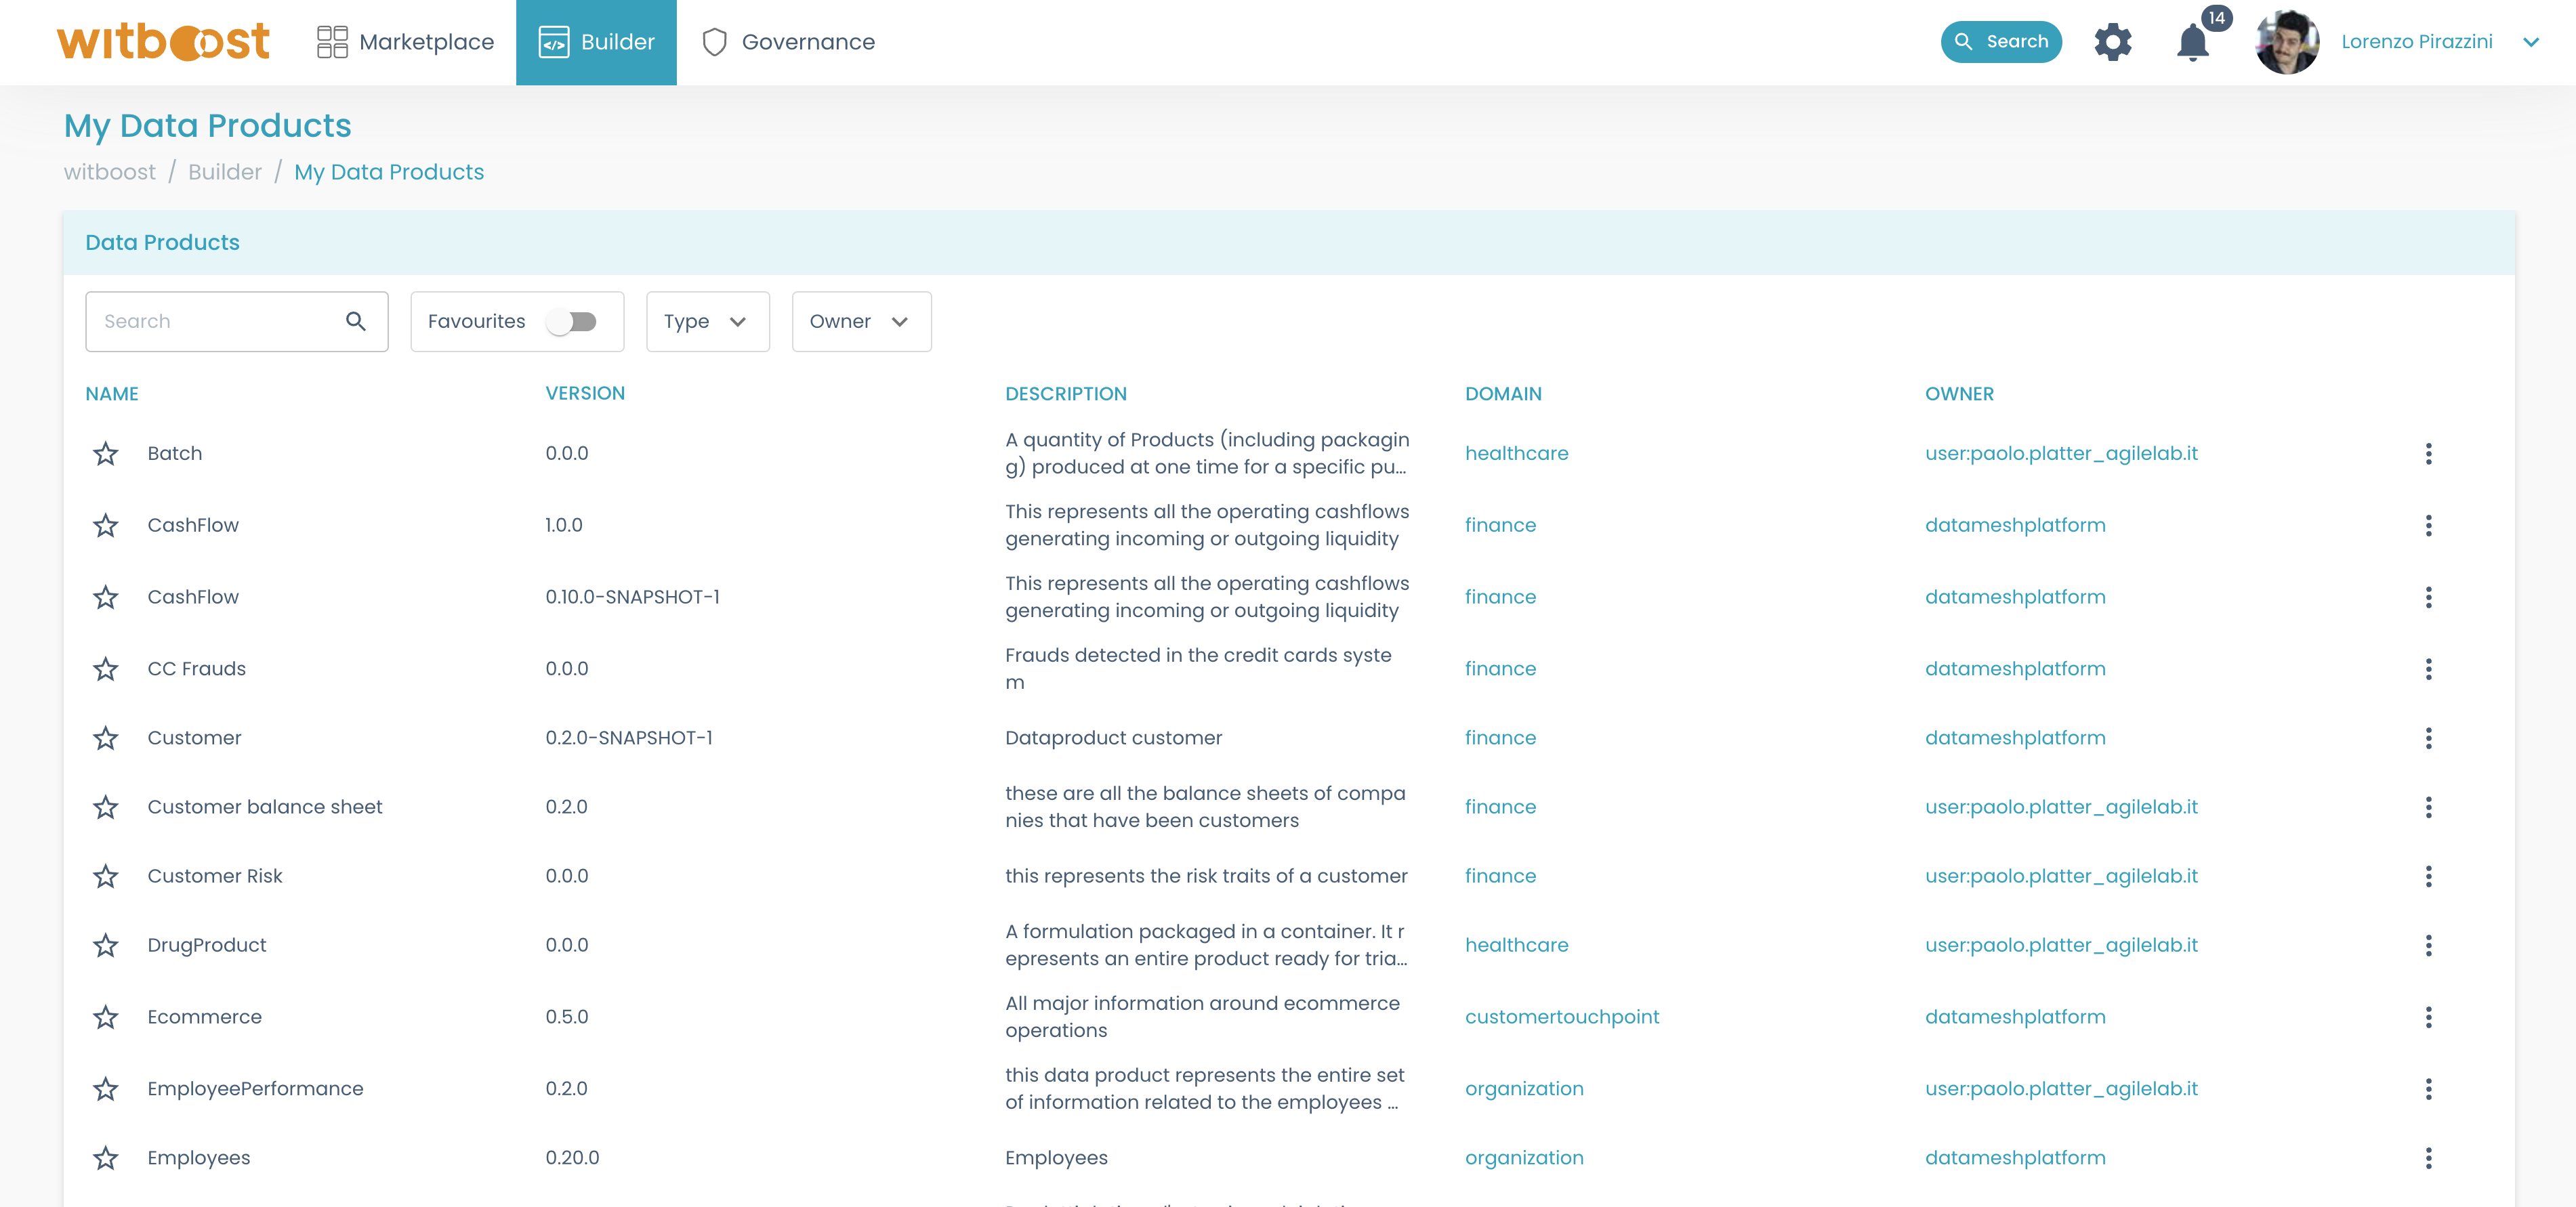
- The newly created Data Product shall be listed in the
Builder > My Data Productspage and its details can be viewed by selecting it.
- Go back to the templates and create the desired workload and output port.

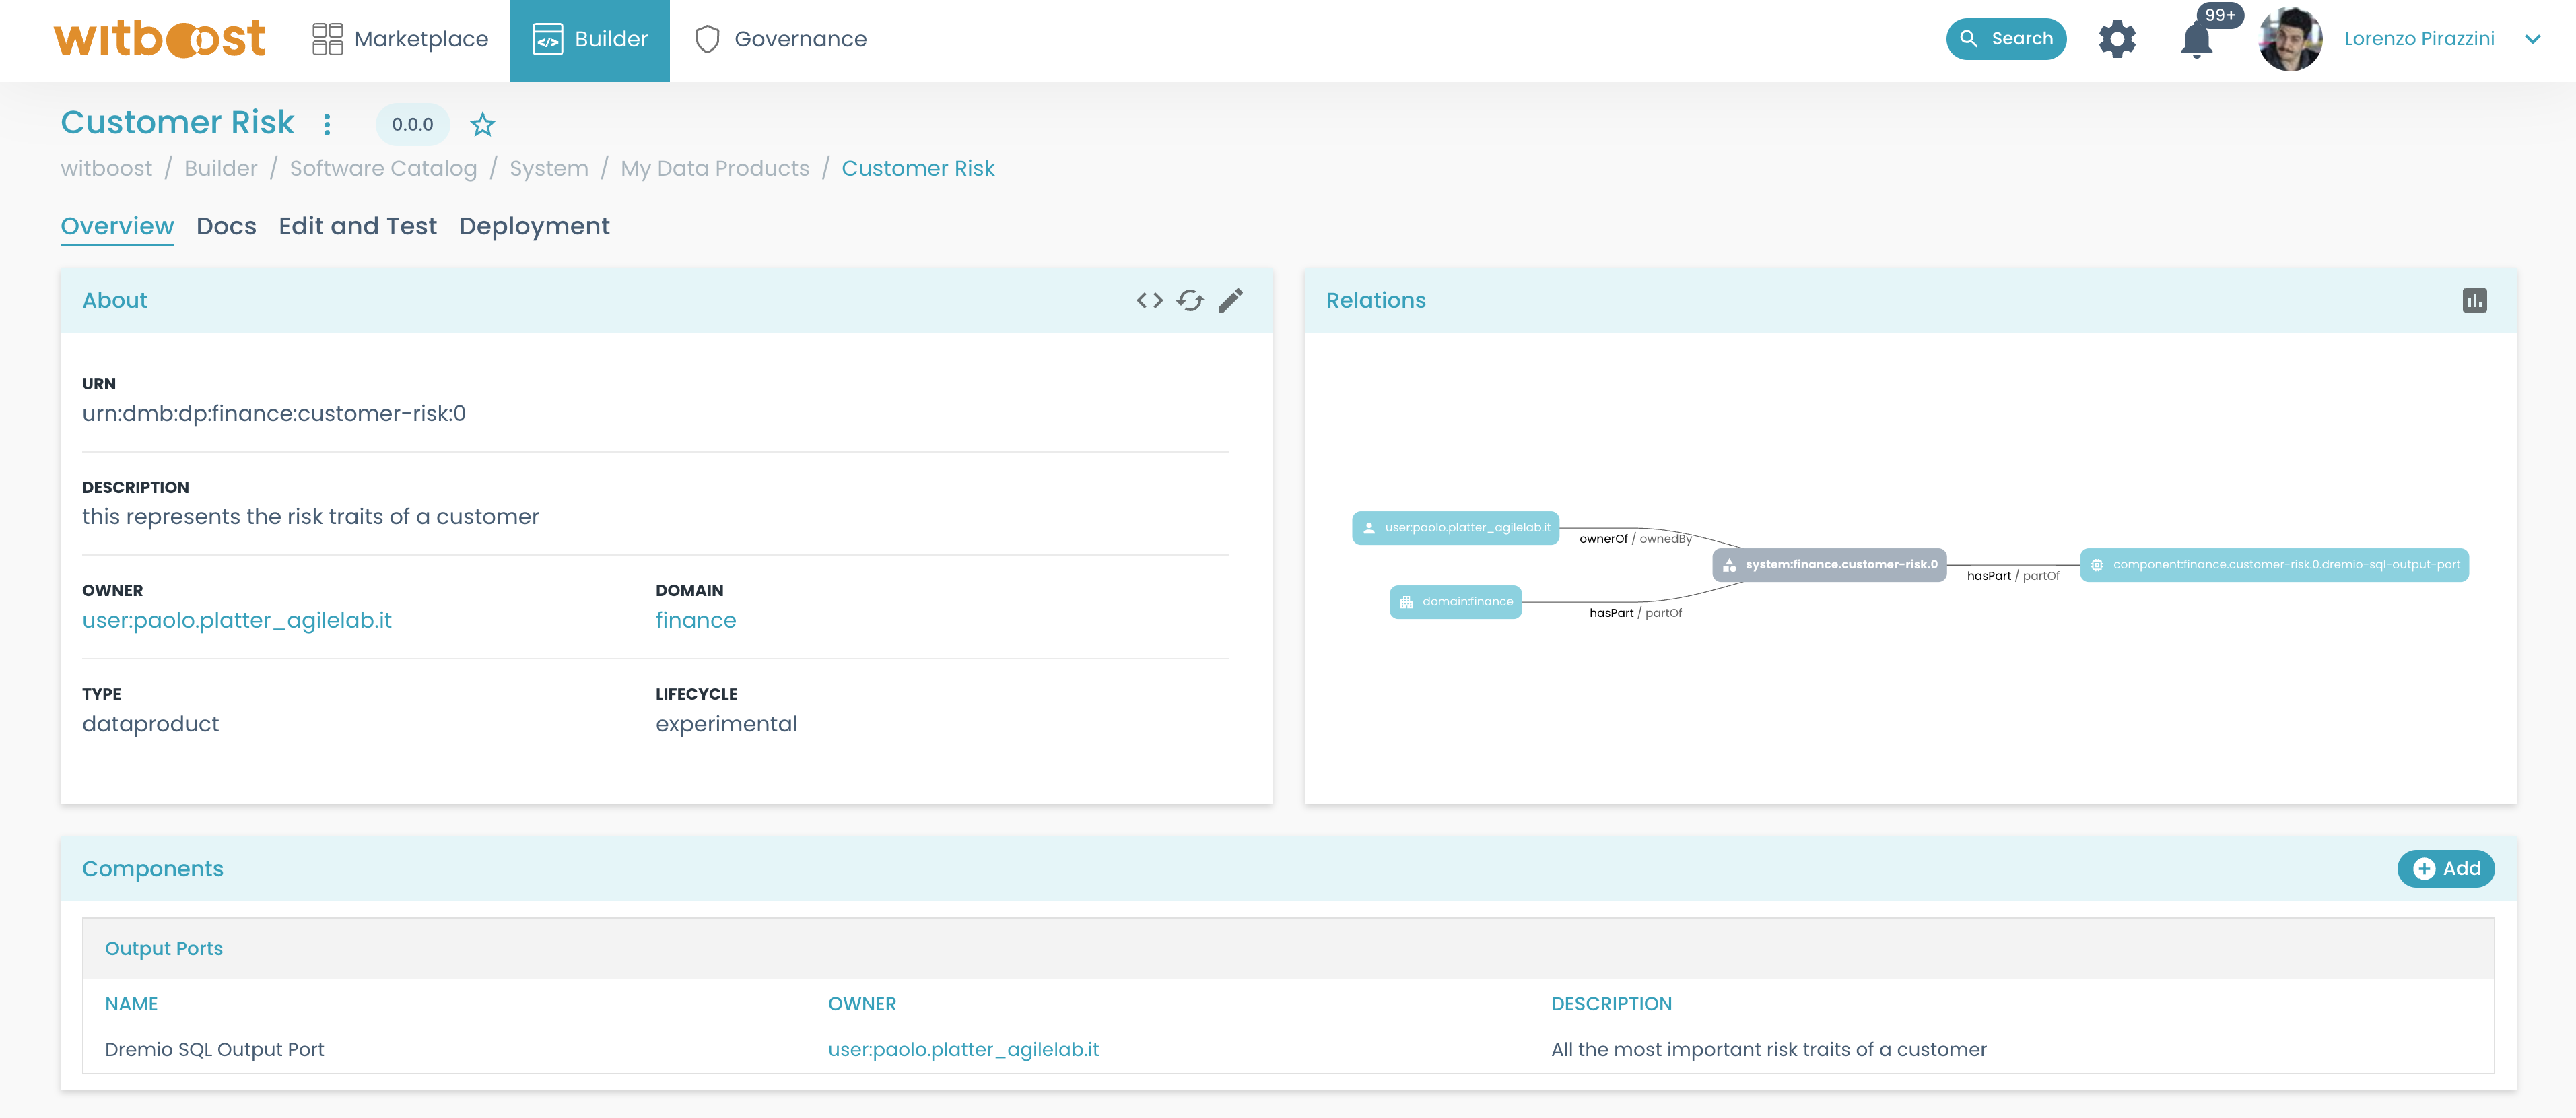
In this phase, when inside the wizard, it is important to associate the components to the Data Product that was just created.

This way when the repository will be created and registered inside witboost, you will see the components associated with the Data Product directly on its details page.
Refer to Update Data Product Metadata page to understand how to update the metadata of a data product.
If you need to import metadata from an infrastructure service like AWS into your output port or workload, the Reverse Provisioning feature provides a convenient solution. It enables you to effortlessly integrate the desired metadata, potentially saving you a significant amount of time. You can find more information about it in the Reverse Provisioning documentation.
Data Product validation
The Data Product Descriptor is the main definition of the Data Product, and it will be used to send information to the other modules. For this reason, it is important that it respects some fundamental rules and that it is compliant with the platform requirements;
To make those checks, in the Edit and Test tab you can test it against platform policies on the target environment. When a descriptor is declared compliant by the platform, you can deploy it.
To get more details on this workflow you can check the Deploy section.
Obtaining a preview descriptor
The preview descriptor panel, on the right side of the Editor, as shown below, is used to obtain a complete overview of the data product descriptor. This means that you will see in advance the descriptor that is sent to the Provisioning Coordinator and the Marketplace Plugin, to be sure everything is fine before deployment.
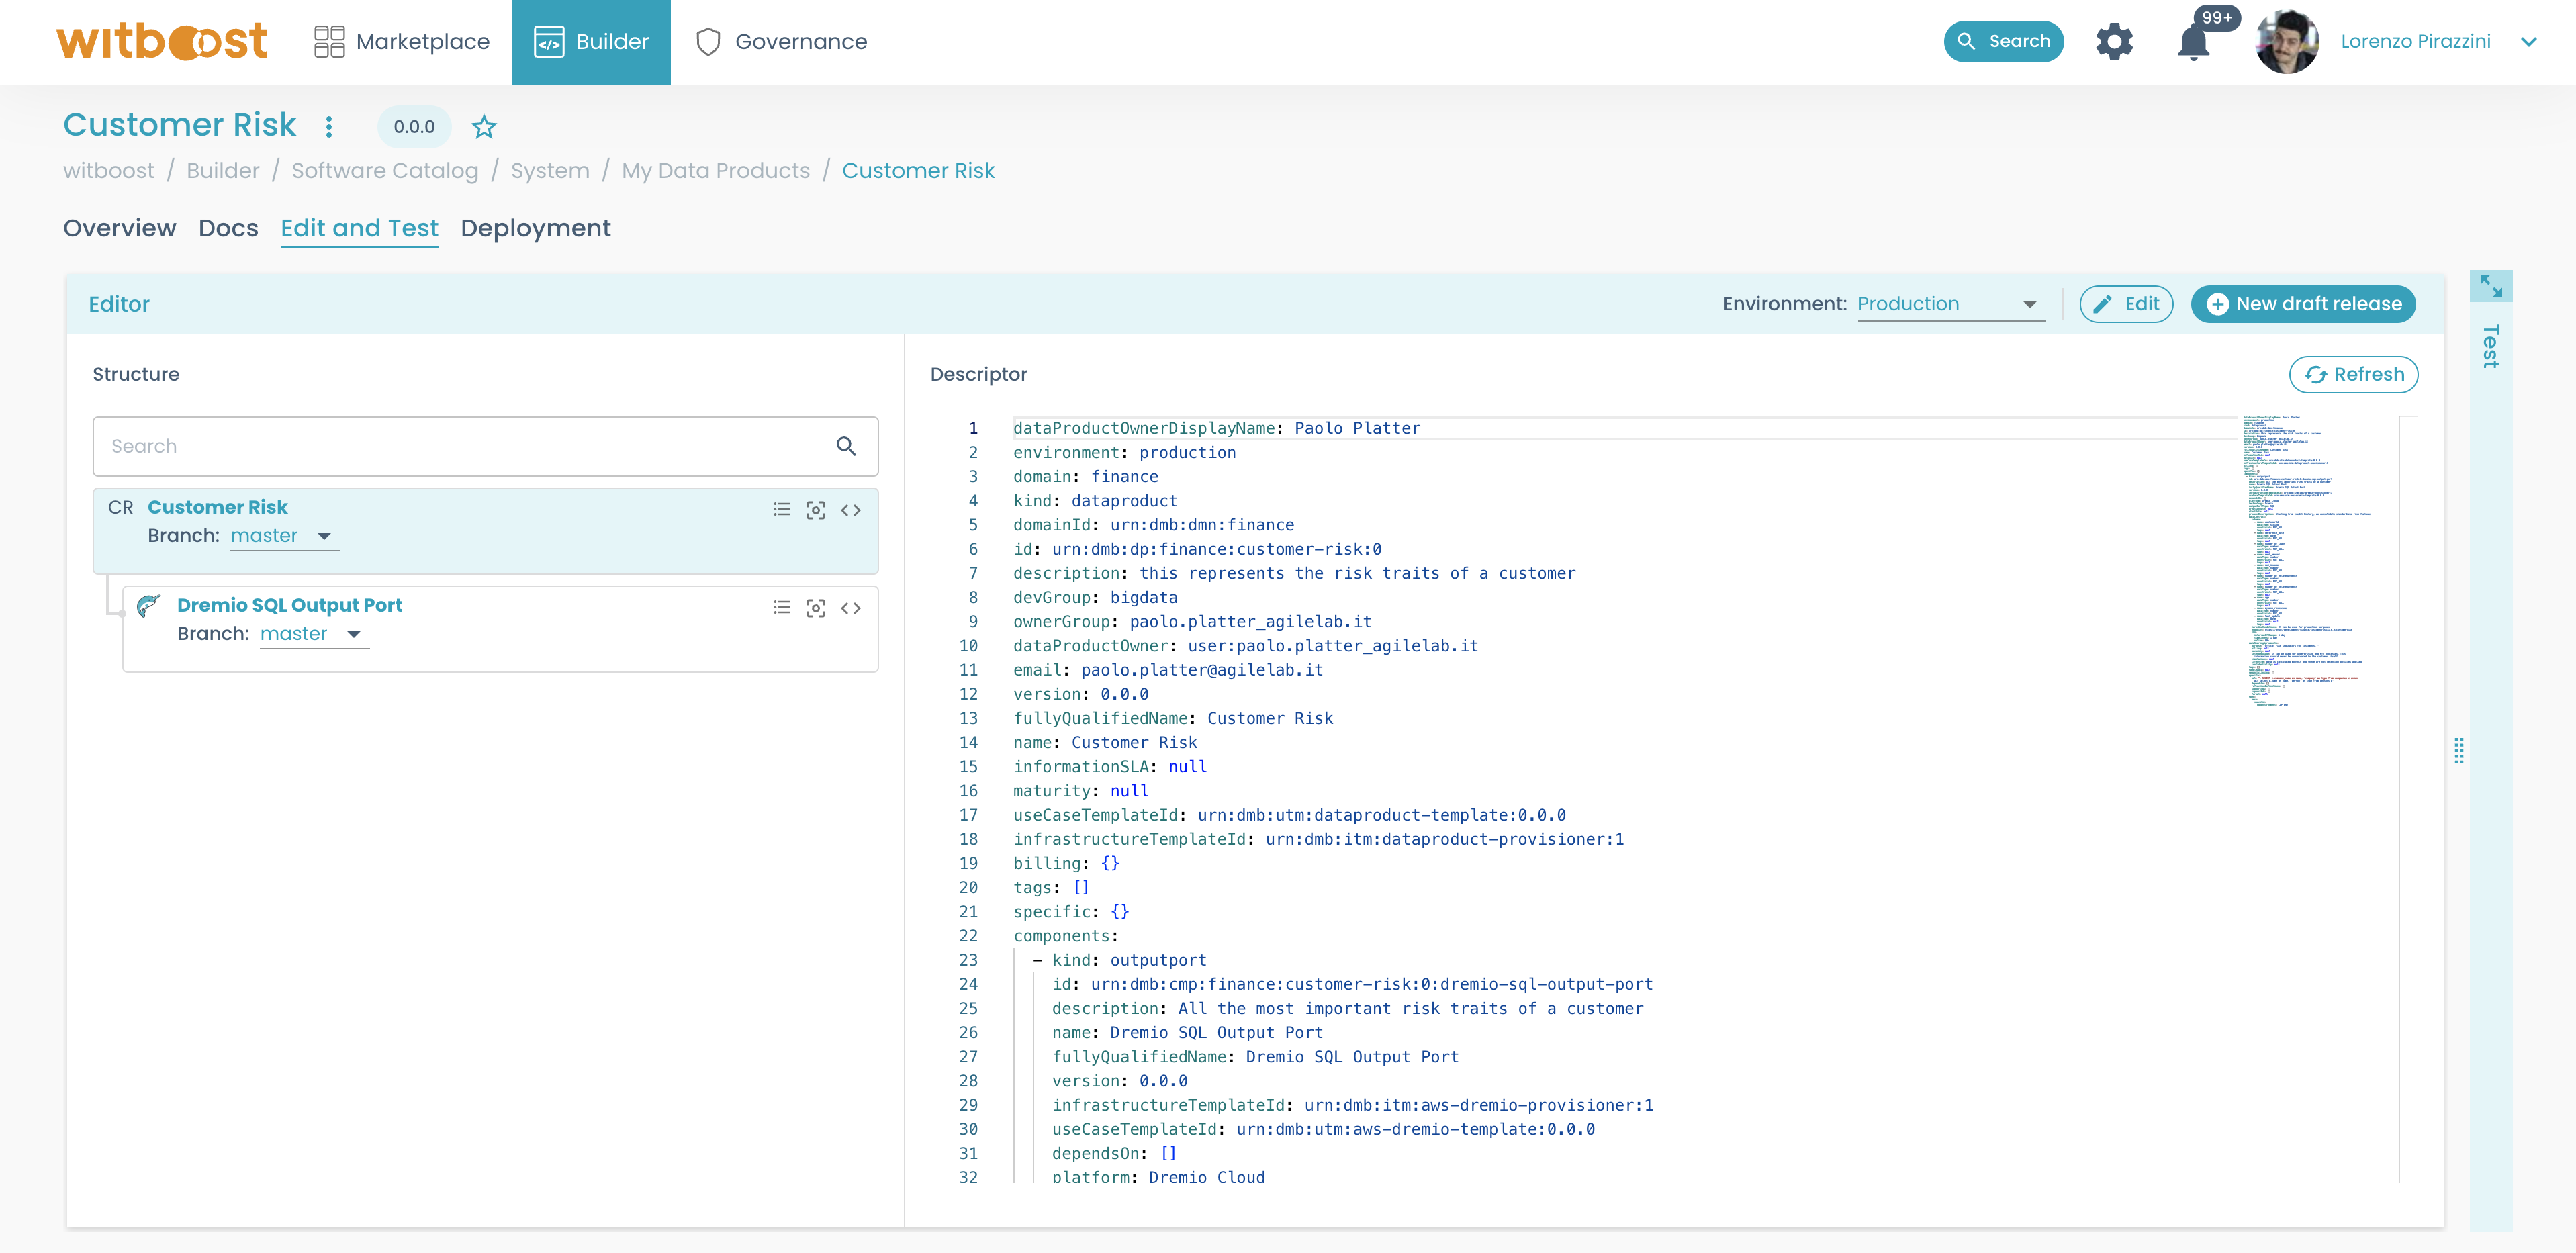
If instead, you want to obtain a preview descriptor for a different target environment, simply select a different environment from the drop-down menu on top of the Editor card. The descriptor window will refresh automatically after each main operation, but in case you want to force a reload you can click on the Refresh button.
The descriptor contains all the metadata about the data product and its components. It is sent to the Provisioning Coordinator to generate a provisioning plan and to the Marketplace Plugin to update the Data Products Marketplace.
To get the content of a different release, go to the releases list in the Deployment tab, and select the desired release. From the release's details page click on the Show descriptor button: the preview will load automatically.
Testing Compliance with Governance Policies
The Test panel, on the right side of the Edit and Test tab, as shown below, lists all the checks performed in this session and their detailed results.
You can also check the test history of the current Release for the selected environment, by selecting the history tab in the Test panel.
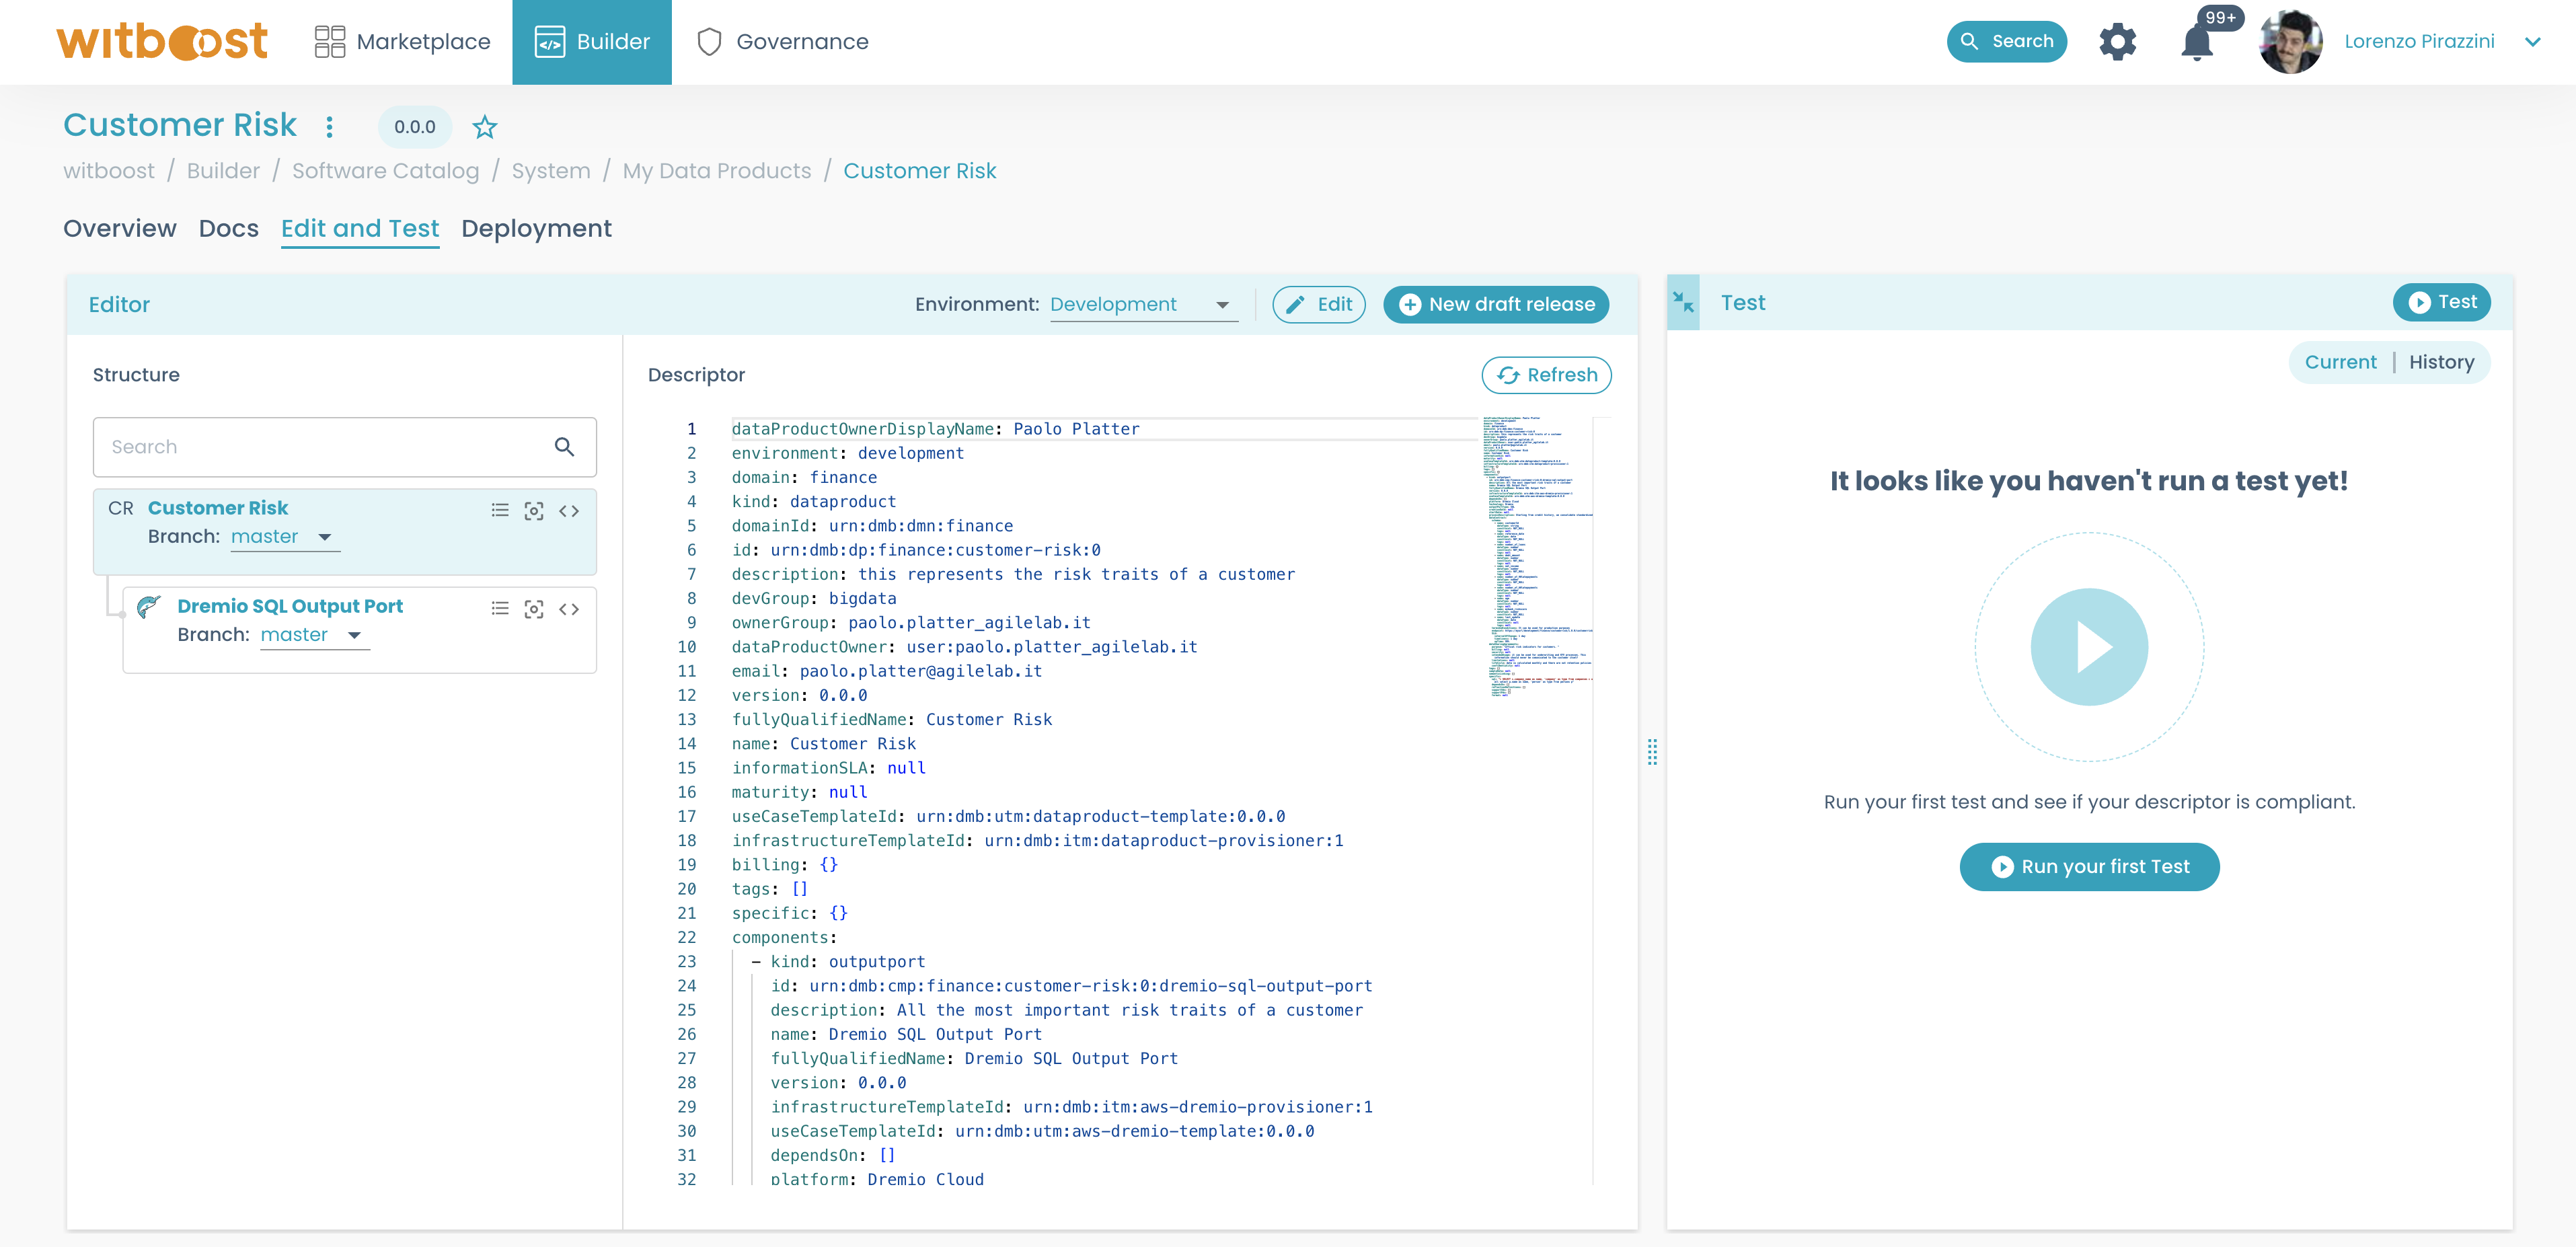
After selecting the environment, a new test can be launched through the Test button in the upper-right corner.
You can define different policies according to the environment. So be sure to select the right environment before launching tests!
Inspecting a failed test
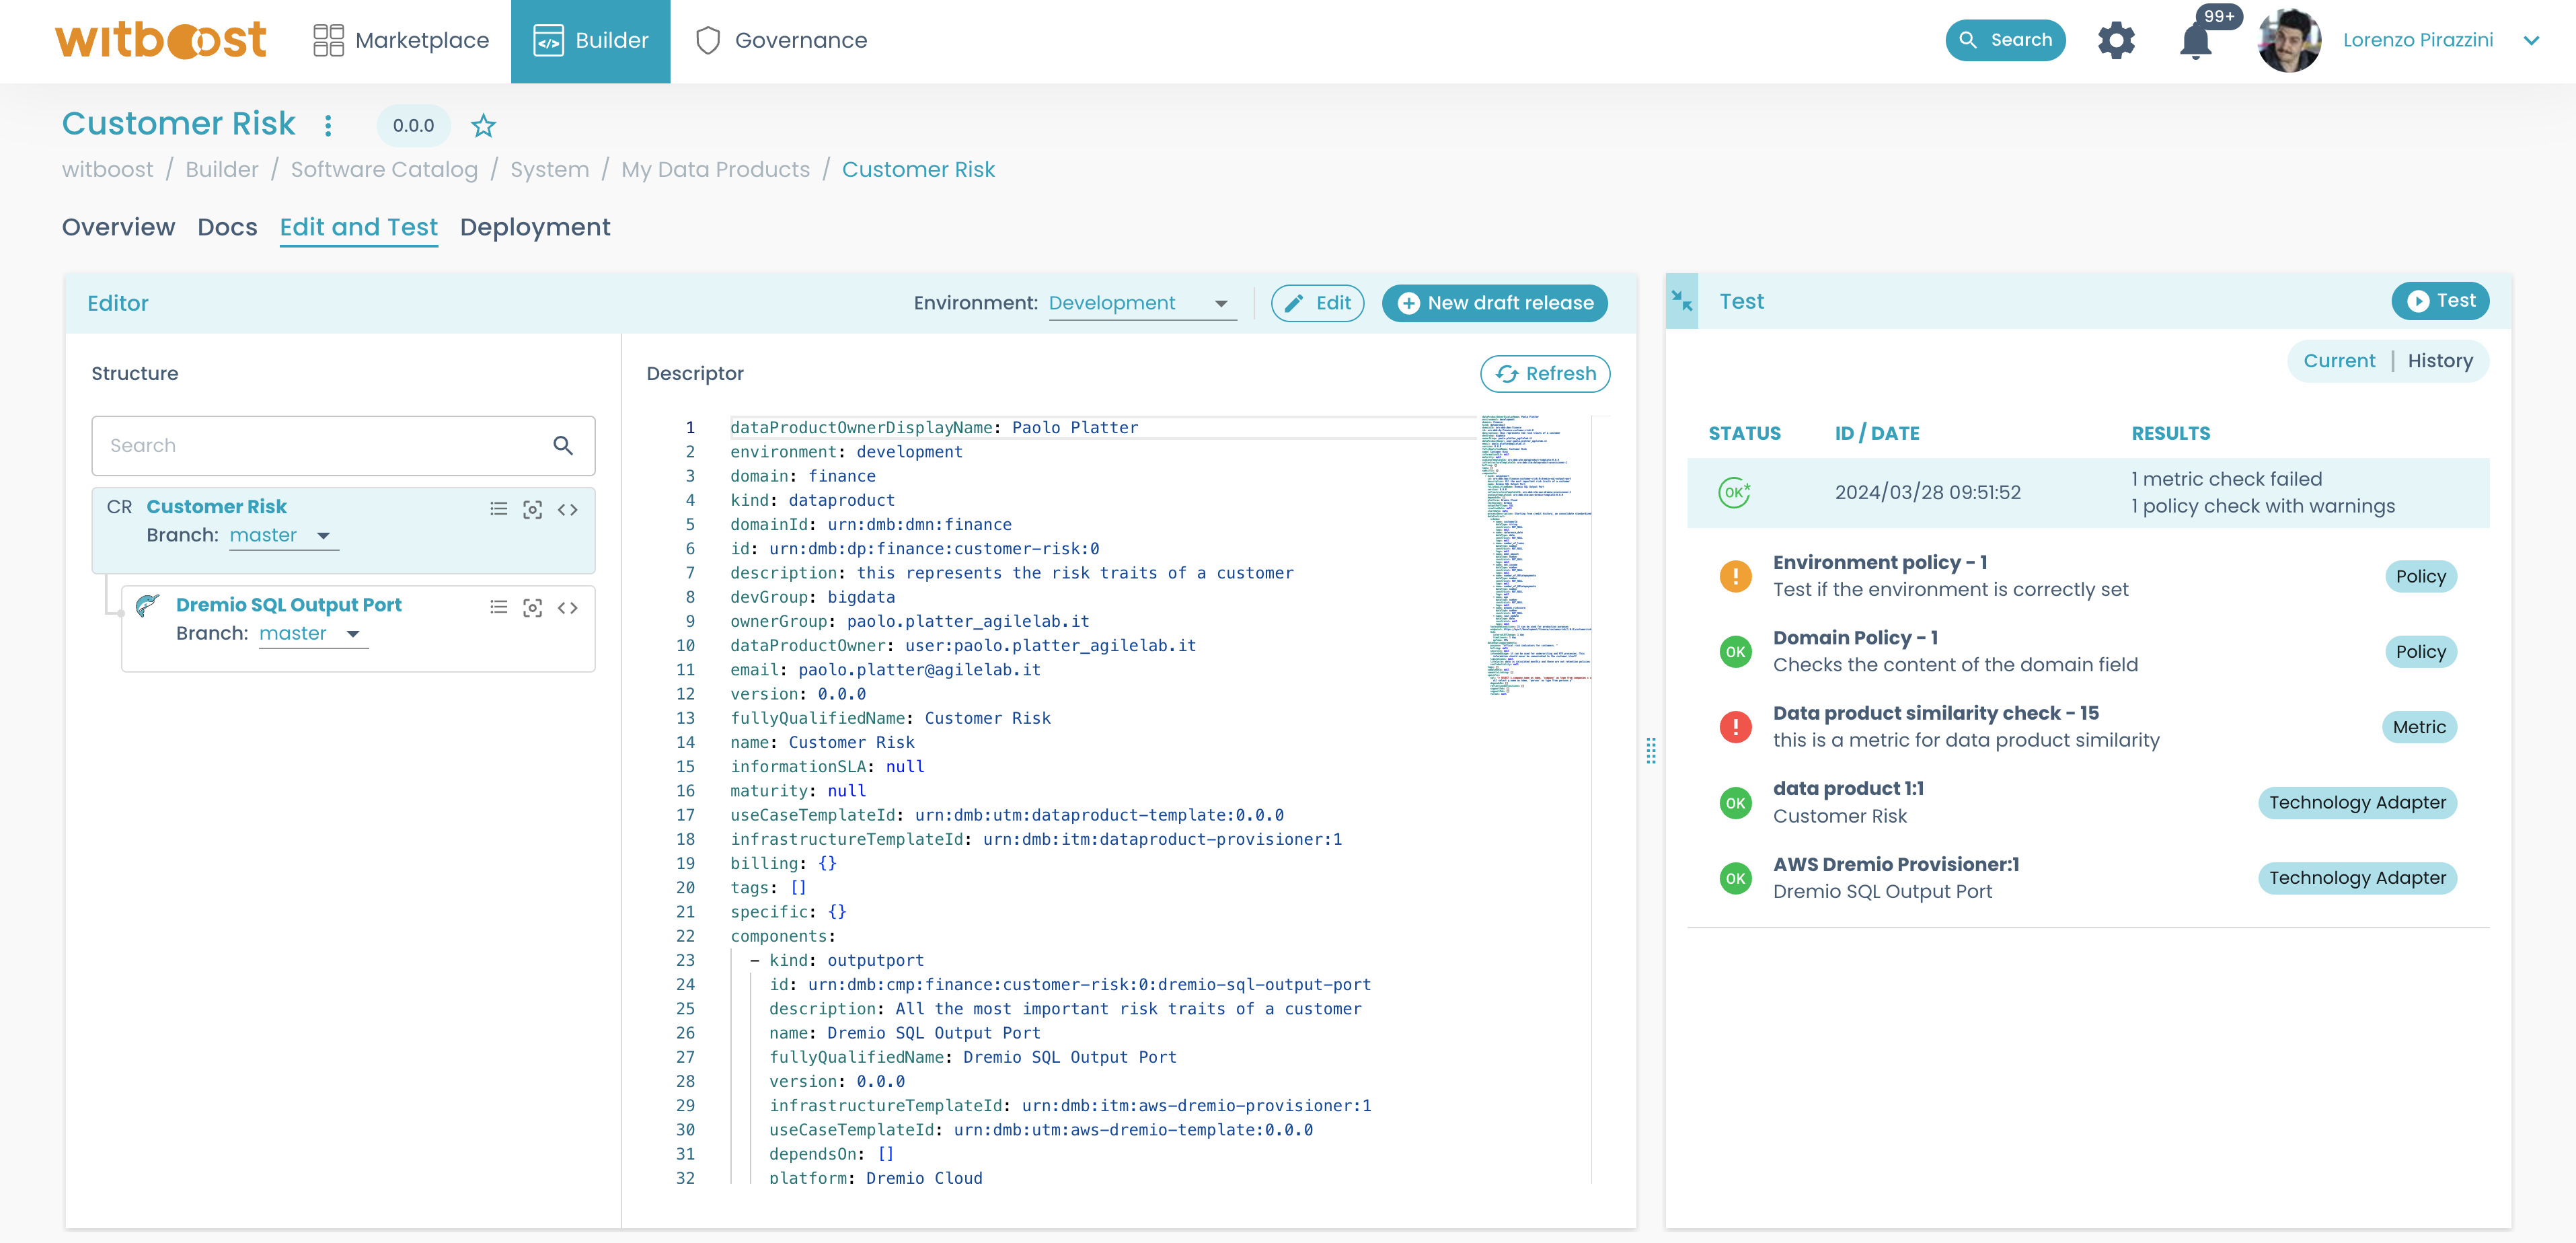
After you click on the Test button, the Test panel will show a list of all policy checks performed.
If any of them fails during a test, the status of the test will be KO, and you can see a list of all the checks that have been performed during the test:
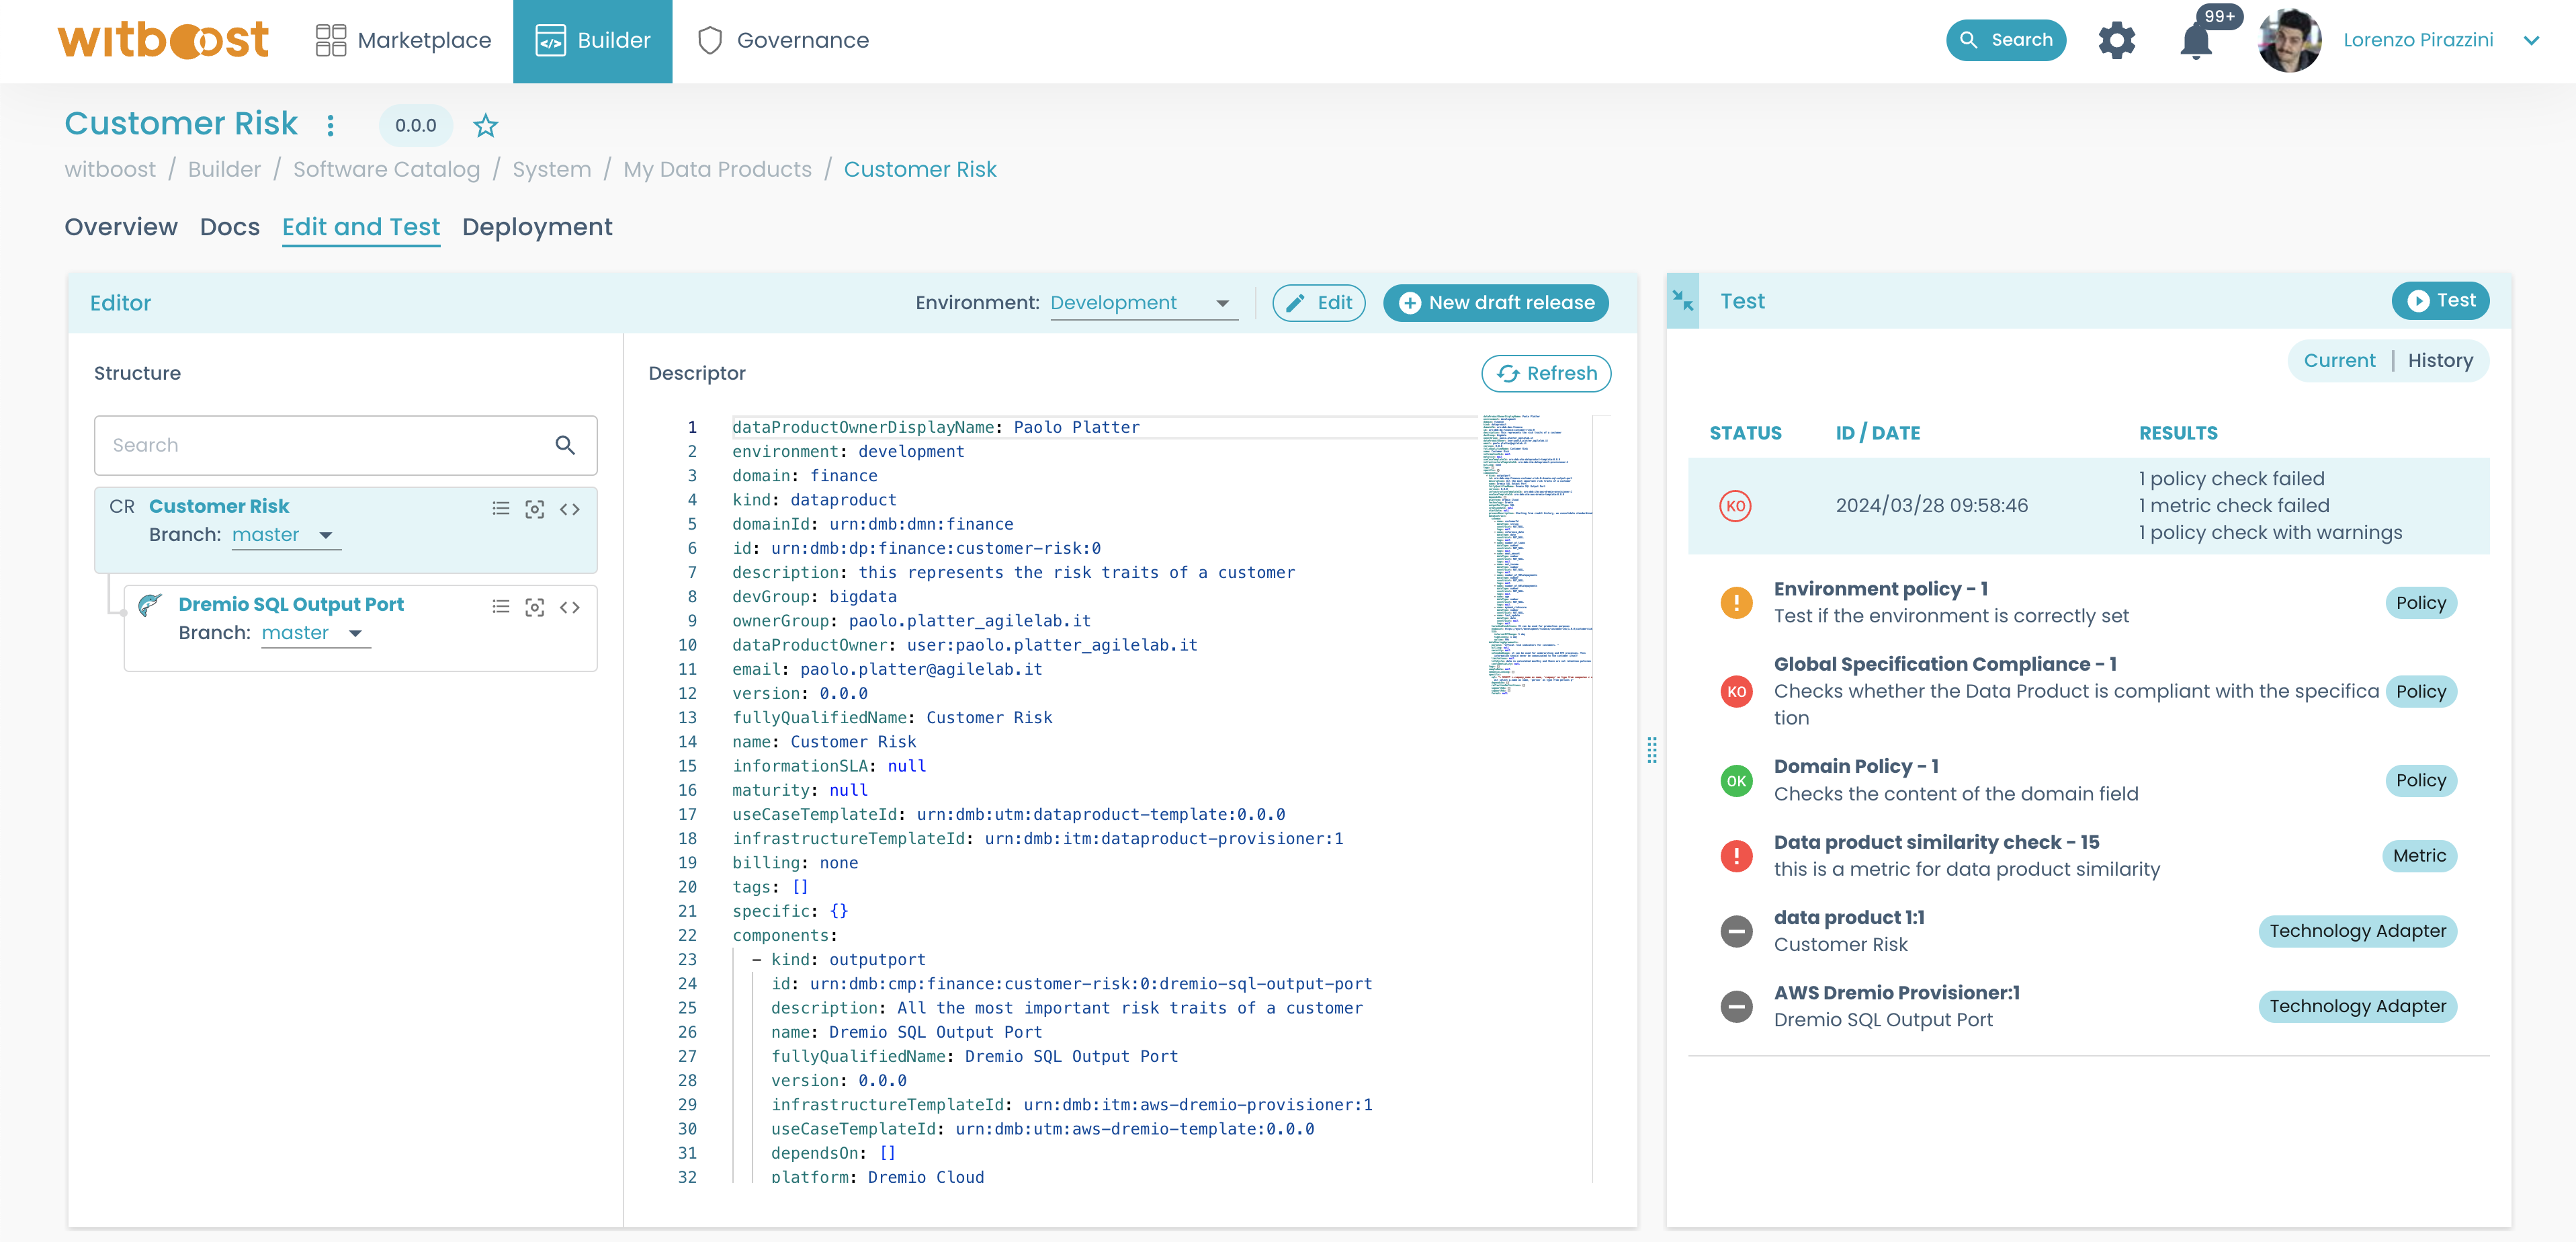
Each failing check contains detailed information about the error. To open the details of the error, click on the failed check:

In this view, you will see three main panels:
- the
Infopanel: contains the result details; You can also click on thePolicytab to see the policy's details - the
Error Infopanel: contains the errors list that made this policy test fail - on the bottom you will see the descriptor, and if the policy is a CUE policy, the policy content with the impacted rows highlighted
In the example above, the error is caused by some missing fields in one of the components of the data product (i.e. urn:dmb:cmp:finance:cashflow:0:cashflows-calculation).
Those fields are specified in the Error Info panel: specific.bucket, specific.cdpEnvironment, specific.folder.
Async validation
You can validate a data product also in an asynchronous way. This means that if you have a technology adapter that performs long-running validation tasks, i.e. validation tasks that require a lot of time to be executed, you will find it useful to run those tasks asynchronously to not encounter some timeout errors.
The async validation performs the same operations as discussed above but calls the /v2/validate API of the provisioning coordinator (and also the /v2/validate of each technology adapter).
See Async validation section to enable it.