Data Product Deployment
In this chapter, we will see what kind of operations a Data Product producer can perform to deploy a Data Product.
Let's introduce first a couple of concepts:
- a Data Product is composed of multiple components;
- when deploying a Data Product, every component will be associated with a Technology Adapter that will take care of the complete deployment of every component;
- the Data Product itself could have a Technology Adapter associated with it, that will be invoked before the ones associated with the components;
- every component can have a list of other components it depends on (defined in its
dependsOnfield); - when you want to deploy a Data Product you need to create a
Releasefor it: a release is a complete description of the Data Product with all its components at a certain moment in time; - a release can be a draft (you can overwrite it by making changes to the Data Product) or a stable one (which is immutable);
- when you have a release (draft or stable) you can deploy it on a target environment;
- you can promote a draft release to a stable one whenever you are satisfied with its status.
First deployment
Let's go through all the steps to deploy a Data Product that was never deployed before:
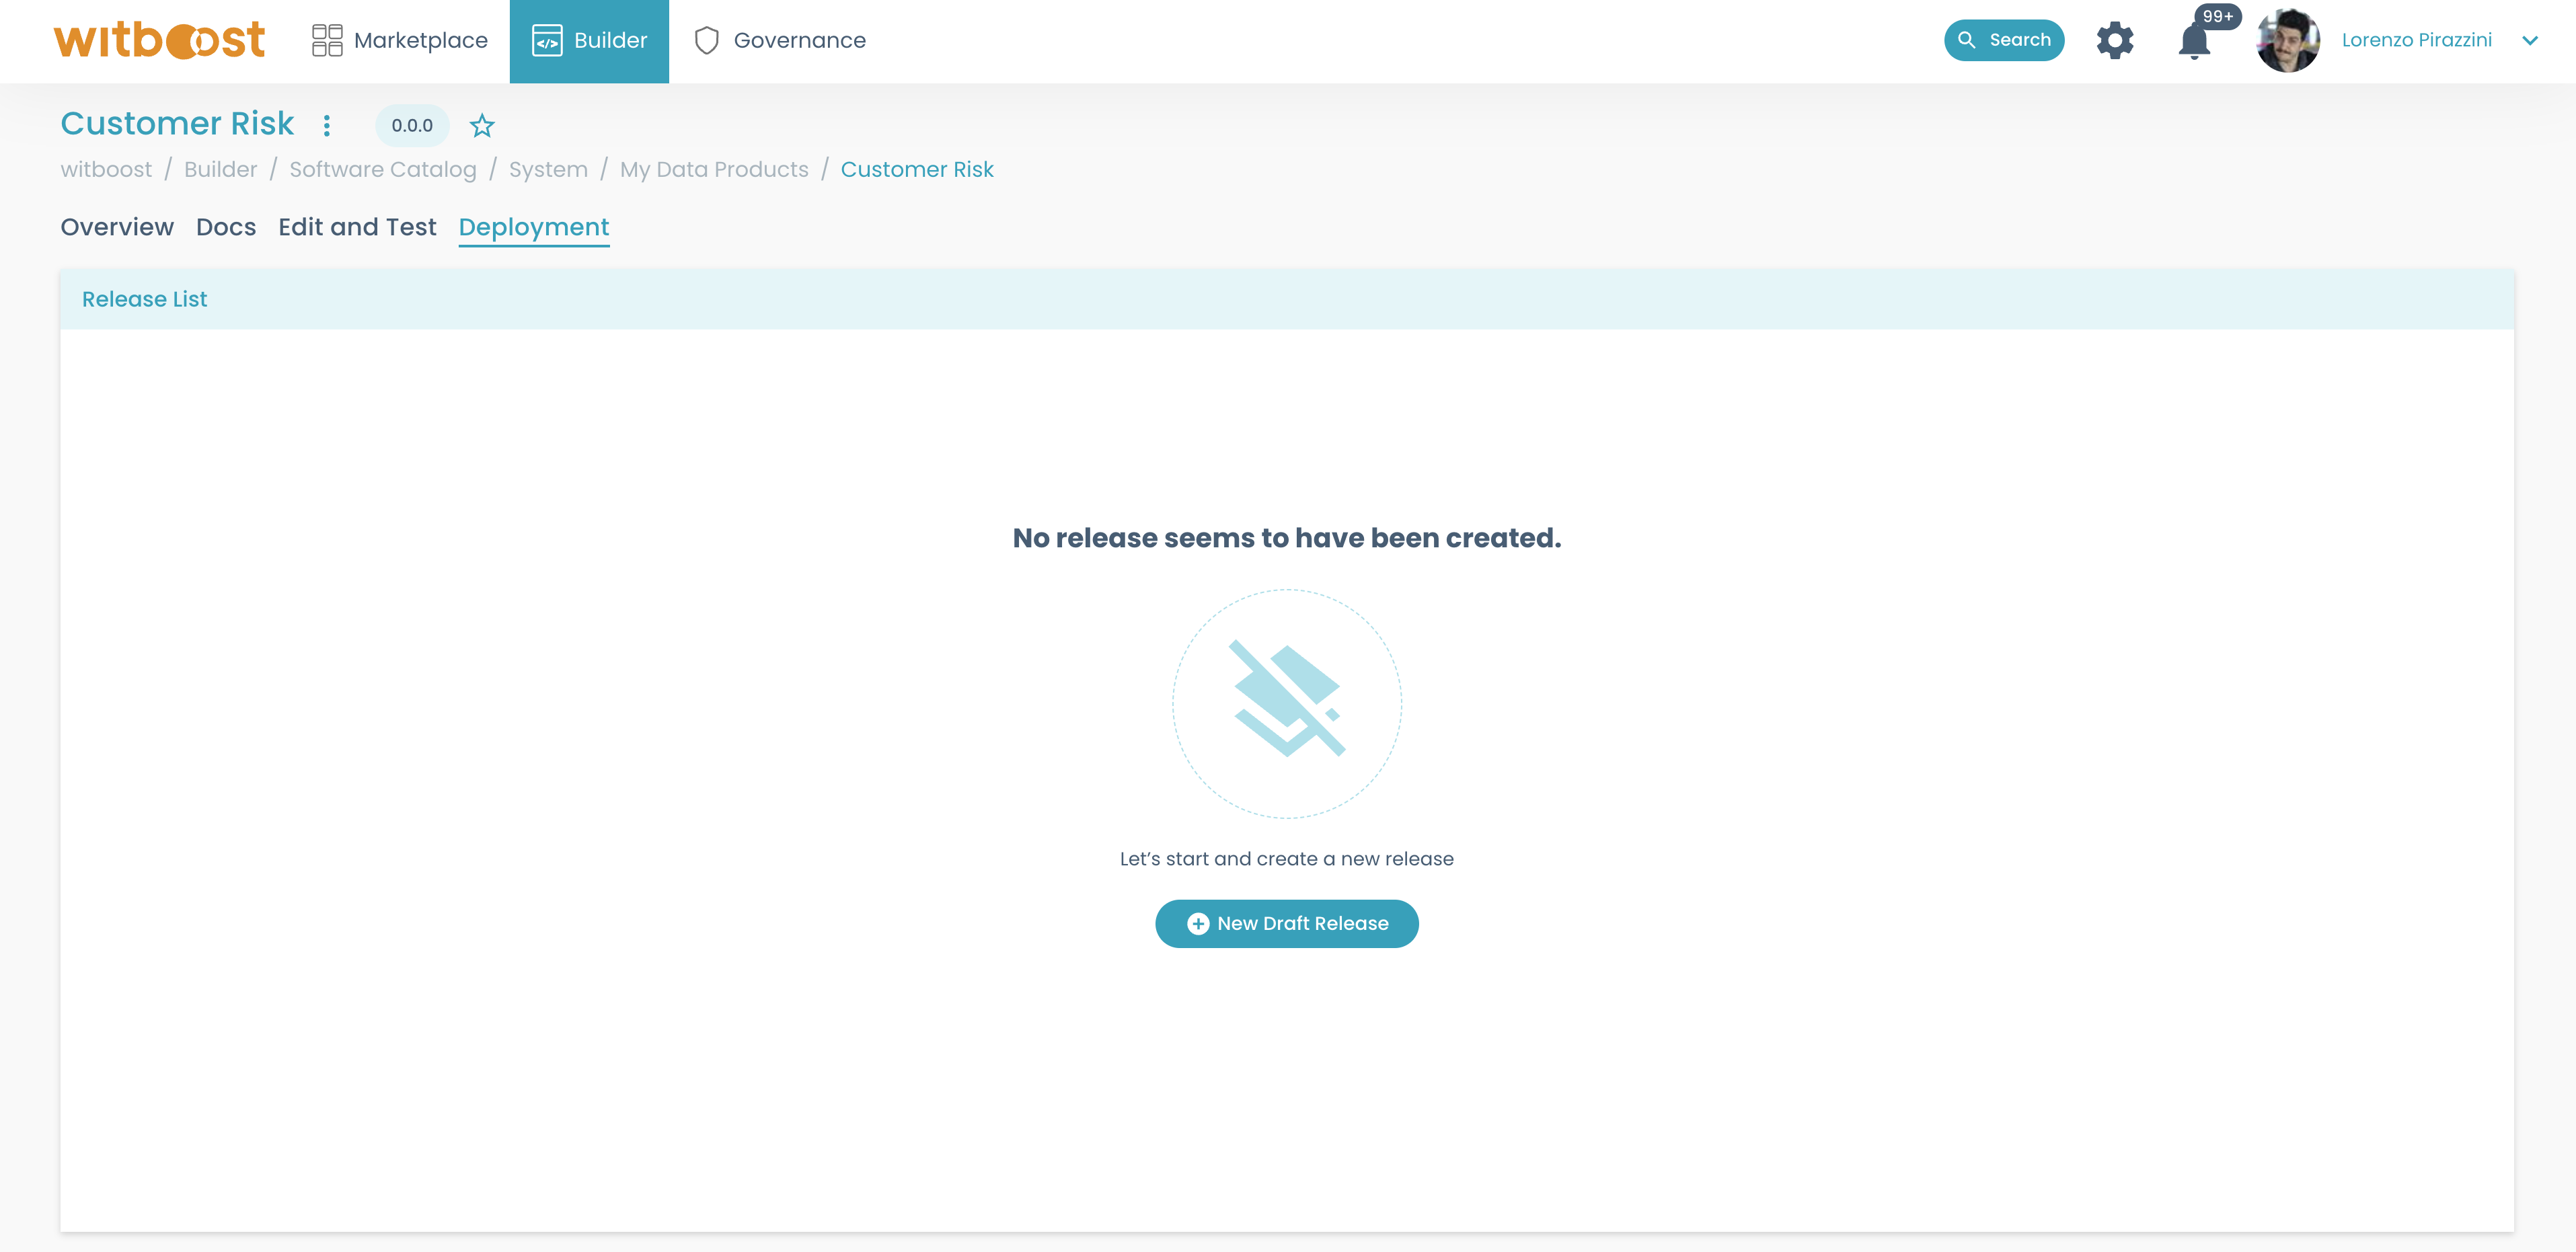
- Head to the Data Product that you want to deploy, from
Builder>My Data Products(newly created Data Products automatically have version0.0.0assigned) - Move to the
Deploymenttab - Click on the
New Draft Releasebutton
- Click on the menu of the new line that appeared, and click on the
Deploybutton
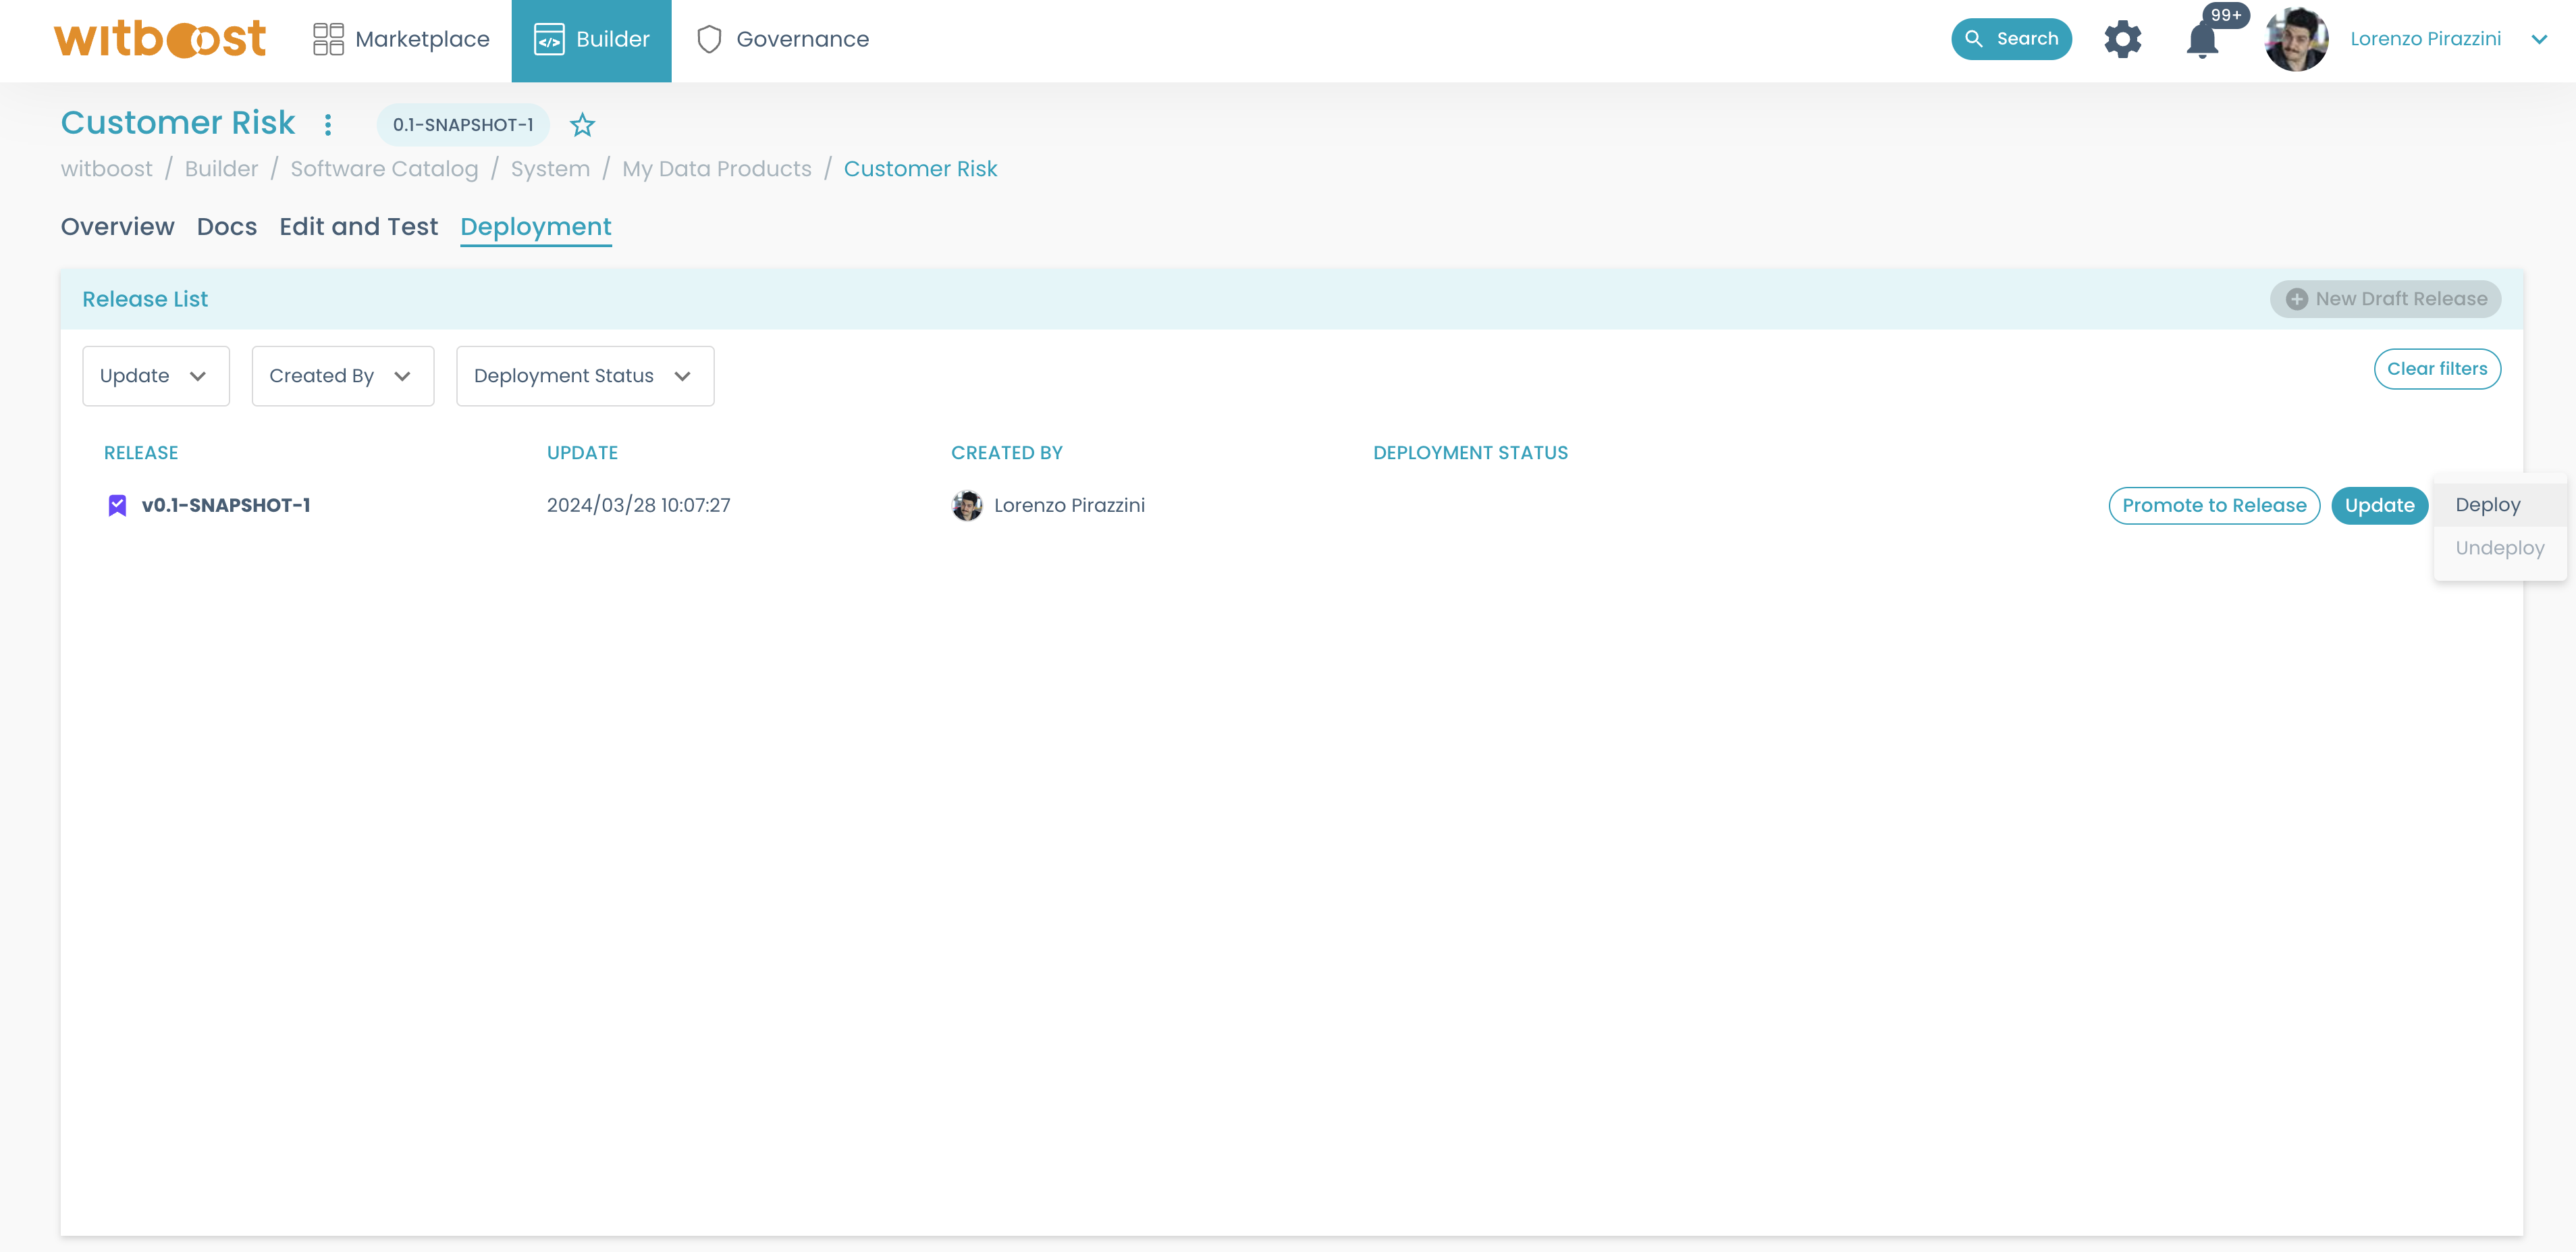
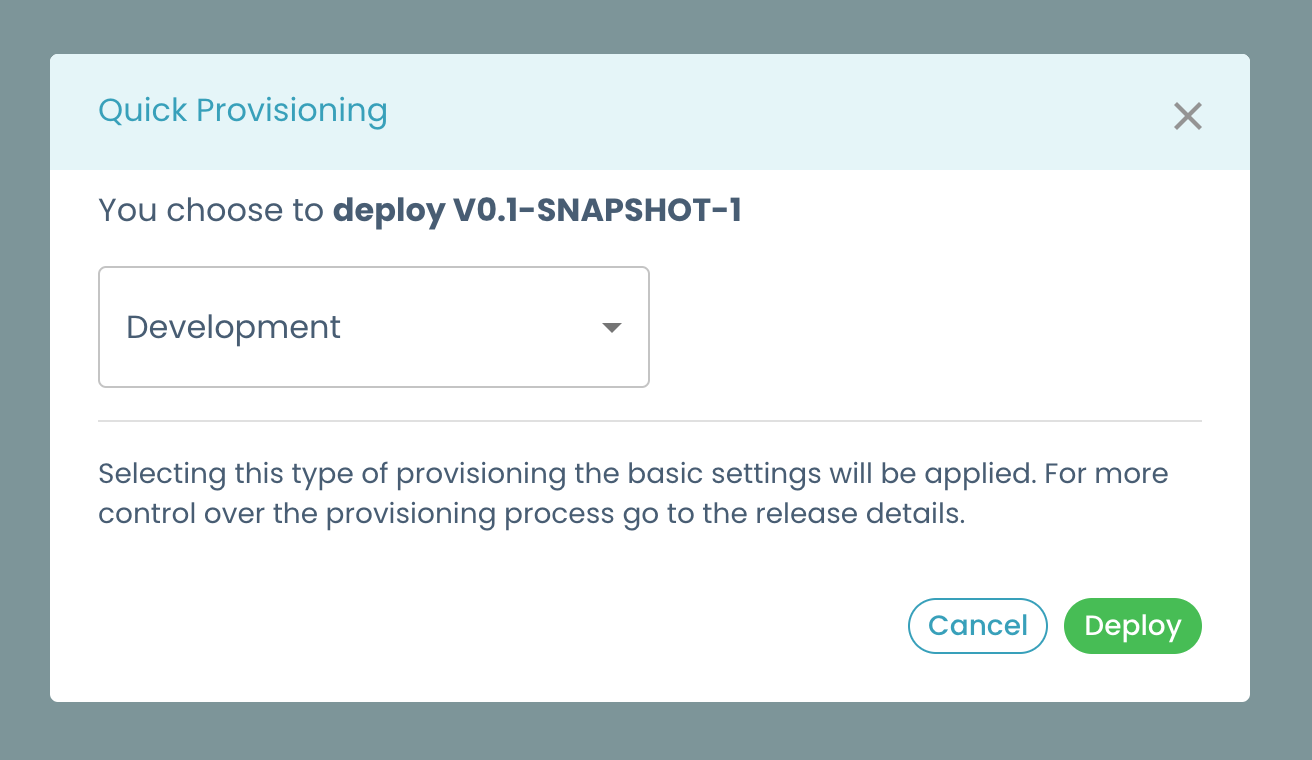
- Select the target environment for the deployment
- The Release page is displayed, with a running provisioning operation
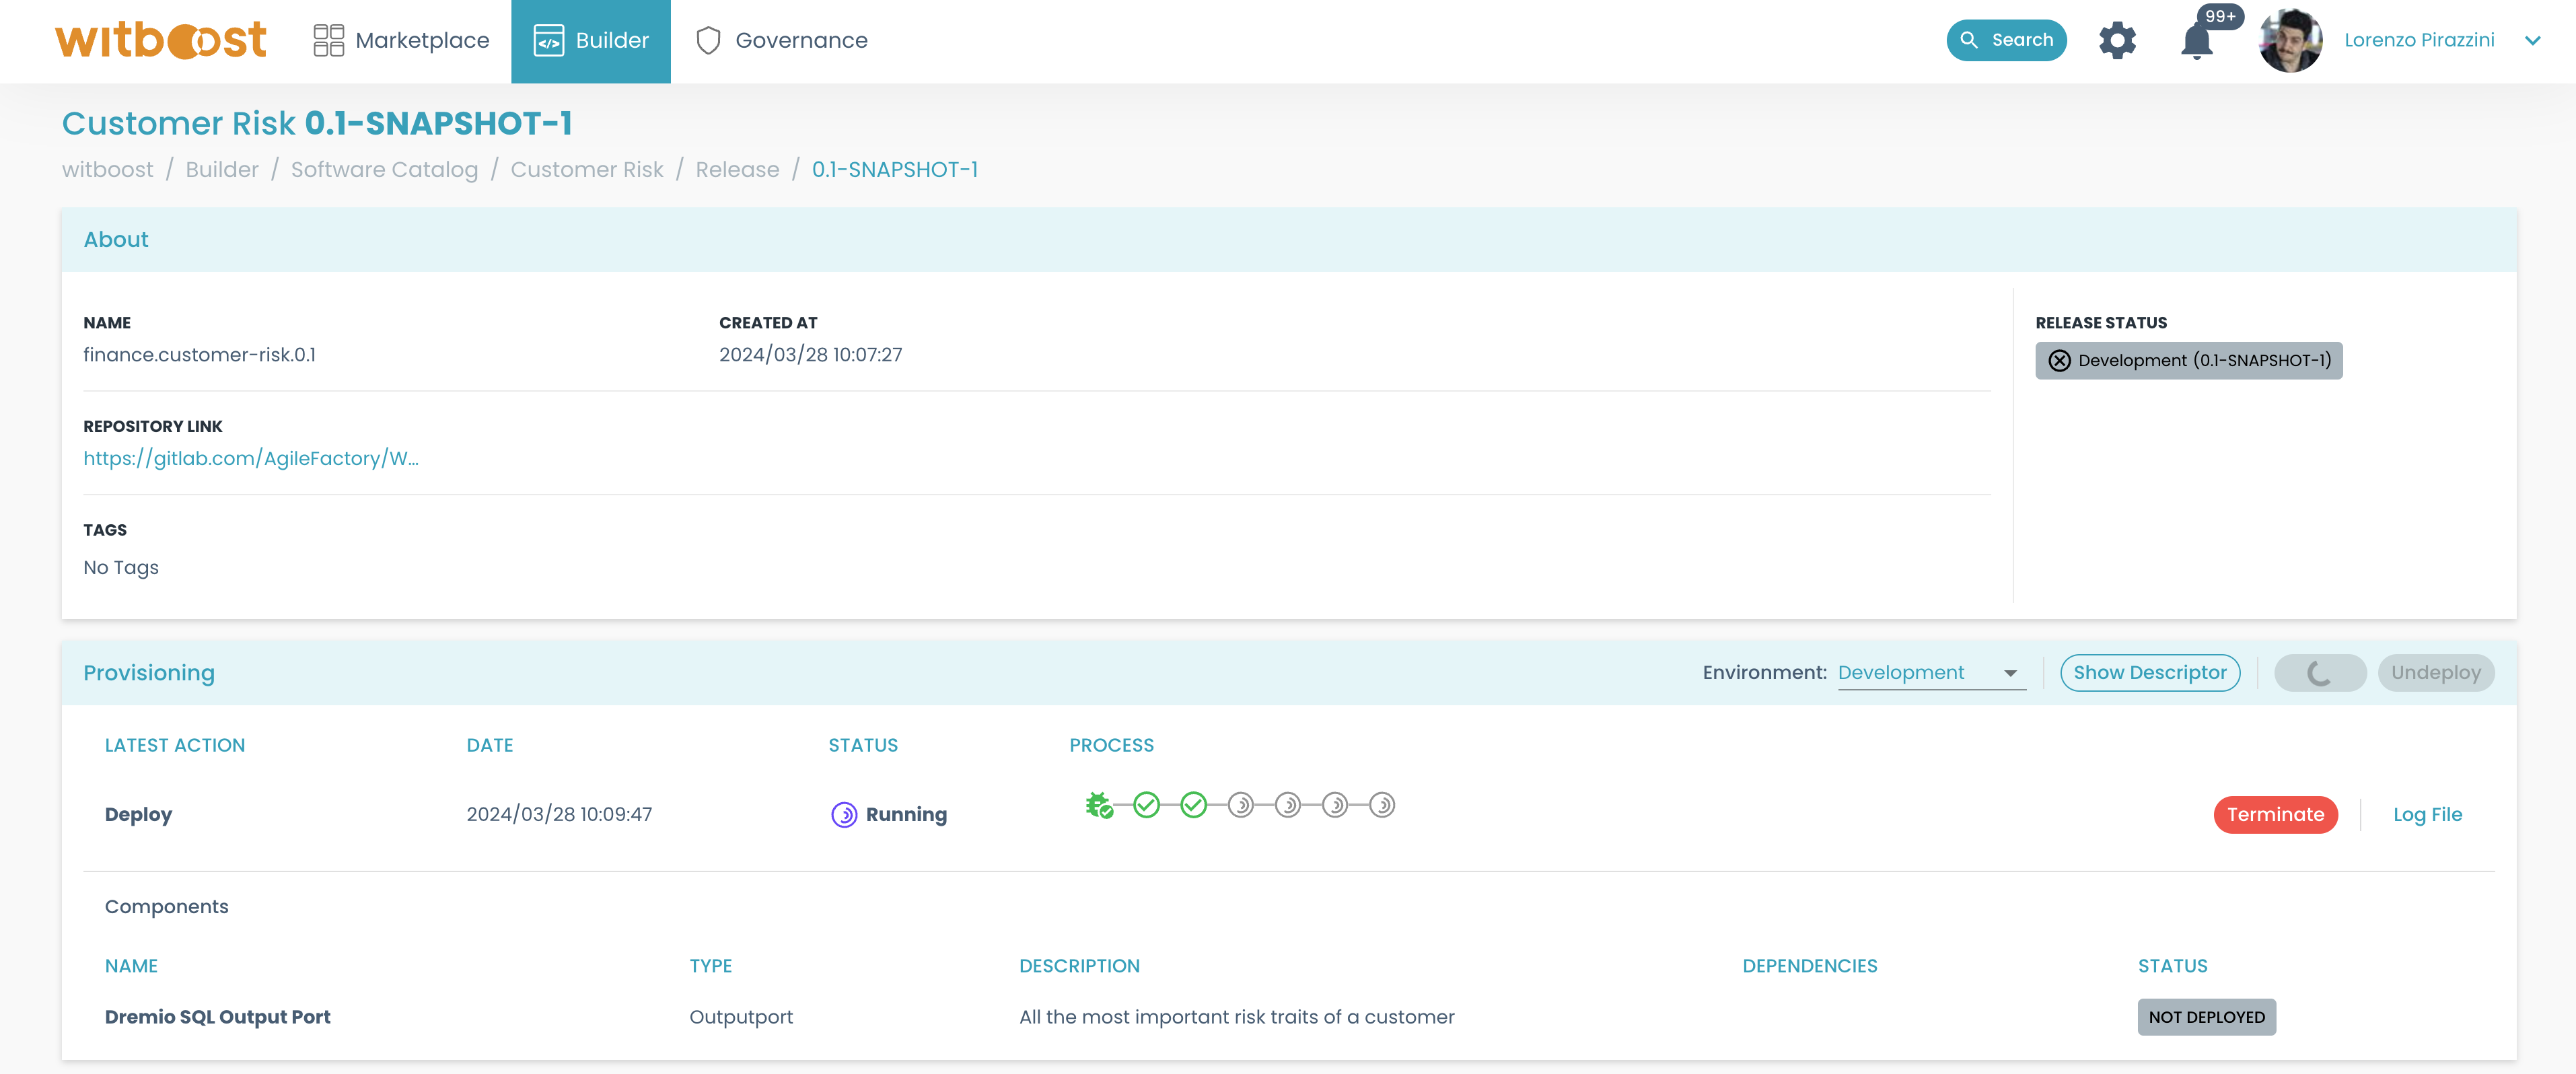
Each deployment step is represented by a circle icon, when all of them turn green it means deploy completed successfully
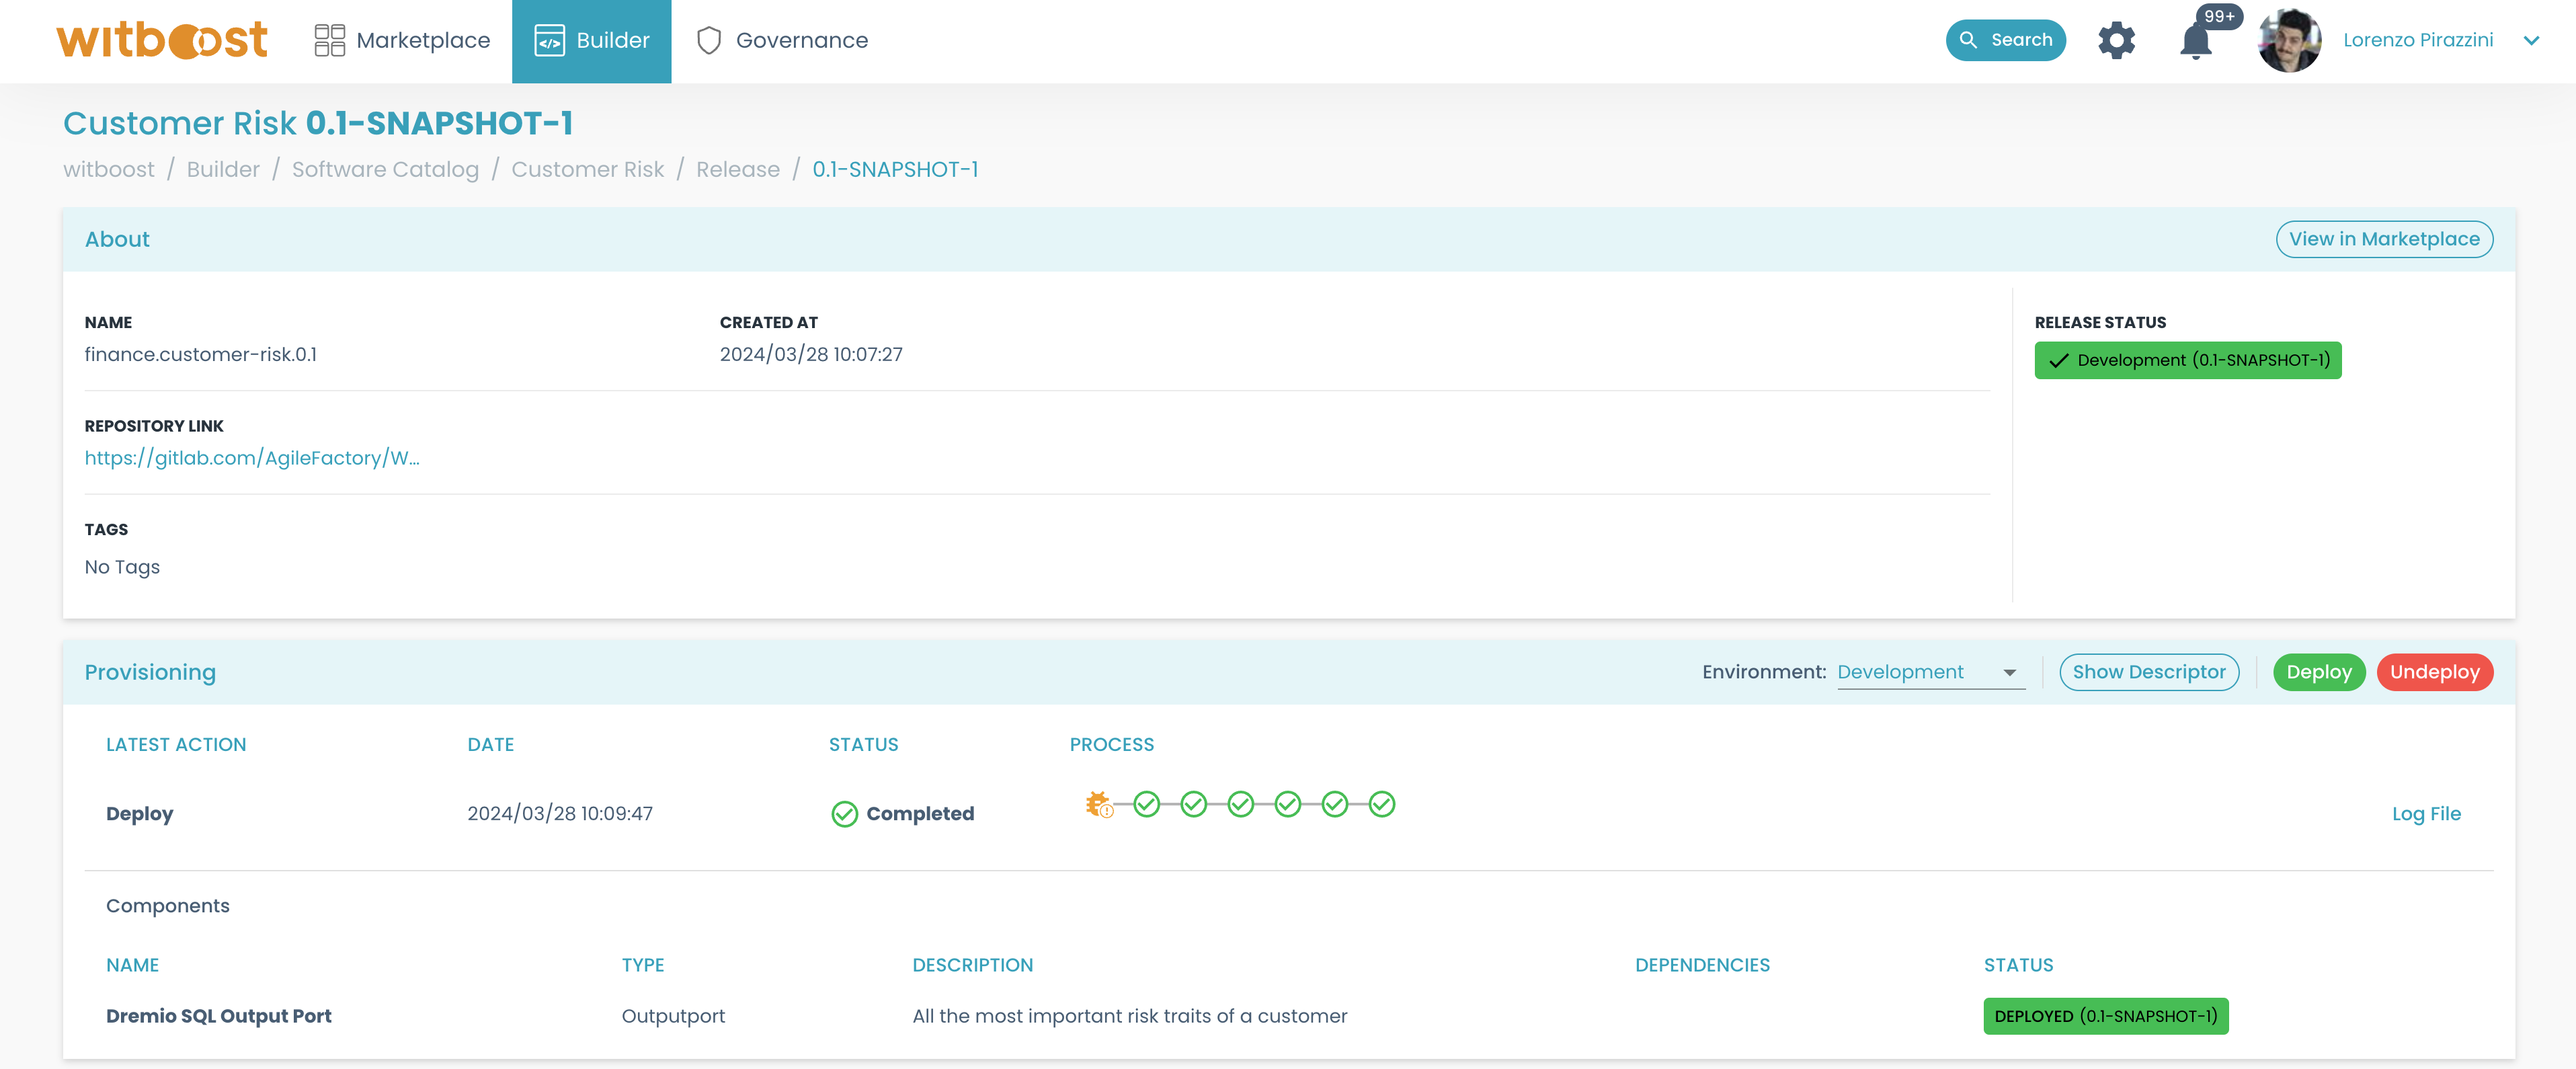
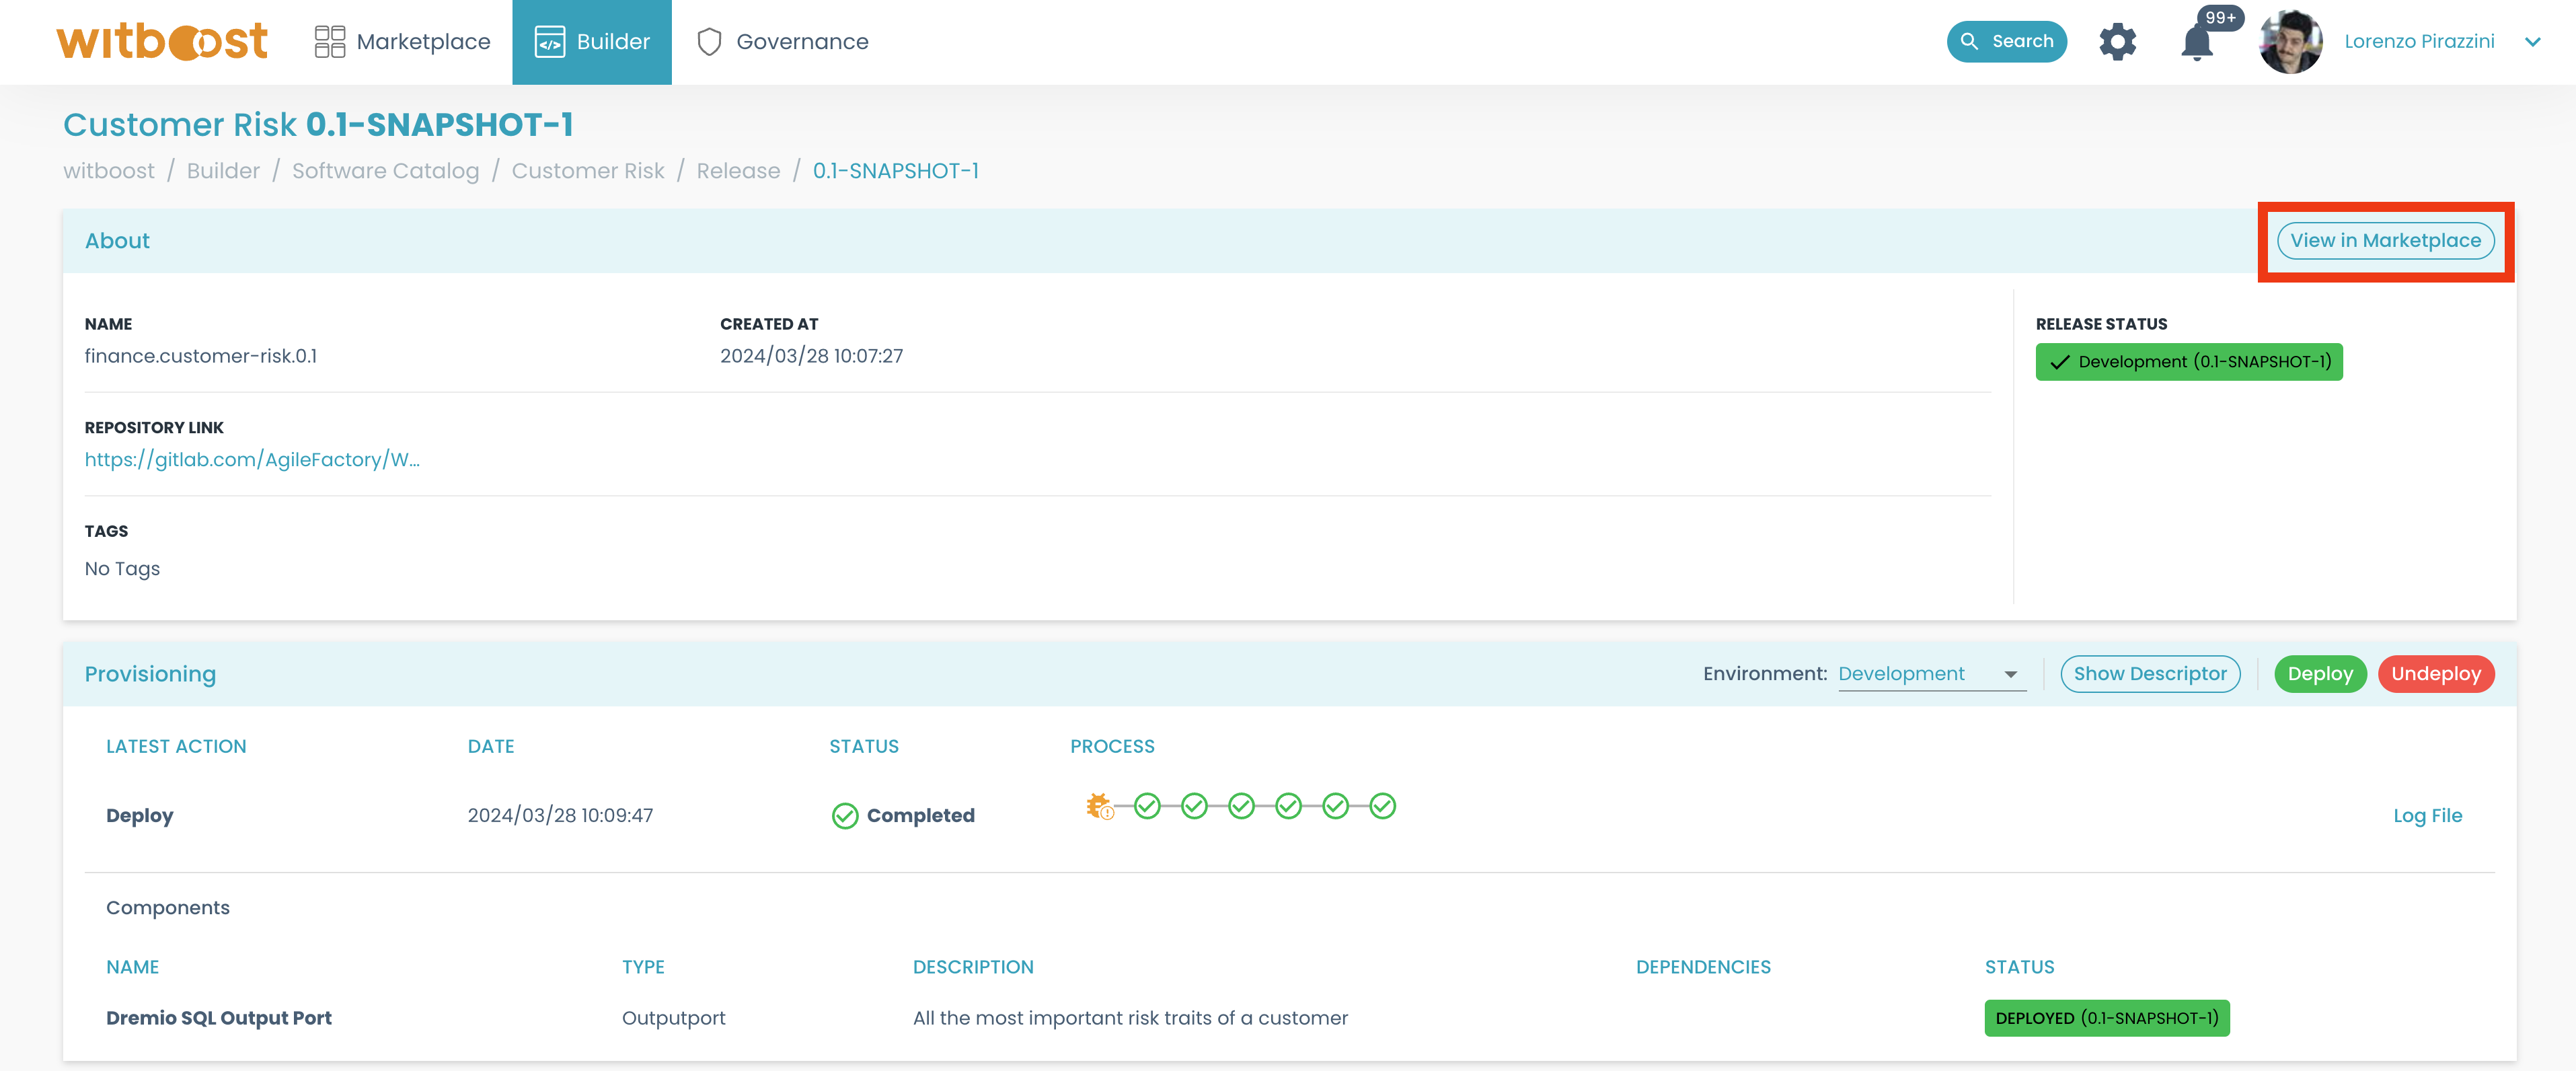
After the deployment is completed, the Data Product is then available in the Marketplace > Data Product Catalog.
You can open directly the Data Product on the marketplace by clicking on the View in Marketplace button:
In a deploy operation, each circle represents a different step needed to fulfill the deployment. Among the deployment circles you will find:
- a first "bug" circle that represents the test validation. This step performs the same tests that the user can try in the
Edit and Testtab; - a circle for each Data Product's component. These circles represent the invocation of the Technology Adapter registered to handle that component;
- a circle for the Data product itself. This happens in case you want to define a Technology Adapter for the whole data product, which is in charge of setting up pre-requisites, shared infrastructure, registrations, etc;
- two circles for initialization and finalization steps, needed by the Provisioning Coordinator to set up and clean up the deployment operation;
- some circles for marketplace plugin and/or data catalog plugin integration; these represent the invocations of microservices that will update Witboost's marketplace and/or a third-party data catalog.
Update an existing deployment
Now let's analyze the steps needed to update an already deployed Data Product. Let's first make some changes to the Data Product, and then deploy it again overwriting the existing one:
- Head to the Data Product that you want to deploy, from
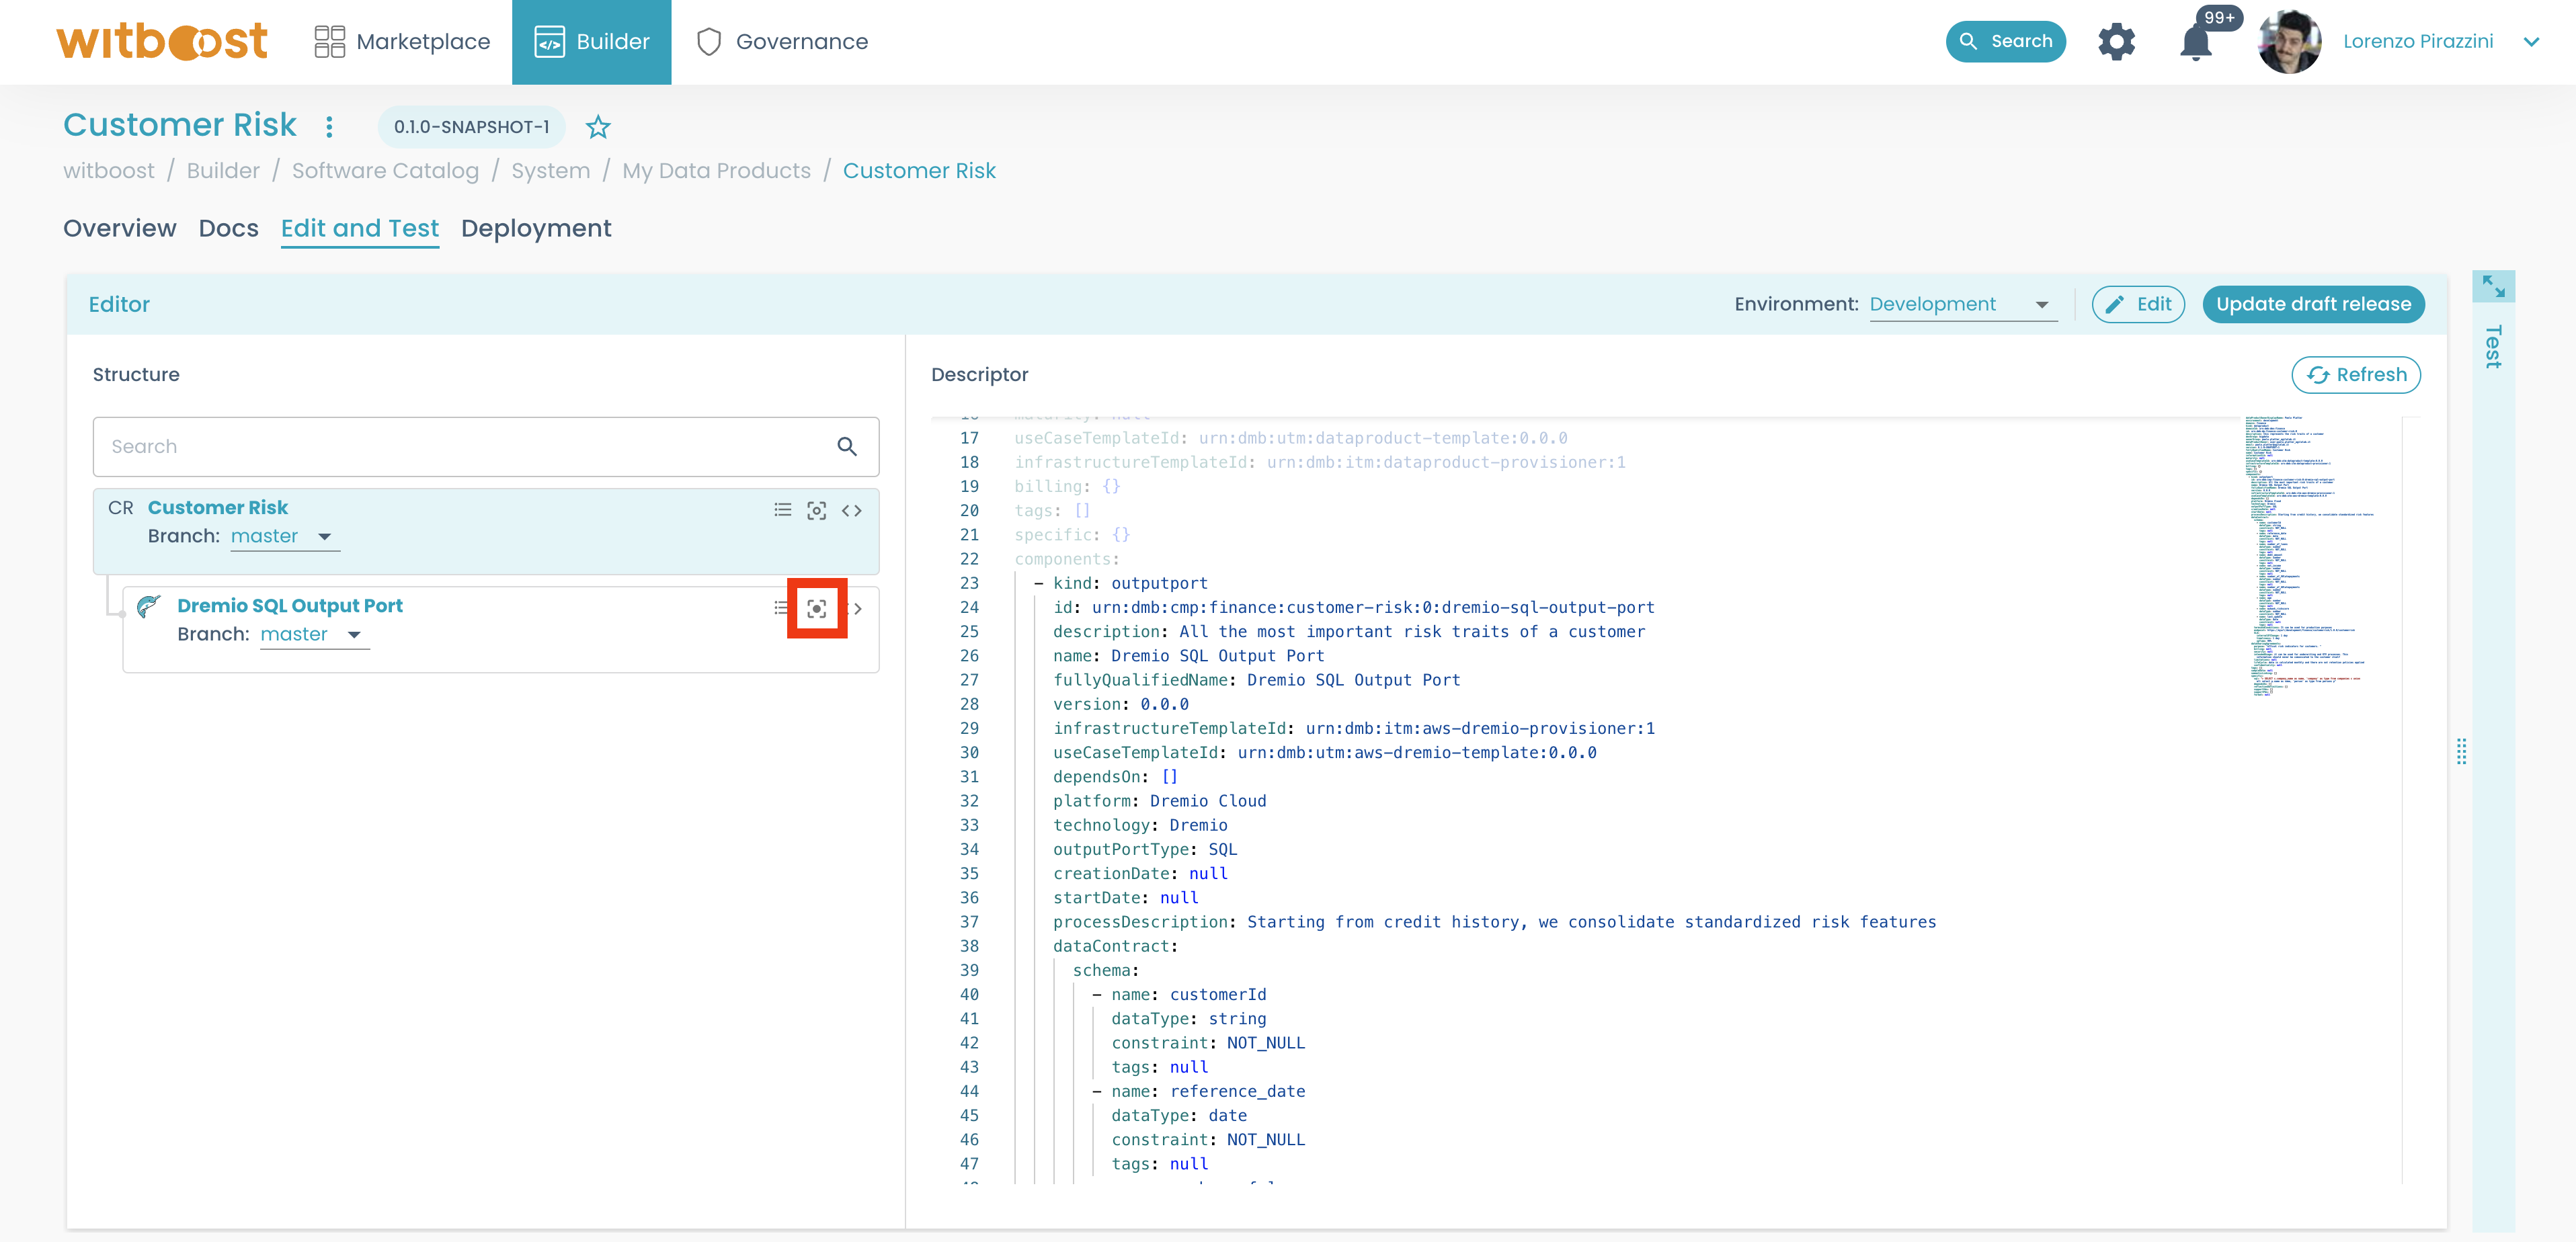
Builder>My Data Products - Move to the
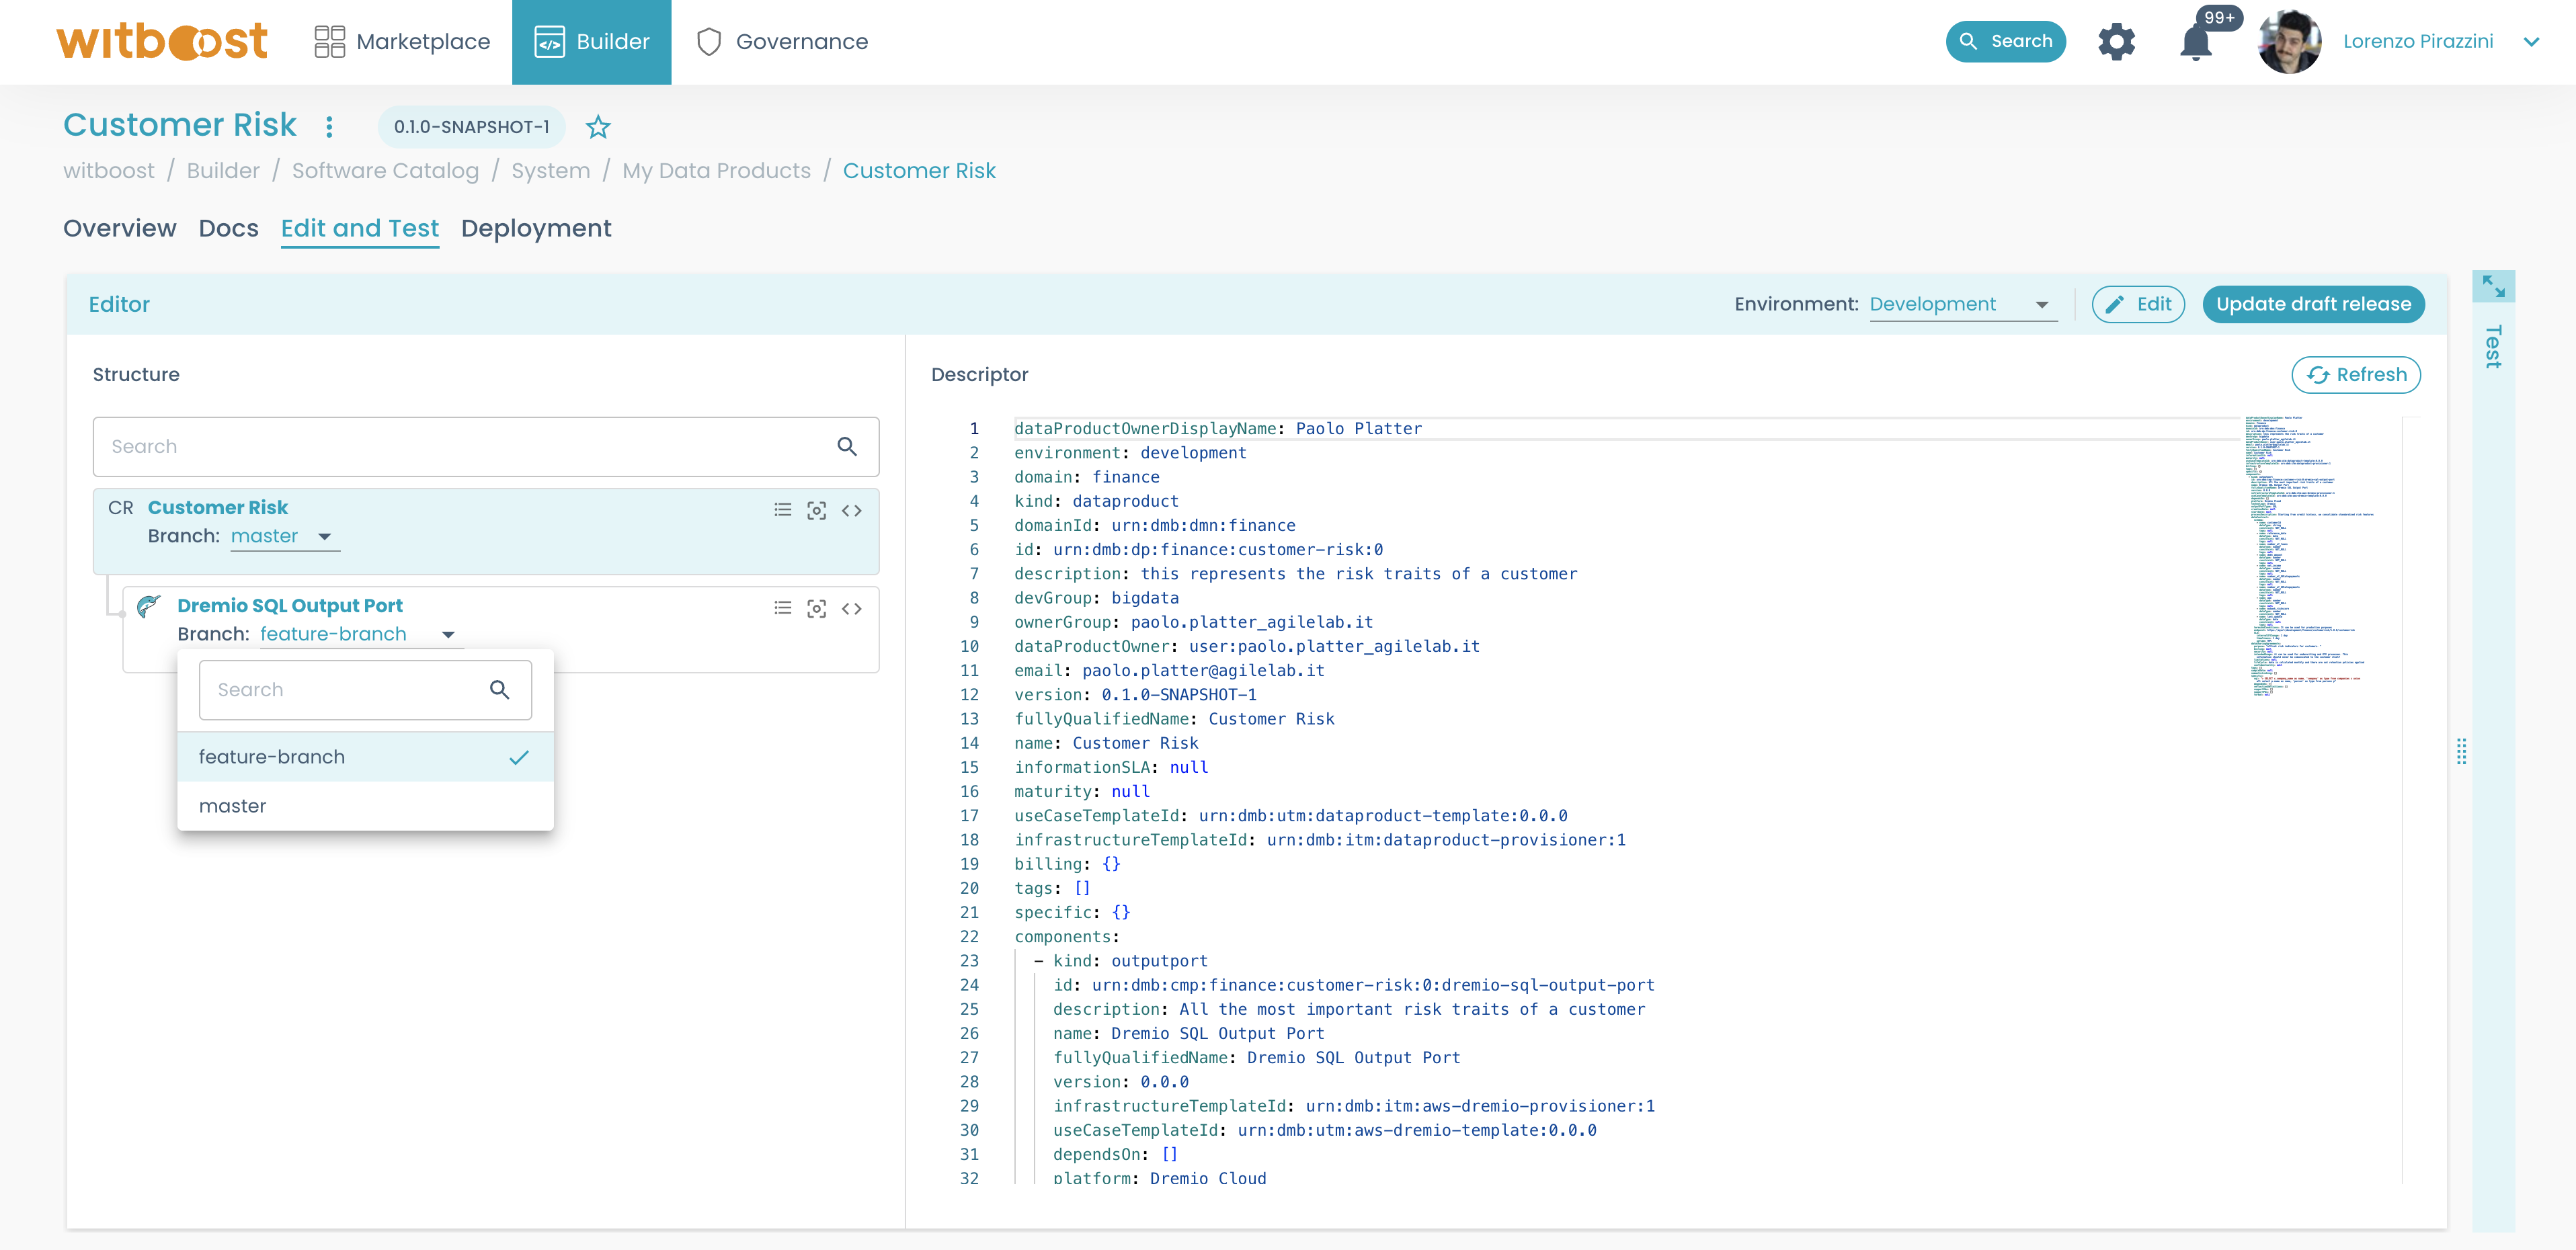
Edit and Testtab - To understand what component needs to be updated, you can focus on each component by clicking on its focus icon in the
Structurepanel. This will highlight that component in the descriptor
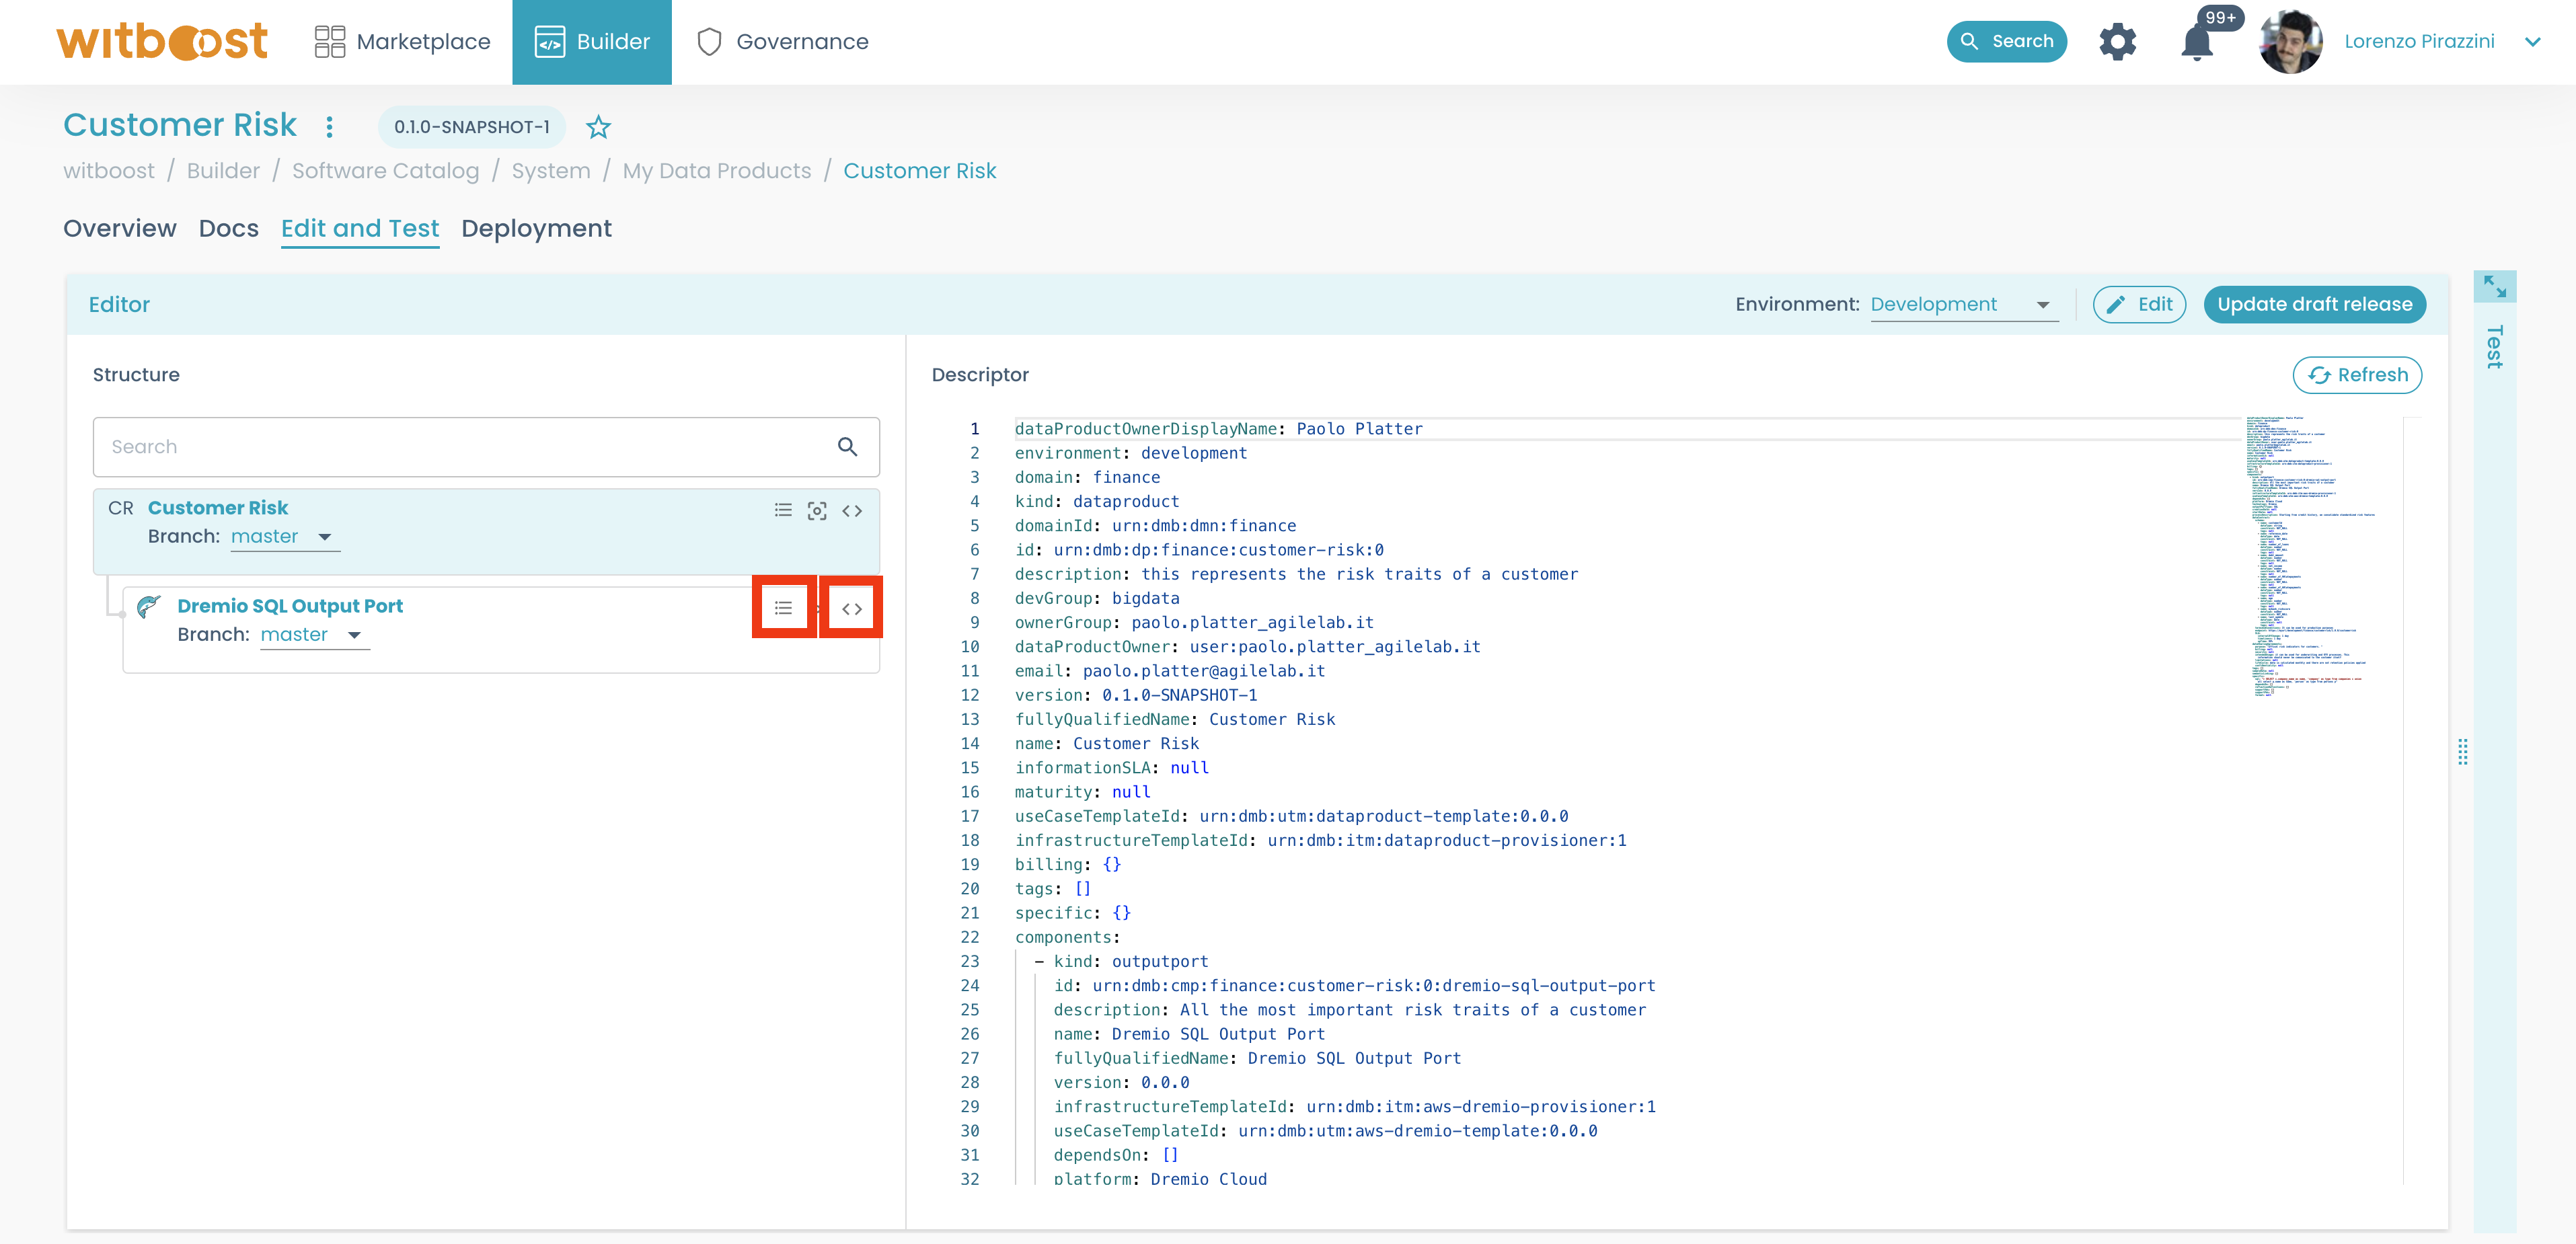
- Then you can edit the component by clicking on its edit icon, or the code button (that will open it on the git repository). When editing it directly from Witboost, the editor page will be displayed, otherwise you will be redirected to the repository URL
- In case you want to edit a component (or the Data Product) on another branch, simply select the desired branch from the structure on the left
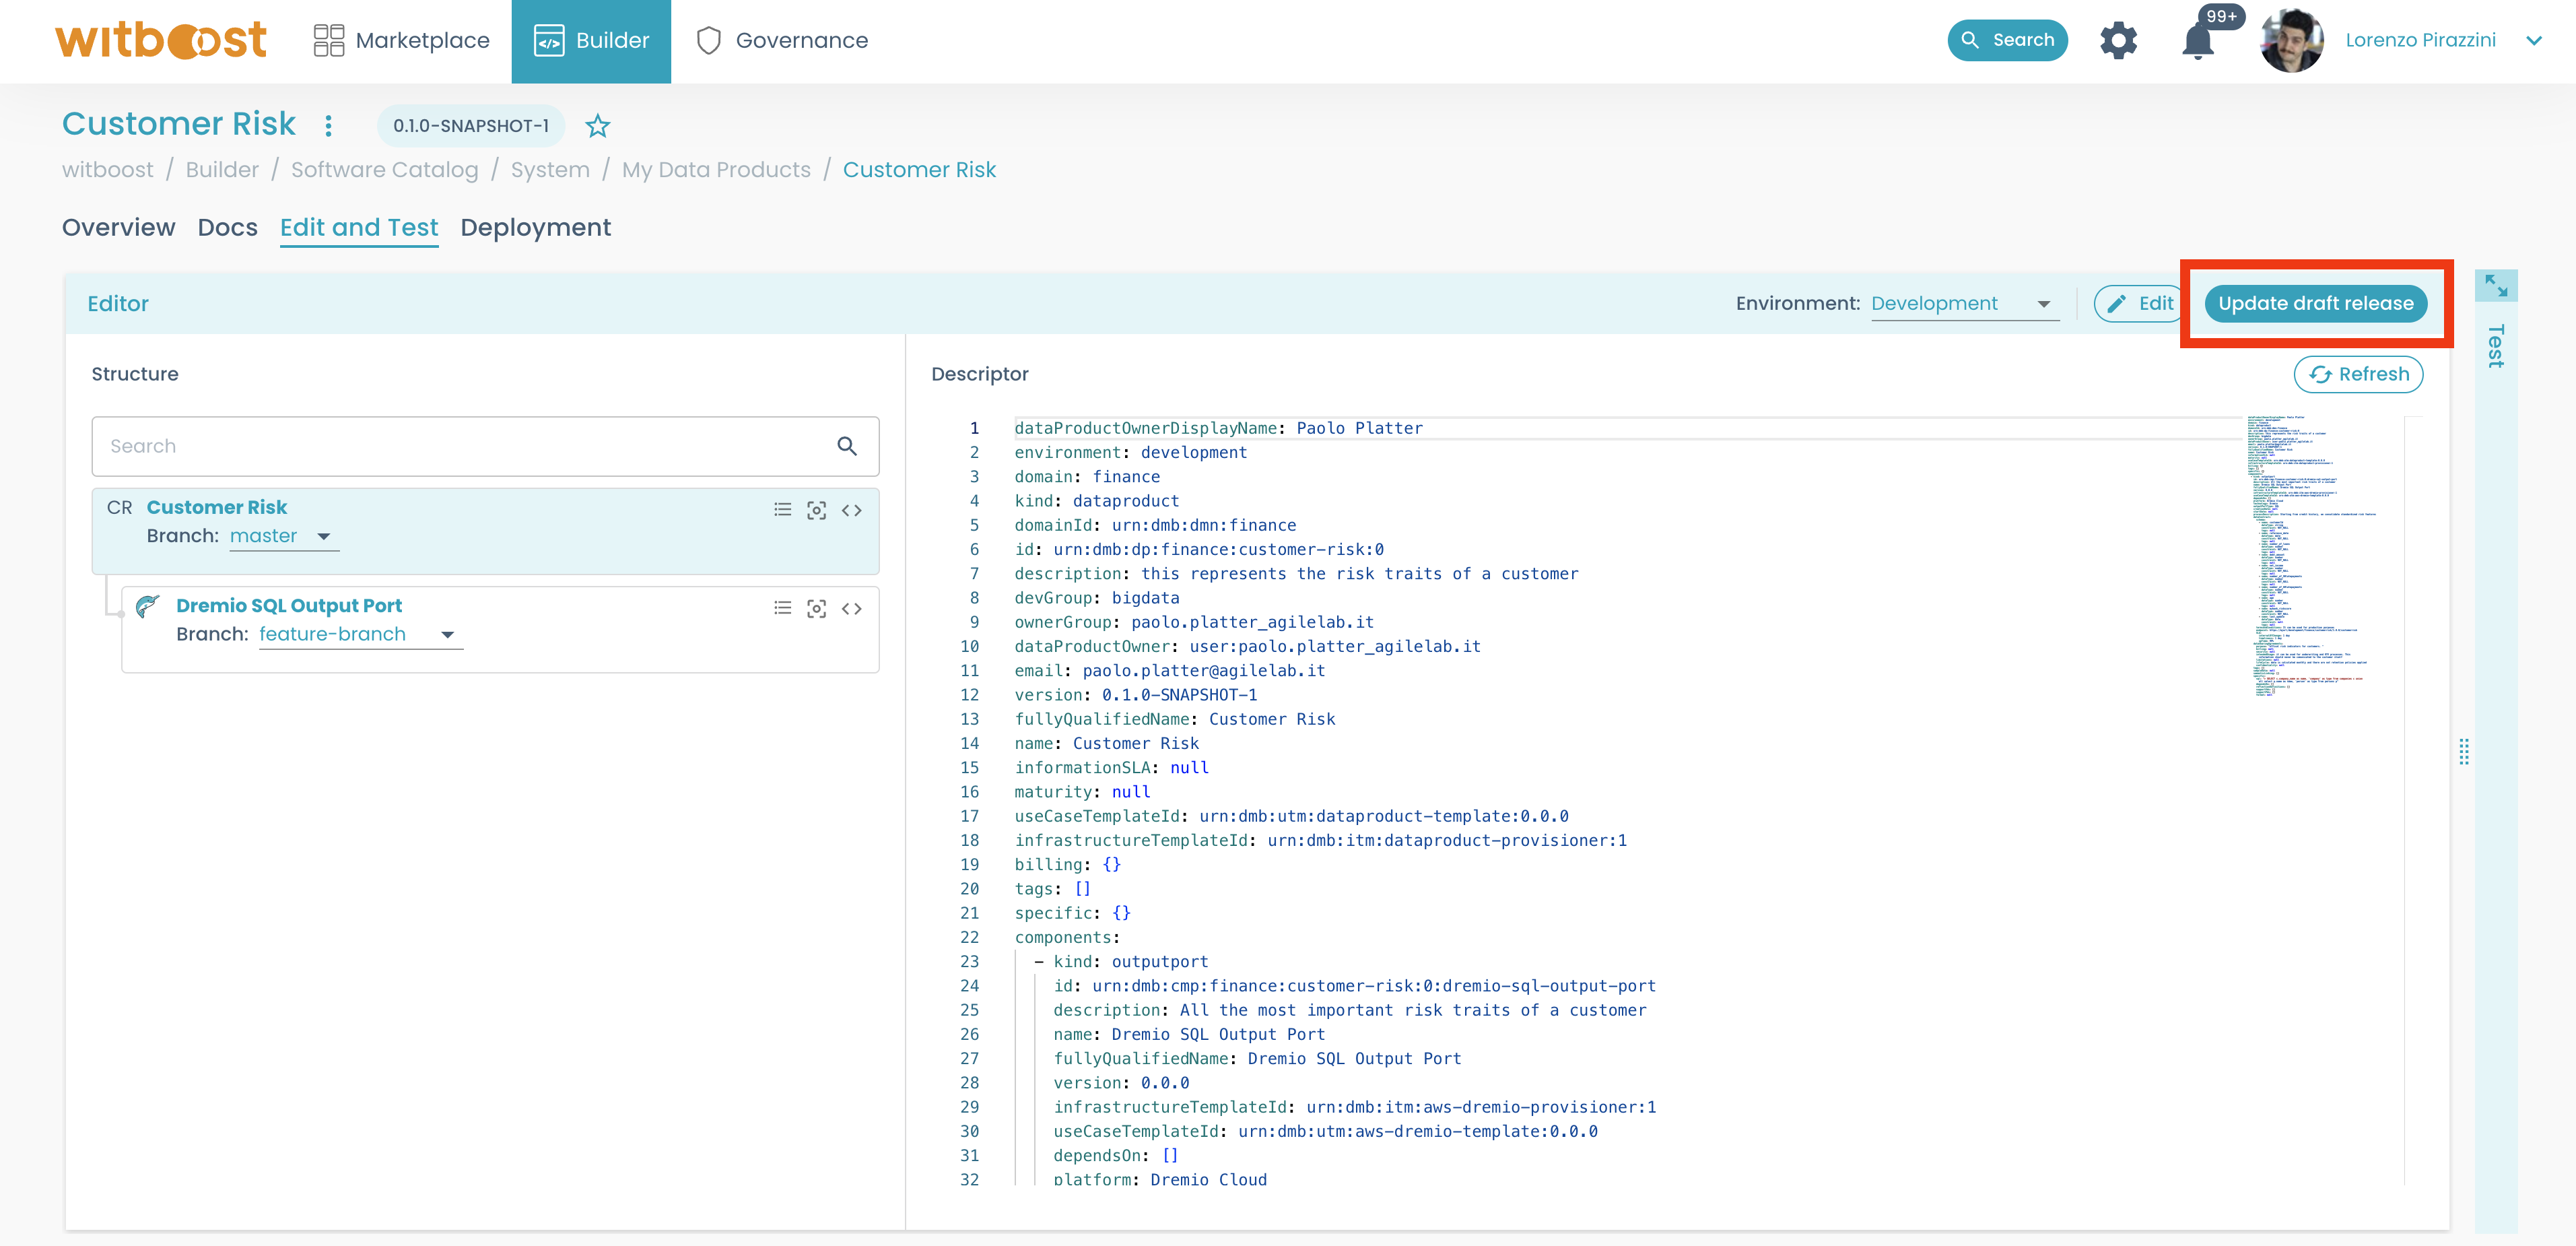
- Now you can update the draft release by clicking on the
Update draft releasebutton. This will make the changes saved into the current draft release so that you can proceed with deploying it. In case you need to perform other changes, you can repeat the steps above, and simply update the existing draft release by clicking onUpdate Draft Releasebutton to save your work
There are no rules for when a draft release should be promoted to a stable one. Usually, a good approach would be to test everything on a draft release in a development environment. Then when you are satisfied with its status, you can promote the draft release to an actual release, and deploy it on the other environments.
- Now you can go to the
Deploymenttab and see the newly created drafted release there. From here you can deploy it again by clicking on theDeploybutton in the row menu

In the Deployment tab, you can see that the list of releases contains the newly updated draft release 0.1-SNAPSHOT-2, but in the same row (the current draft release) the currently deployed one on the development environment is the 0.1-SNAPSHOT-1. After deploying the current draft release, you will see the currently deployed version updated.
Note that after this operation, in the Marketplace you will find the Data Product with the draft release. To see it with a stable release in the Marketplace, you will need to deploy it again, but this time select the stable release.
Refer to DP Release Lifecycle for a deeper understanding of releases and deployments.
Refer to DP Versioning best practices section for a deeper view of how to handle different changes.
You can find more details on the provisioning features in the Provisioning chapter.