Editor Wizard
Overview
This feature allows users to edit systems or components directly from the UI using a guided visual wizard. It removes the need to manually update the entity's metadata in its Git repository while ensuring all changes are validated before being applied, improving accuracy and consistency.
Step-by-step
1. Identify a system/component on which the edit feature is enabled
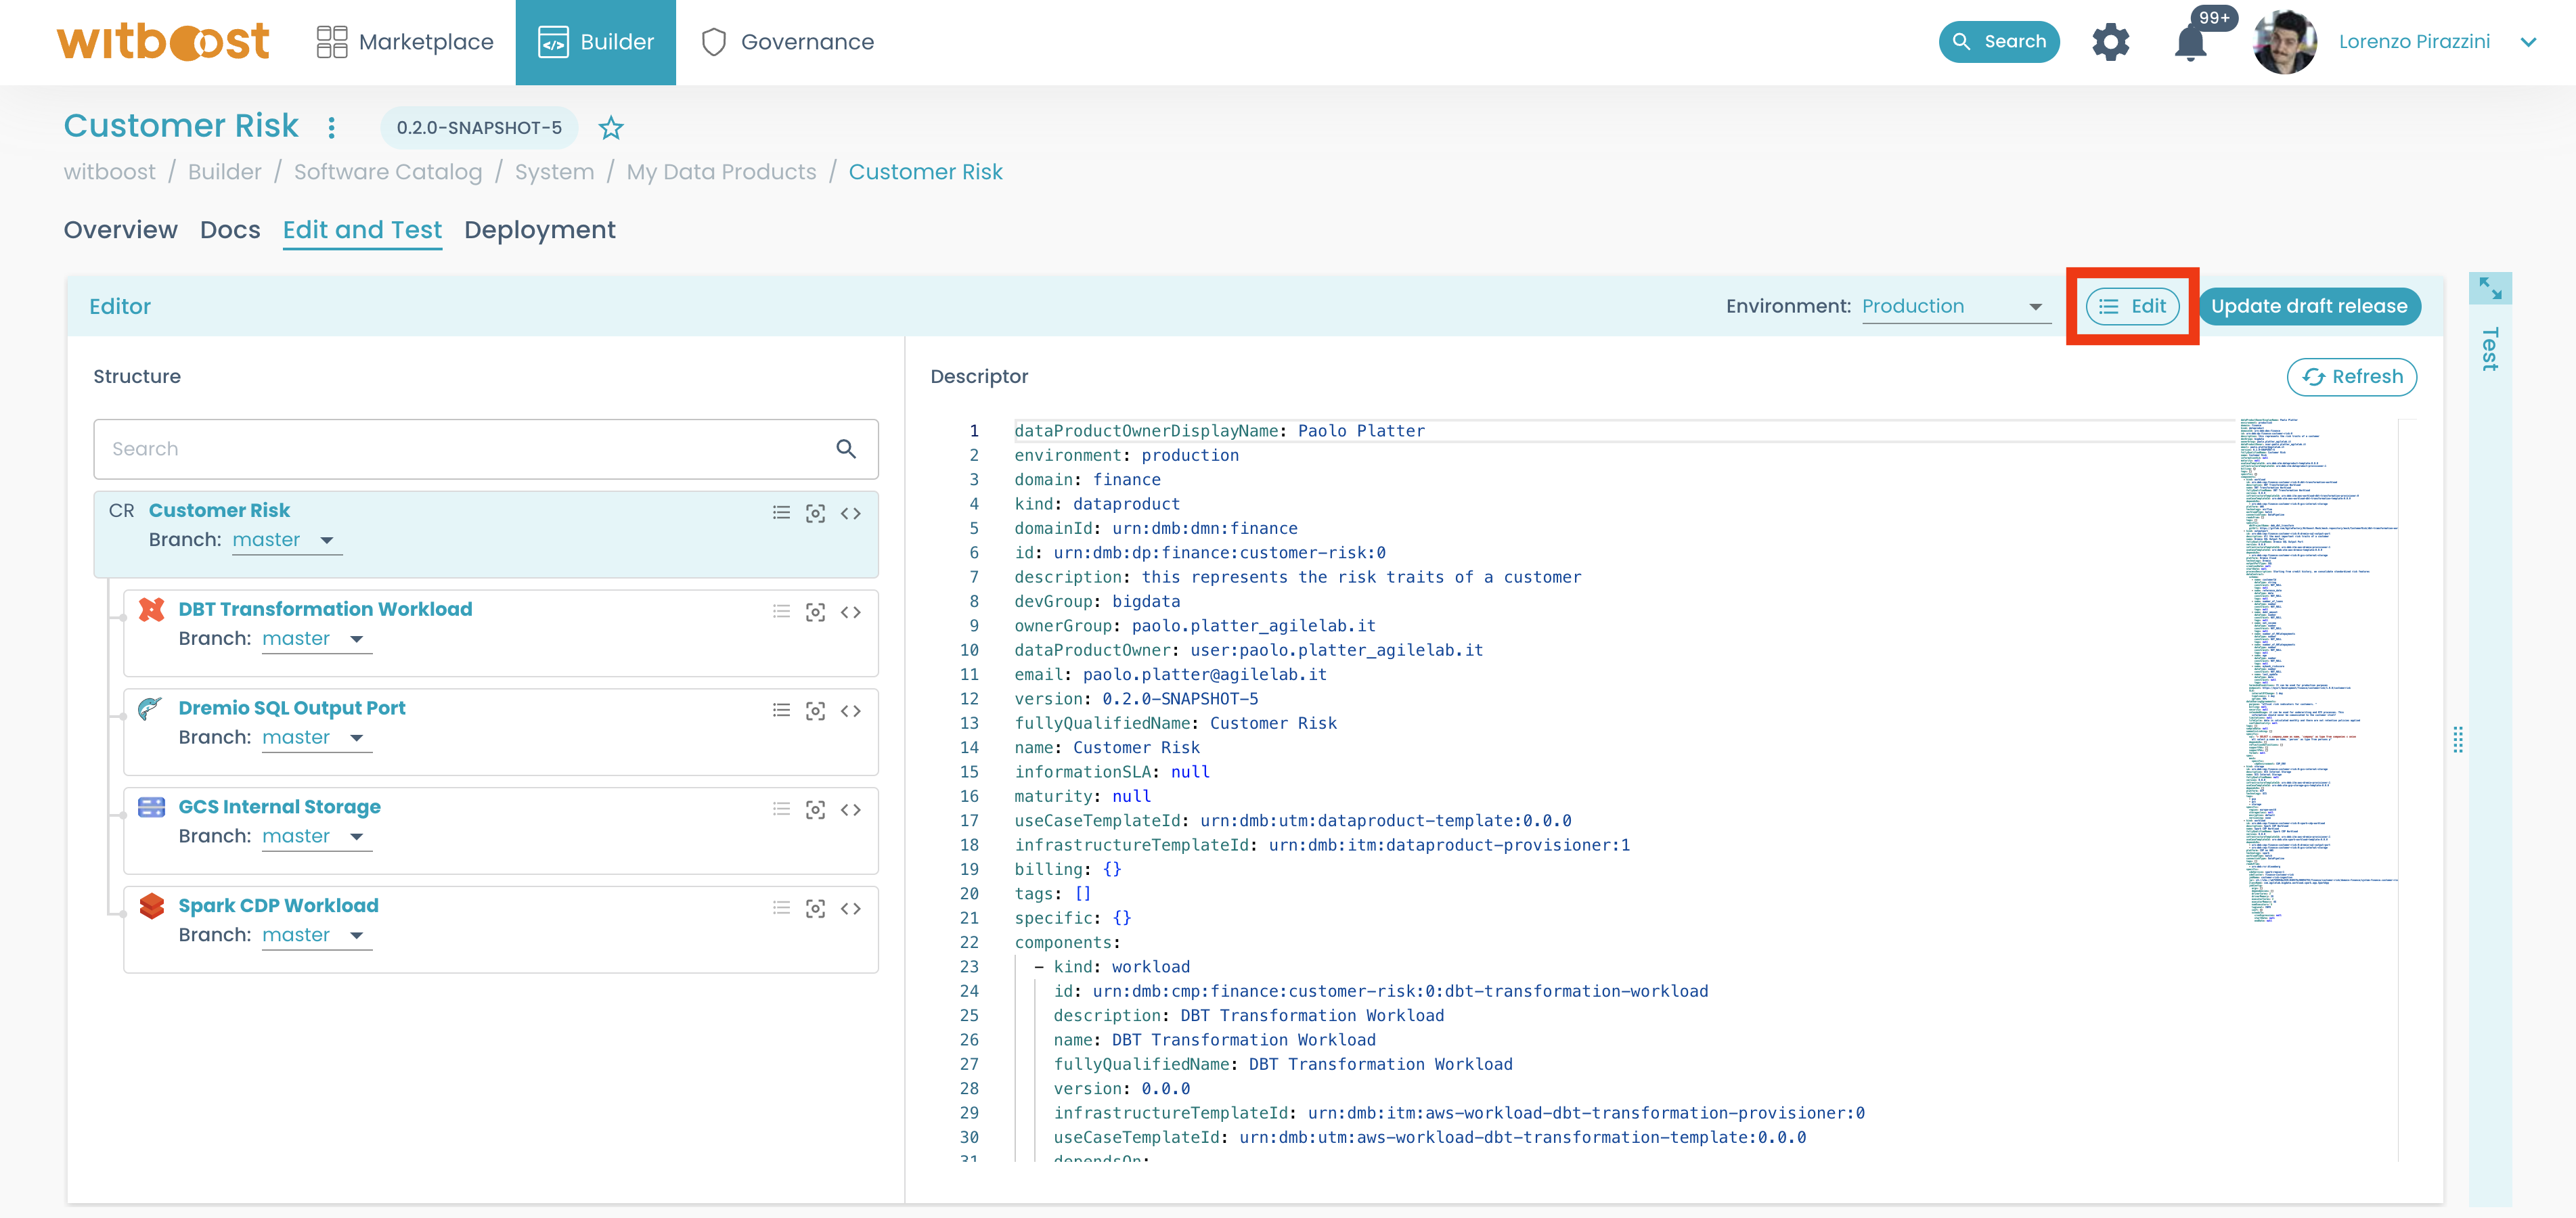
- Head to the entity's page from
Builder>My Projects - Then open the
Edit and Testtab and click on theEditbutton
If the Wizard option is disabled for a specific entity, you should contact the platform team to enable it.
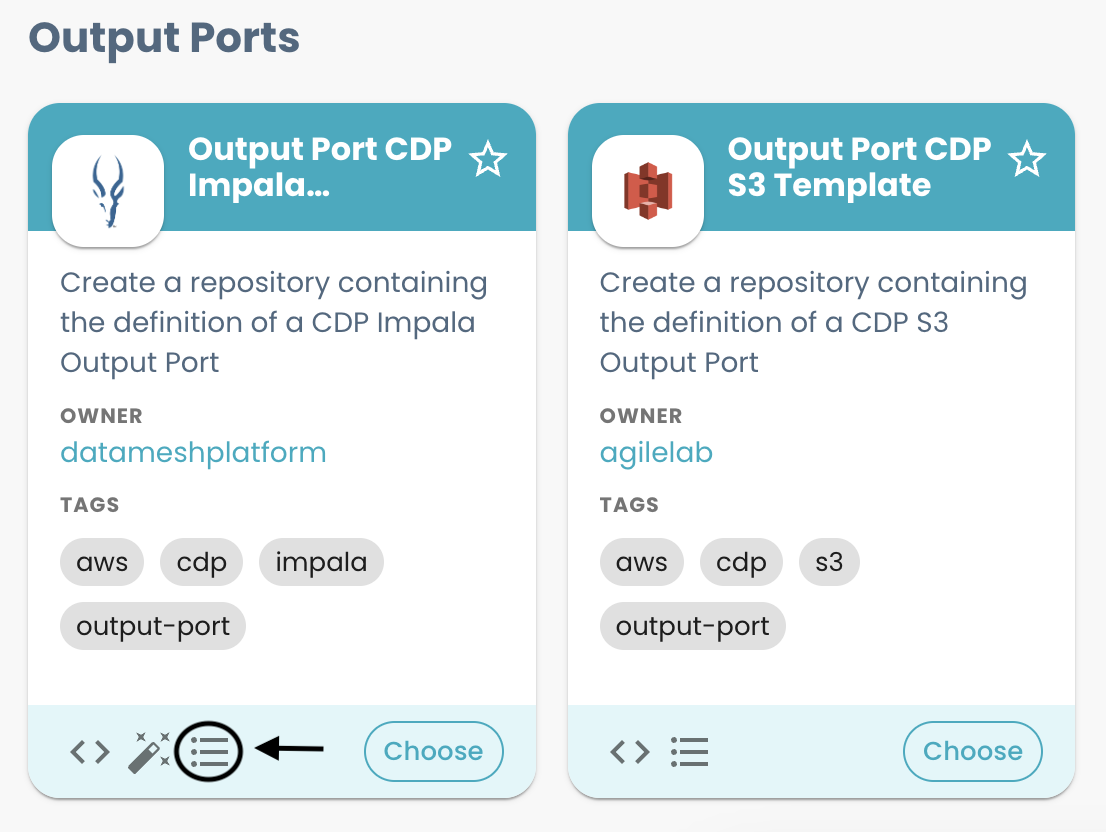
A wizard icon on a use case template card in the templates list page (Builder > Templates), indicates that every entity created starting from that use case template is suitable for the edit operation.
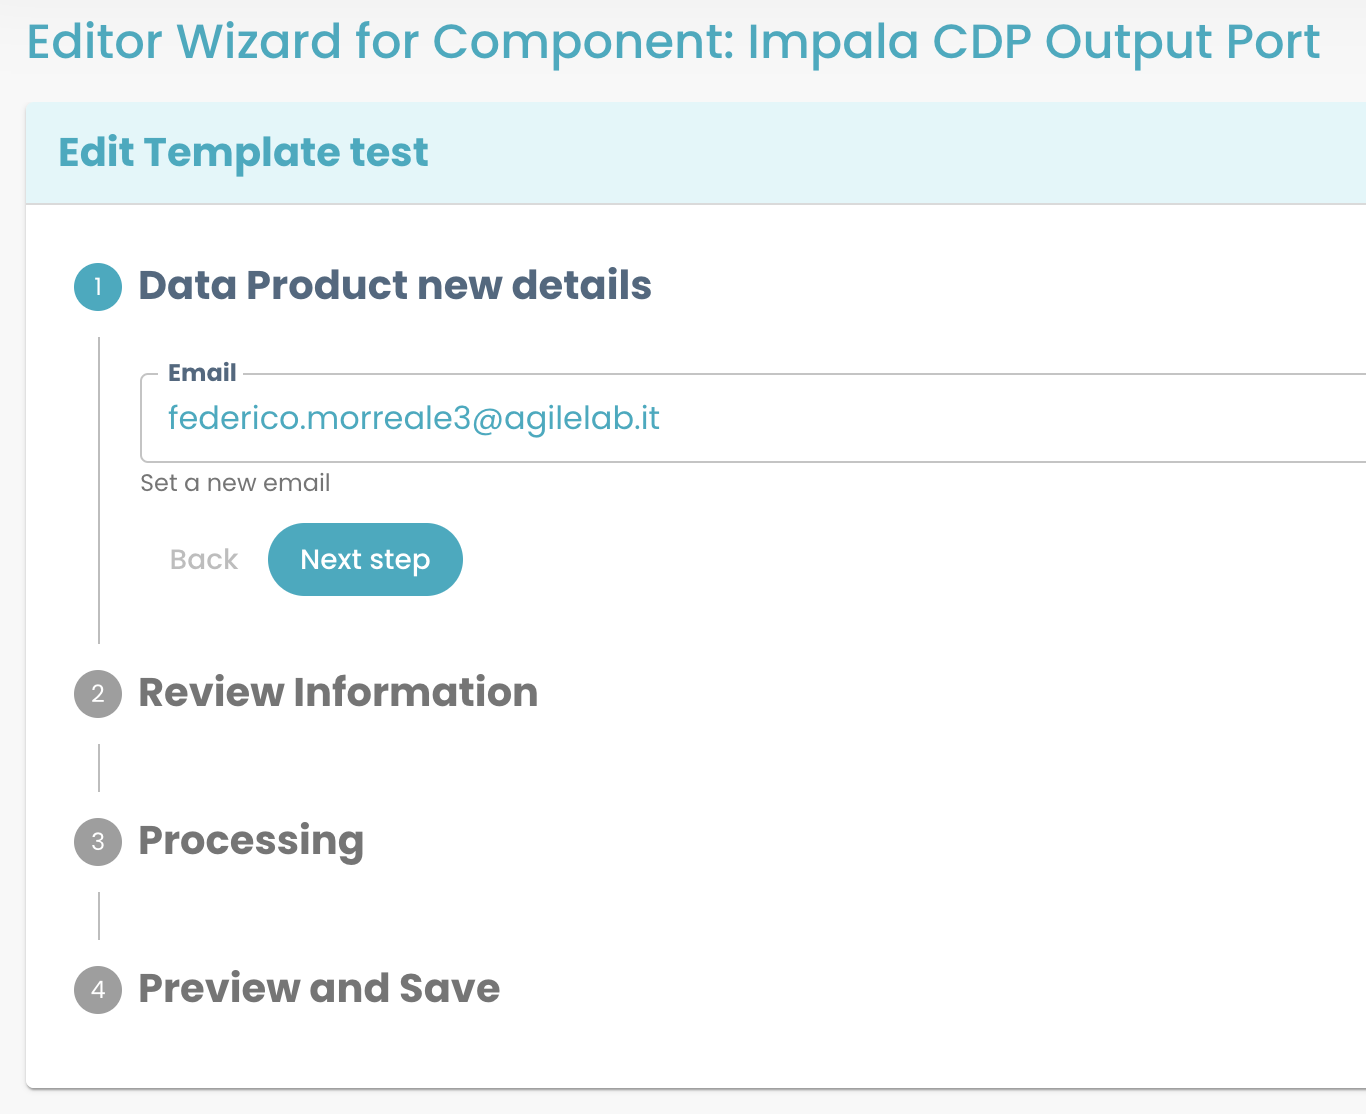
2. Provide and review the required information
The first step of the Editor Wizard will ask you the new values to be edited.
It is possible that you may encounter this warning:
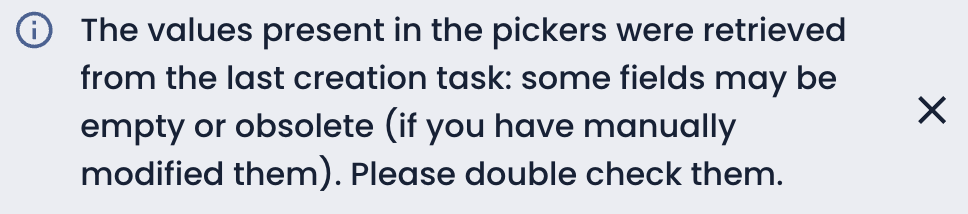 or this one
 that means witboost was not able to prefill the values in the pickers. Don't worry, you can go ahead with the process anyway.
If you are redirected to the entity page after you access the editor wizard, like this
 it means some restrictions have been adopted by the platform team, and you should contact them.
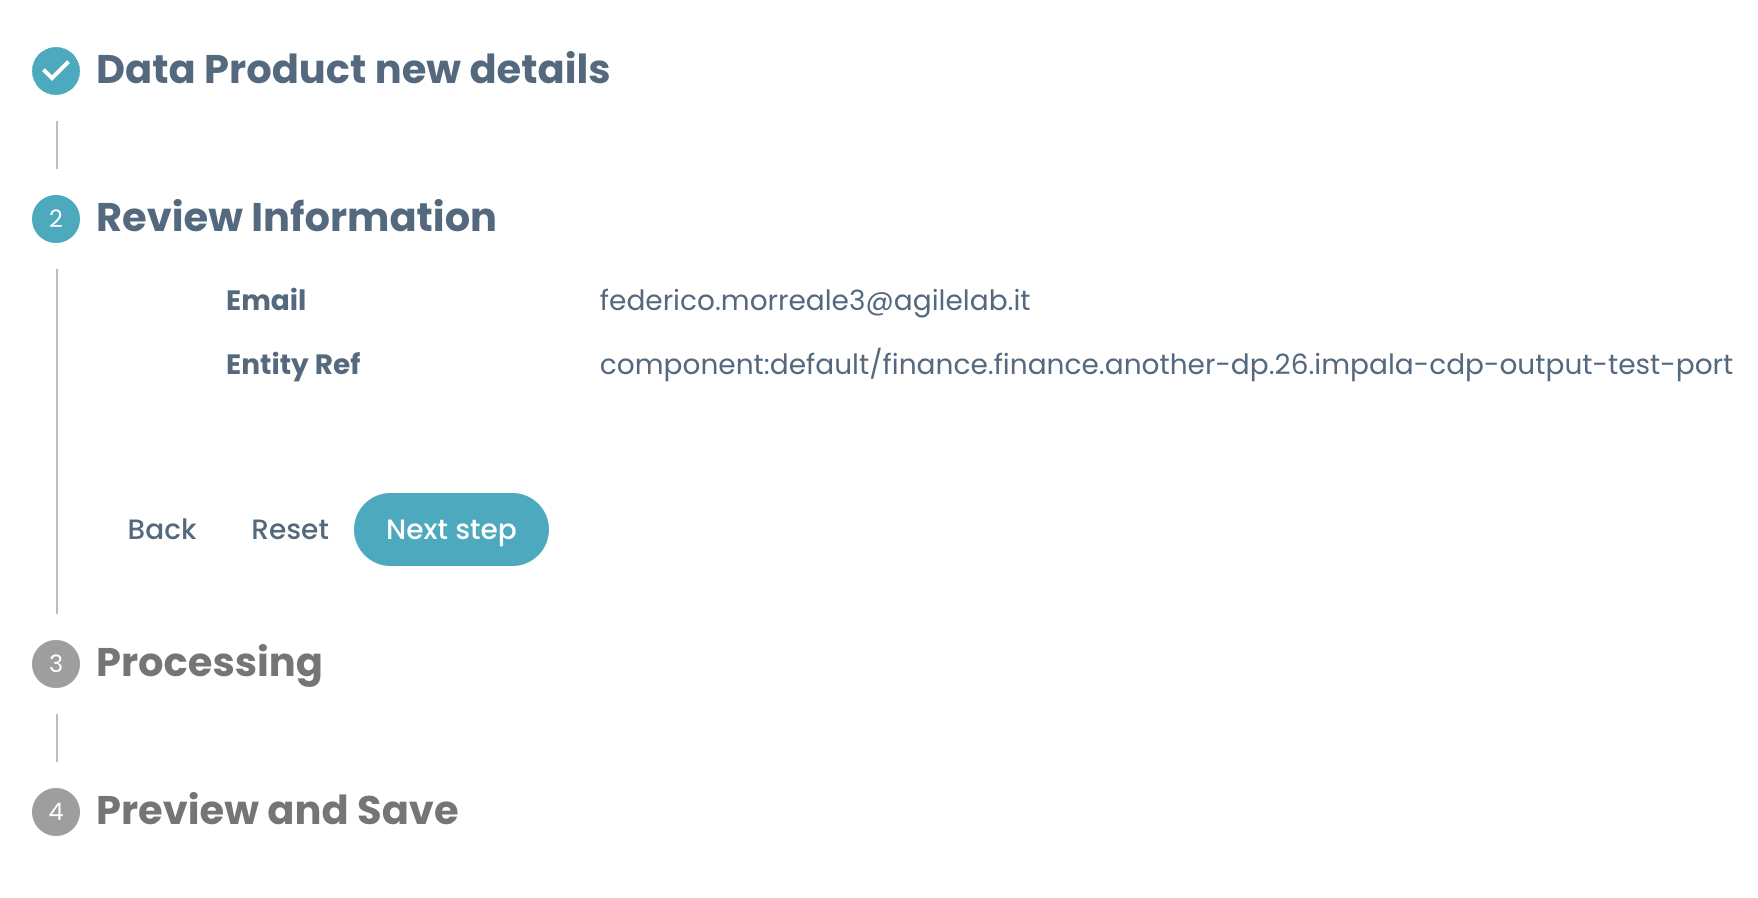
At the end of the input process, you can review your changes in the Review Information panel and start the edit process.
3. Start the edit process
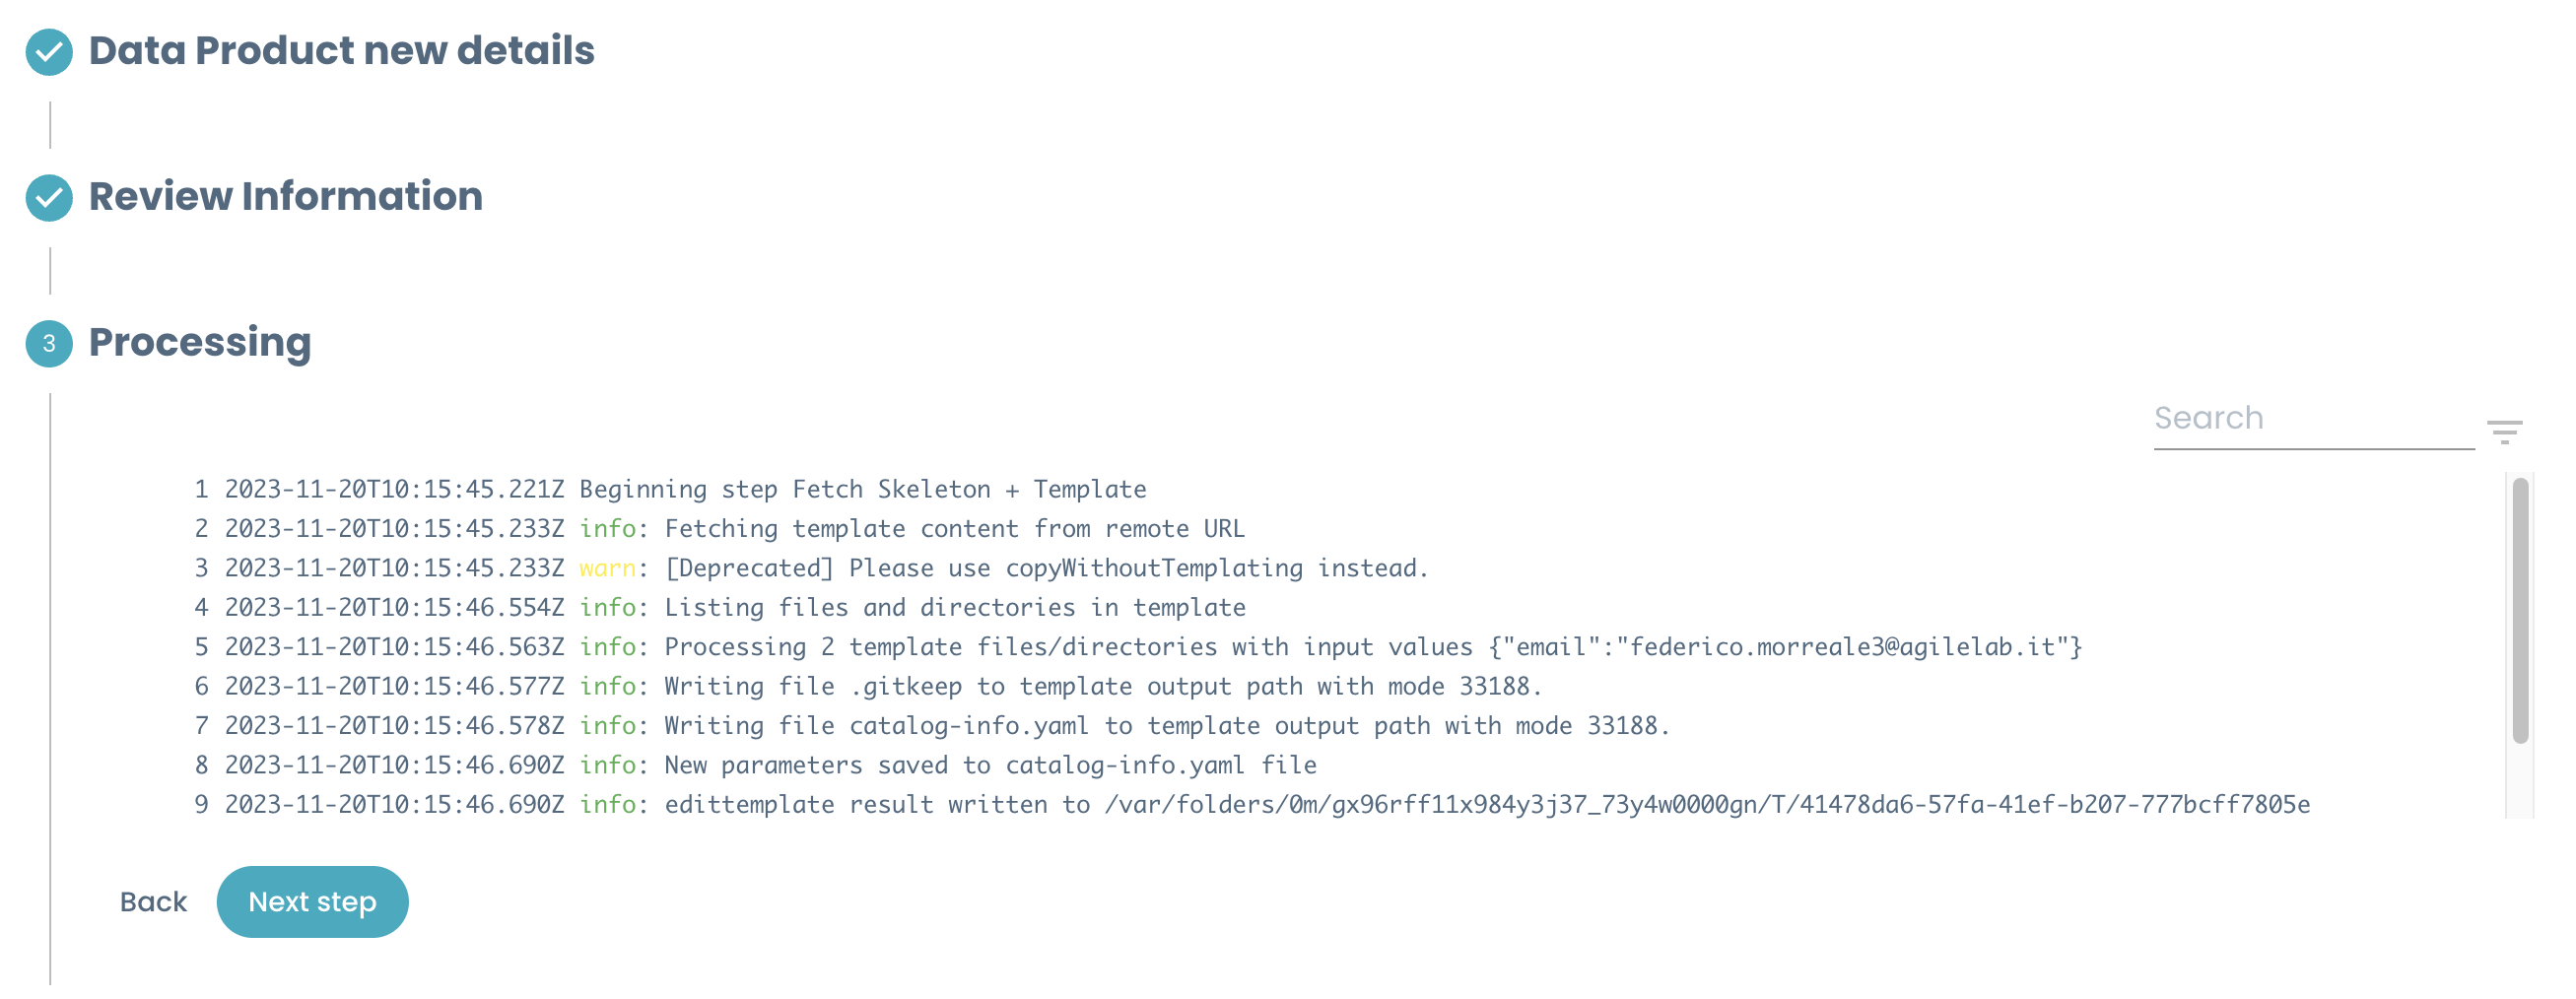
The Processing step will display the status of the edit operation and its related logs.
After the process is complete you can go ahead and click on Next Step to compare changes before saving them.
The updates will never be automatically applied without user intervention and confirmation.
4. Preview and Save
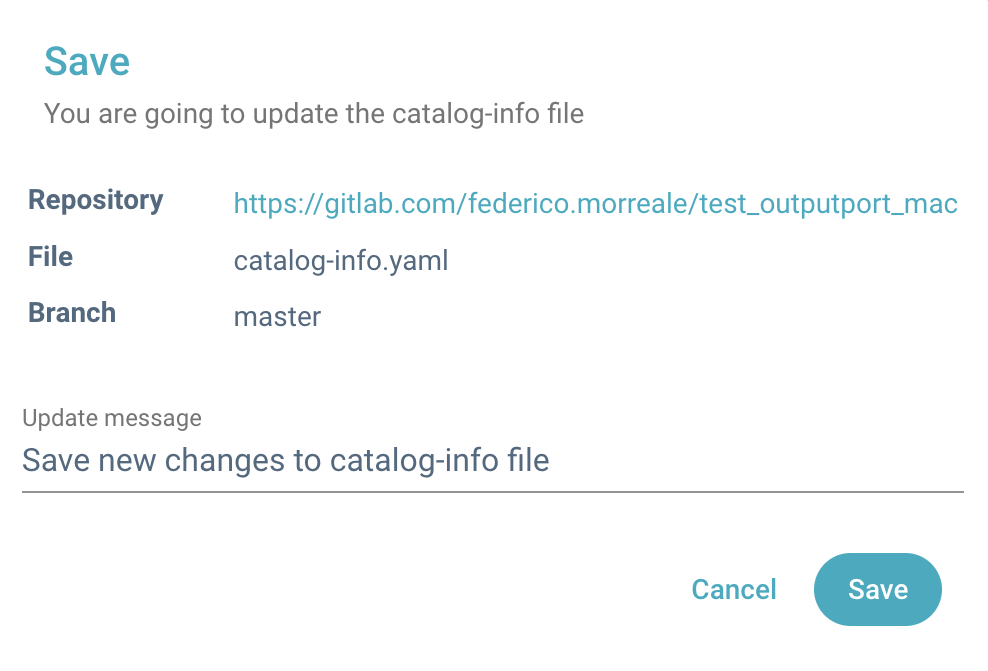
In this step you will be prompted with a comparison wizard, composed of 2 panels: the left one will display the current entity's descriptor, while the right panel shows the new updated descriptor.
If you are happy with the resulting descriptor (in the right panel) you can click on the save button.